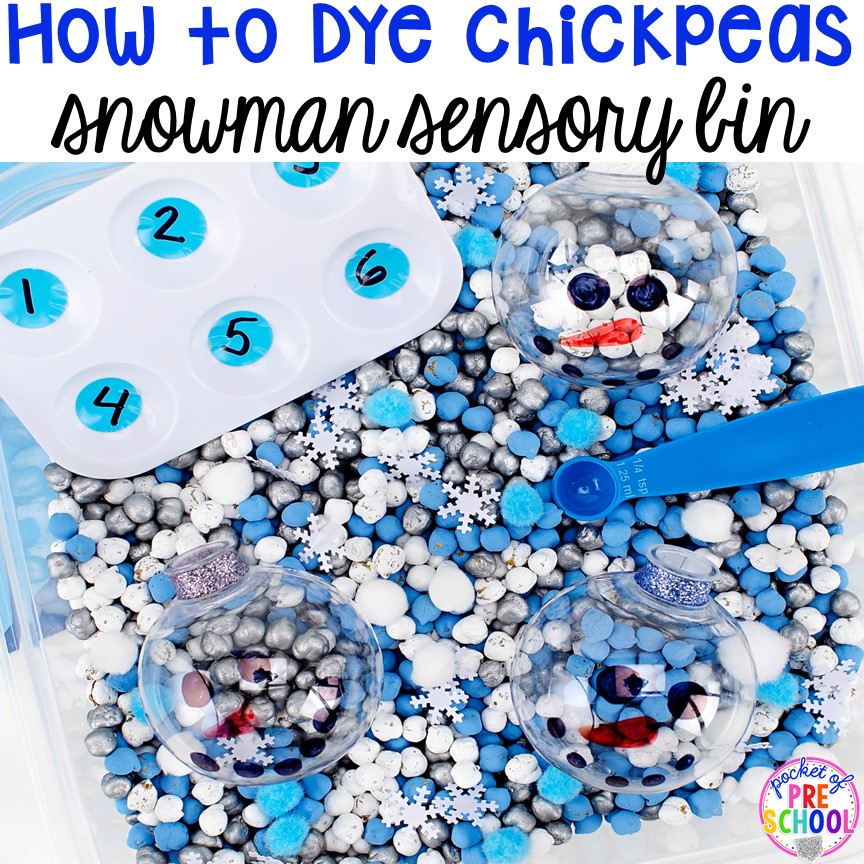
Creating a snowman sensory table doesn’t have to be complicated or take a bunch of time, AND I love that I can sneak academics in! Plus, it can be used for weeks with all the fun ideas I have to show you in this post. Sensory bins are an excellent option for preschool, pre-k, and kindergarten students because they are still developing their fine motor muscles and skills. They will utilize these muscles, along with hand-eye coordination and much more, to complete these snowman sensory bin activities! Plus, read on to find out how to dye chickpeas in 4 easy steps!
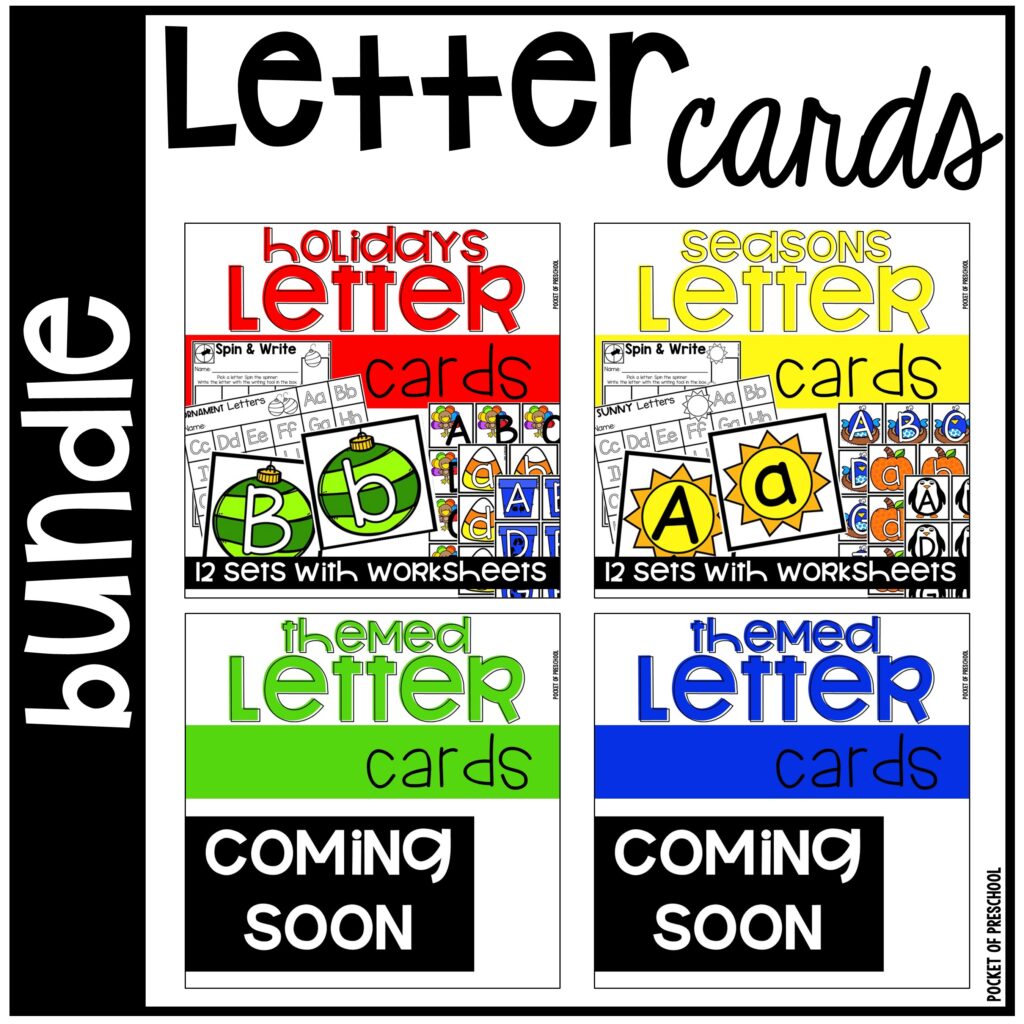
Also, check out my Alphabet Letter Cards Bundle for tons of letter cards with adorable themes! These cards are the perfect size for adding to your sensory bin!
Grab the FREEBIE by entering your email in the box at the bottom of this post. This post contains affiliate links which means I earn a tiny commission when you use my links at no cost to you.
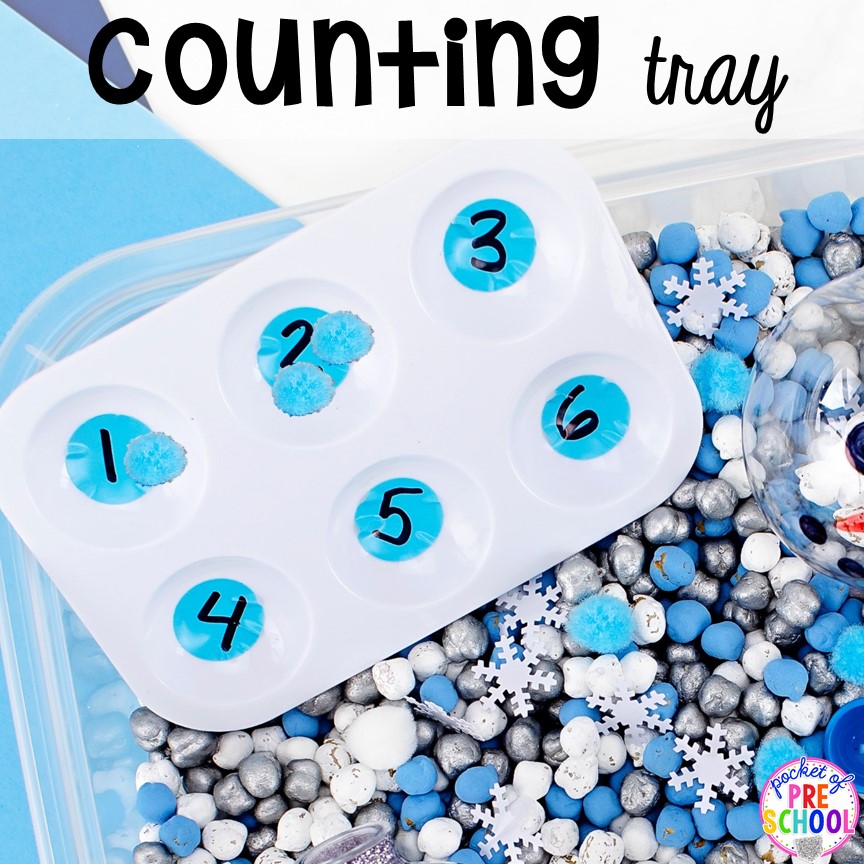
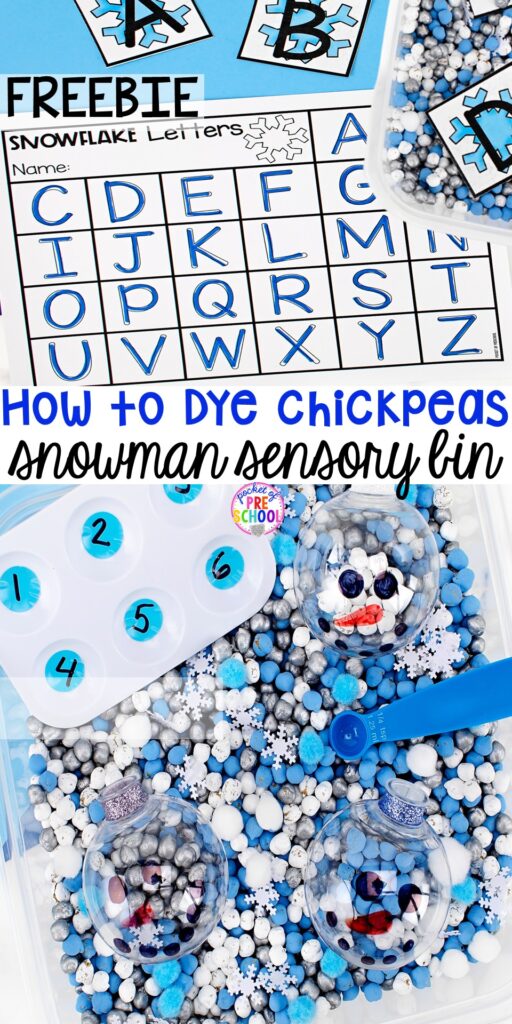
Counting Tray! Take a plastic paint tray or egg carton and put numbers at the bottom of each section. Students will use tweezers or their pincer muscles to pick up the small sensory filler items and put that many in each area. I added pom poms and plastic snowflake confetti for this snowman sensory table. Students can focus on just one color to count, just pom poms, or just snowflakes.

Sort by Color! To make these cute snowman ornaments, I used clear plastic ornaments that I removed the metal top off of. Then, I wrapped the top with different colors of tape that matched the colors of the sensory filler in my bin. Lastly, I drew faces on the ornaments with permanent markers.
Students will sort the chickpeas or pom poms by colors into each snowman ornament. They can use tweezers or their fingers to pick up and sort. There are a lot of different tweezers/tongs that you can use in your bins. Here are a few of my favorites: hand tongs, rainbow tongs, different-shaped tongs, and jumbo tweezers.
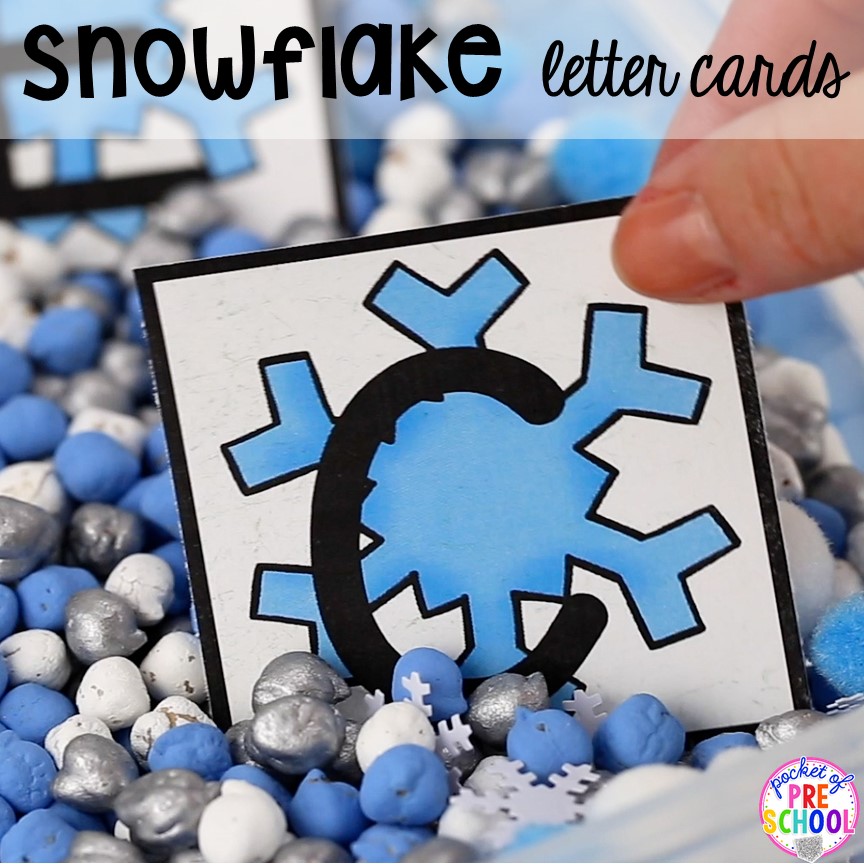
Snowflake Letter Cards! Add in my FREE snowflake letter cards below to practice letter identification, letter sounds, matching capital and lowercase letters, sight word spelling practice, name practice, and so much more! The letter cards should be printed on cardstock and laminated for durability so that you can use them year after year!
Students will find the letter cards and spell or match on the table around them. They could also use a recording sheet to write down the letters they find or the words they spell.
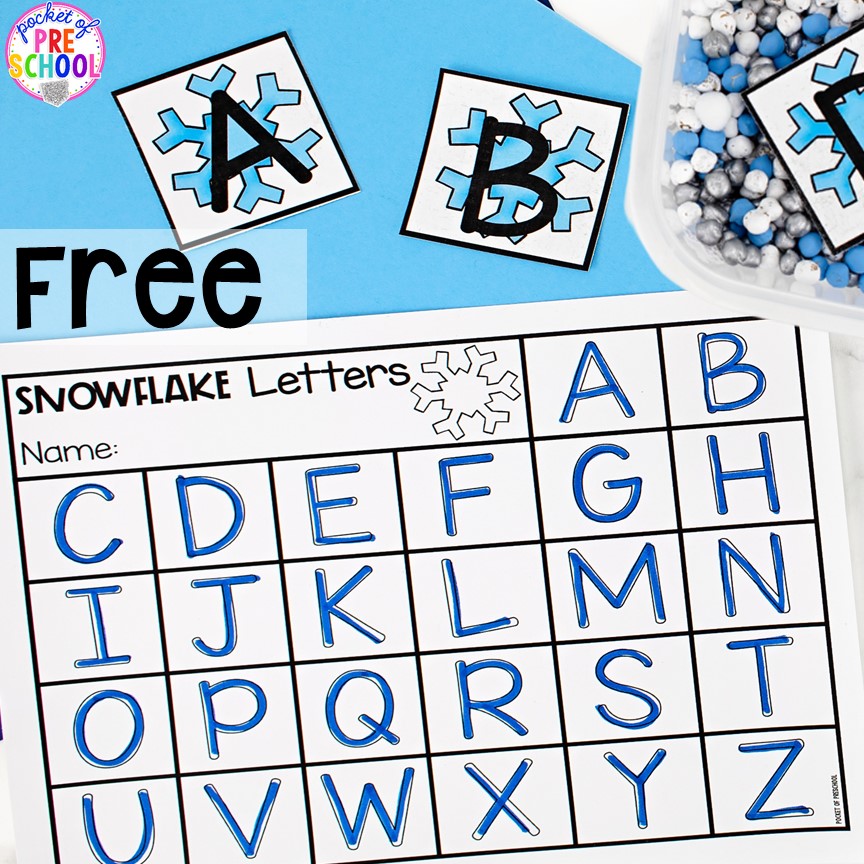
Snowflake Letters FREEBIE! Grab the free snowflake letter cards (capital and lowercase letters) and three-letter match worksheets! The letter cards are great to add to sensory bins for letter identification, matching, and spelling activities! The free resource includes a capital, lowercase, and mixed case worksheet. Students can find the matching letters and then trace them with a marker, pencil, or crayon.
>>Grab the FREEBIE by entering your email in the box at the bottom of this blog post!<<
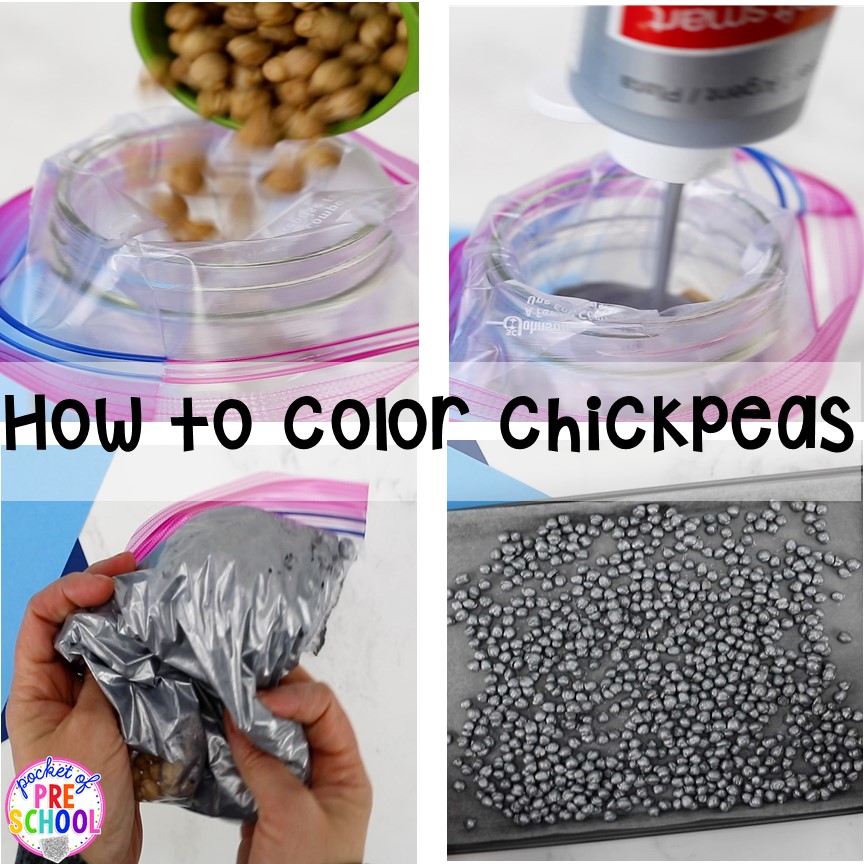
How to Color Chickpeas!
Step 1: Place chickpeas in a thick baggie. If you are making small batches, use sandwich-size bags. If you are making a big, single-color batch, use a gallon baggie. I usually go to Target to buy chickpeas because they are about a dollar a bag.
Step 2: Add acrylic paint and close the baggie. Just a few squirts will do. I used metallic paint to make this fun snowman sensory bin.
Step 3: Shake, shake, and shake! Massage the color into the chickpeas! This is the fun part that students can help with! If the color isn’t bright enough for you, just add a few more squirts of acrylic paint and continue to mix.
Step 4: Grab a tray and cover it with wax paper or foil. Spread the chickpeas on the tray and let them dry. Remember, this paint will stain, so be careful to work over the wax paper!
***Let the chickpeas air dry for 24-48 hours before placing them in an airtight container. This ensures that all the moisture is out of the chickpeas.
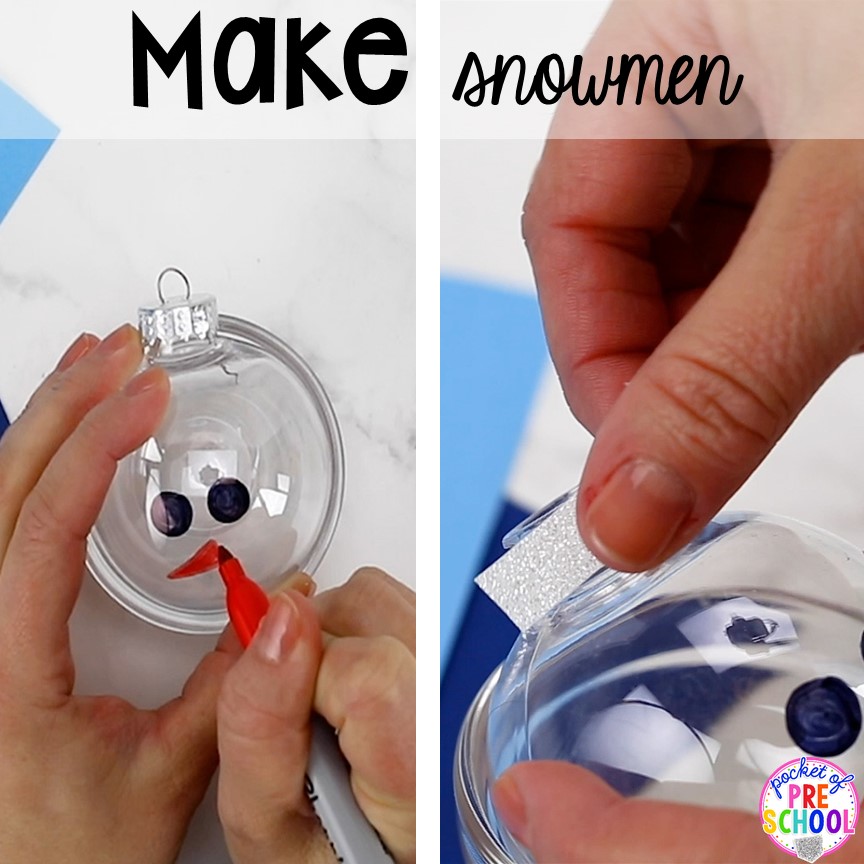
Making the Sorting Snowmen! I used clear plastic ornaments, and I removed the metal hanging top. Next, place a piece of tape around the opening for each color of sensory filler you are going to use. I used some glitter washi tape to add more sparkle to my snowman sensory bin! Then, I drew faces on the ornaments using permanent markers. Add them to your snowman sensory table for a great tool to collect and sort the sensory filler.
Just a few more tips to make your sensory table a huge success in your room!
Tweezers, treasures, and small tools! Don’t forget to add tweezers or small scoops for students to use during play. When students use tweezers and small tools, they are strengthening their fine motor muscles and developing hand-eye coordination. These skills are both super important for writing letters and drawing! The Dollar Tree usually has tons of small scoops, tweezers, or kitchen tools. Be sure to check the party section for small scoops, containers, or tongs.
Treasures can be anything you have in your room, from pom poms to mini erasers, small plastic toys, to confetti pieces. Students will use their imaginations and will love learning in your sensory bins!
If you don’t have room or access to a large sensory table, don’t worry. You can make sensory bins in pencil cases, plastic totes, or shoe boxes! Sensory filler can be stored in a Ziploc bag so you can reuse the same tubs throughout the year.
Remember to grab the FREE snowflake letter cards and worksheets by typing in your email below!
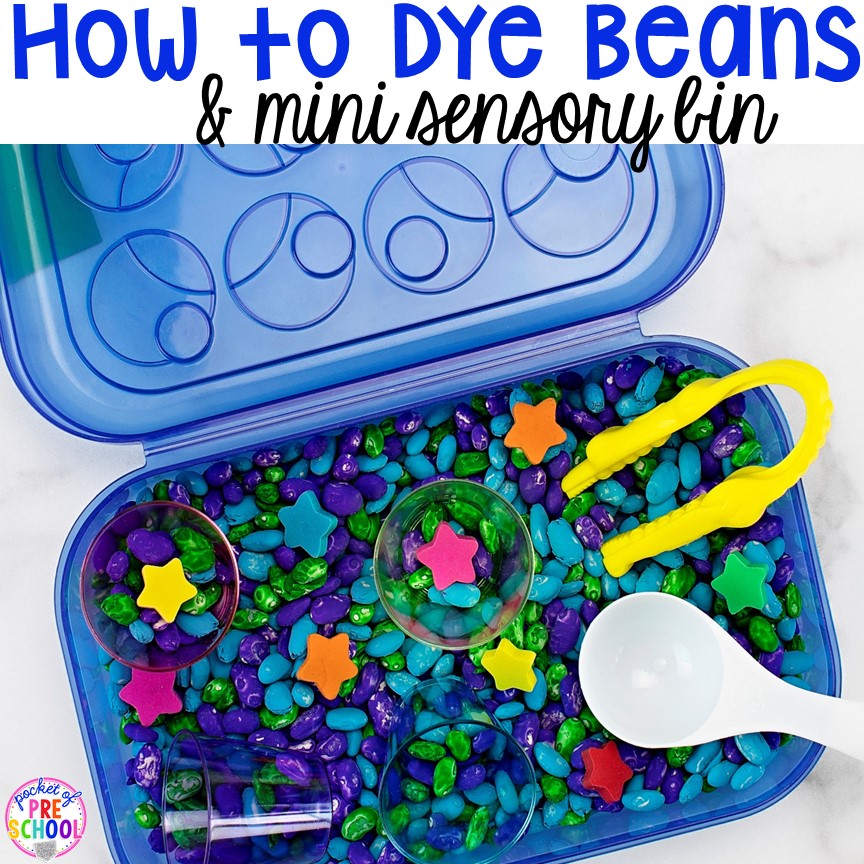
Check out my post on how to dye beans for another great sensory table filler option!
Grab my Alphabet Letter Bundle to get tons of great letter cards with a variety of themes!
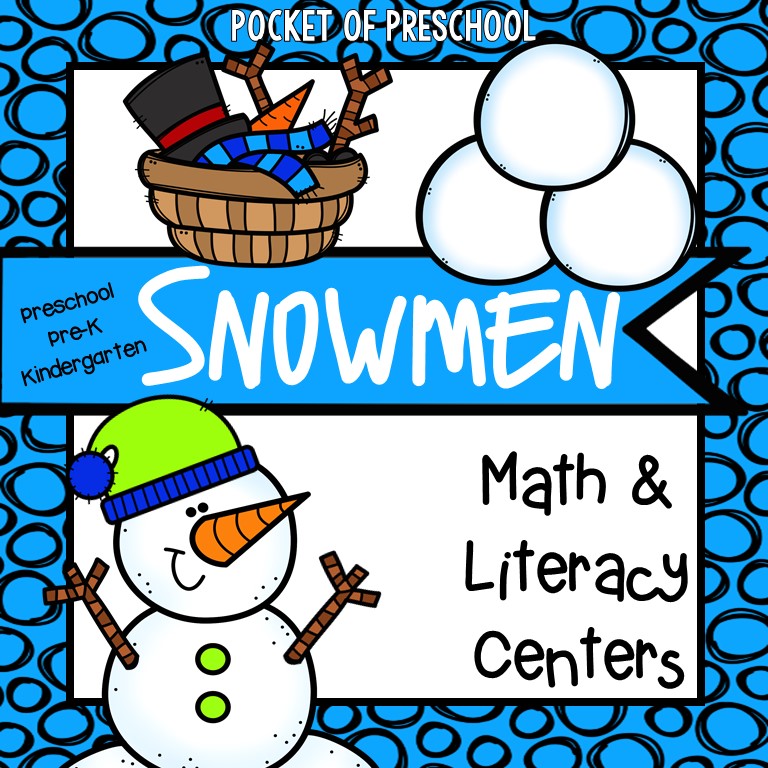
Want to complete the Snowman theme in your room? Check out my Snowman Math and Literacy Centers for more great resources!
Read my blog post all about Snowman Centers for more great frosty ideas for your preschool, pre-k, or kindergarten room!
Love these ideas? Pin this image!
