If you are like me, you print A TON of things in COLOR! I use colored paper sometimes but I love the richness of printing in color. It makes everything so much more engaging for my little learners. I’m sharing with you all my favorite printing and laminating HACKS so you can print in COLOR and prep activities quickly.
This post contains affiliate links.
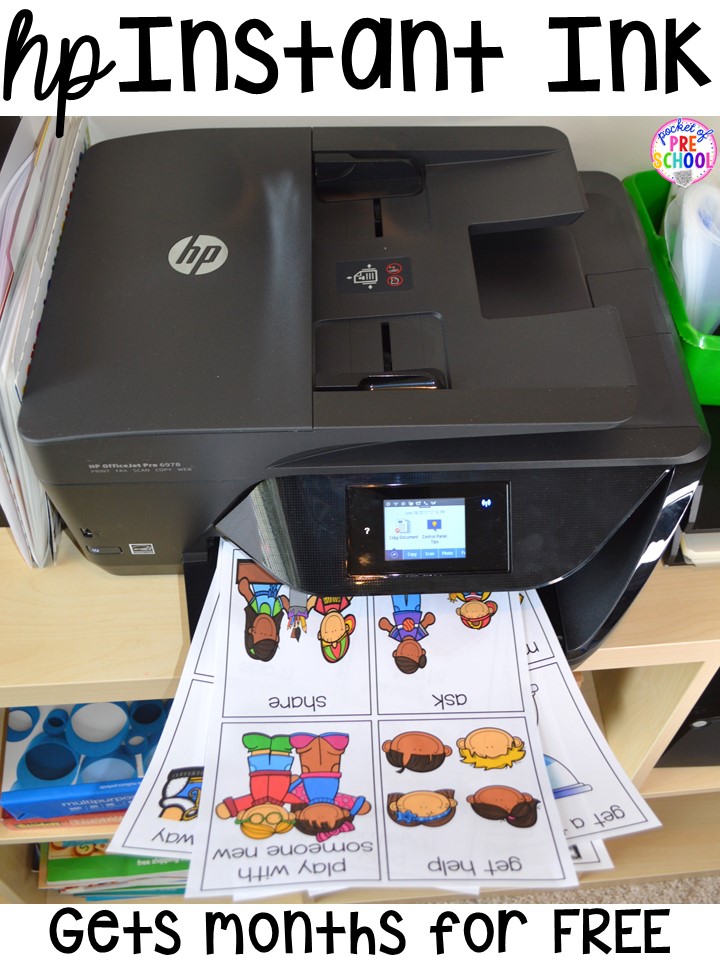
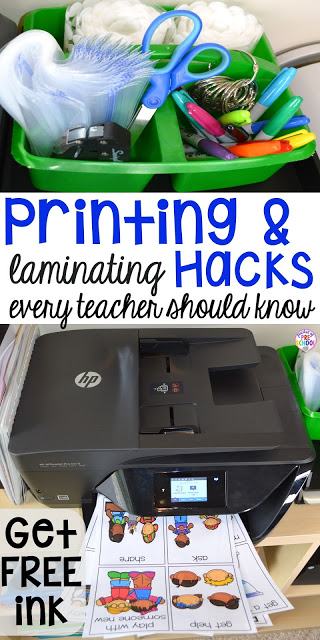
The HP Instant Ink!
When I signed up, I received months of FREE ink! Yes, months of printing in color for FREE.
HP Instant Ink is a program HP. When you need ink, your printer automatically lets HP know to send more; it’s like a personal assistant. HP Original Ink is delivered straight to your door before you run out – and only when you need it.
Here’s how it works….
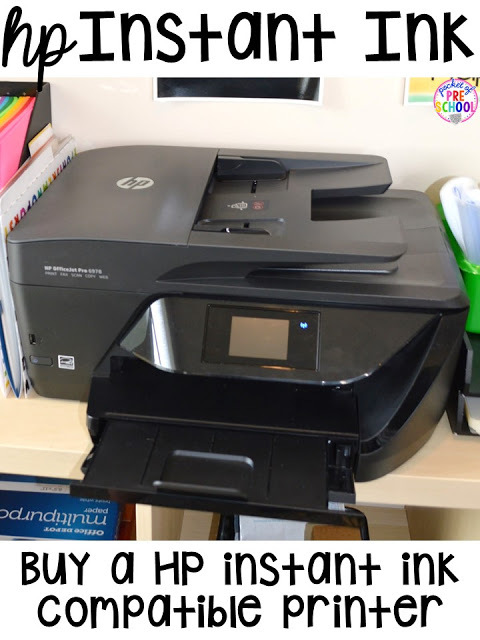
First, you need to check and see if your printer is an HP Instant Ink compatible printer. Click HERE to see the list of printers. If yours isn’t, don’t worry. HP printers are reasonably priced.
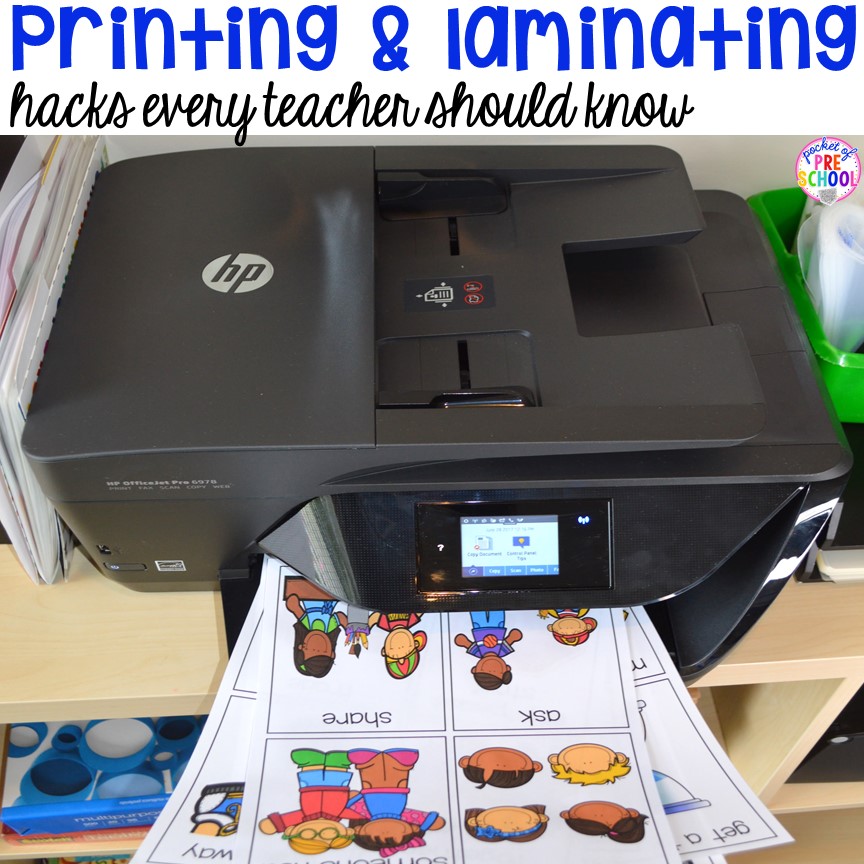
I have the HP Officejet 9052 (it’s my favorite) and HP OfficeJet Pro 6978. It’s functions are copy, scan, fax, wireless printing, two-sided printing and has a touchscreen. The 9025 on card stock easily too.
Another great option is the HP ENVY 7640. Its functions are copy, scan, wireless printing, and has a touchscreen. I do notice is that it prints a bit slower than mine. It also prints ok on card stock.
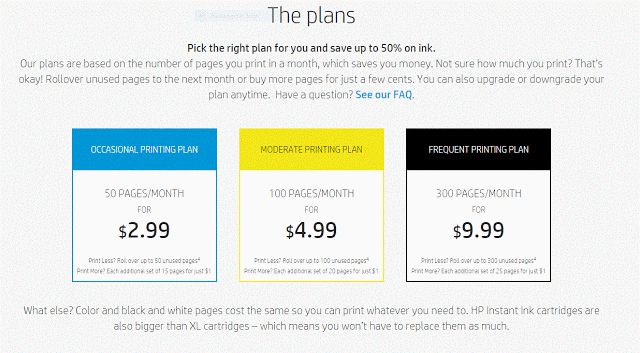
HP offers three different plans (see chart above). They now have a 500 and 700 pages a month plan!
If you don’t use all your allotted pages in a month, you can keep them in your roll over account. You can also check how many pages you have printed on the website at any time as well. It’s very accurate too.
When you install the printer, you will NEED to put the code in at that time. I’ve heard that it’s super hard to get the codes applied to your account after you enroll so don’t forget.
HP Instant Ink Codes (if you find that a code doesn’t work, let me know)
6freeink
3freeink
Use as many codes as they will allow to get free months of ink when you setup your printer!
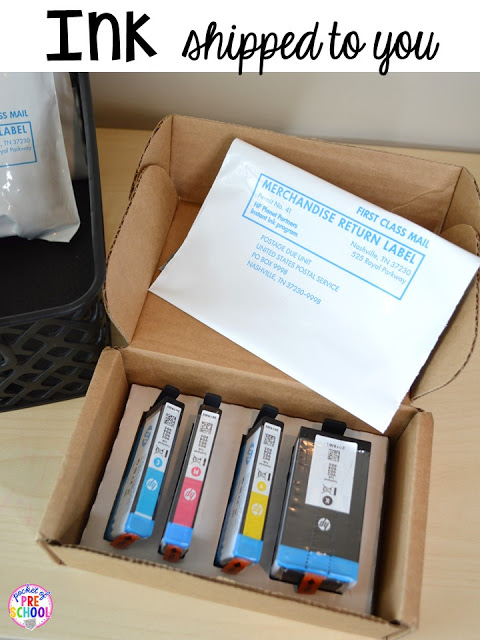
You won’t run out of ink either because the ink is SHIPPED to your house! The printer communicates with your computer and it sends you ink BEFORE you need it. For example, right now I have 5 brand new ink cartridges in the box, ready to go.
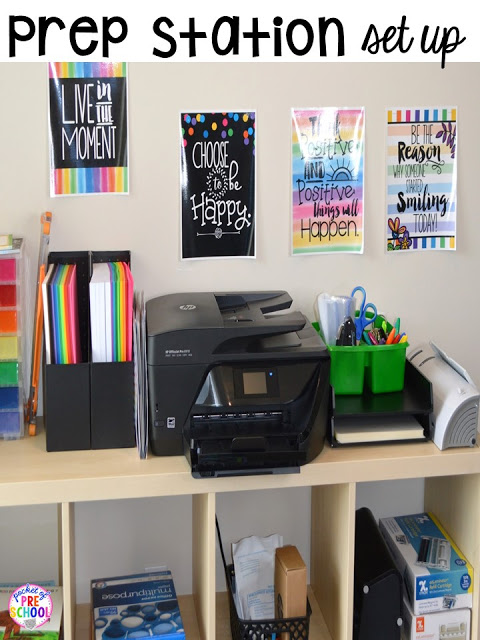
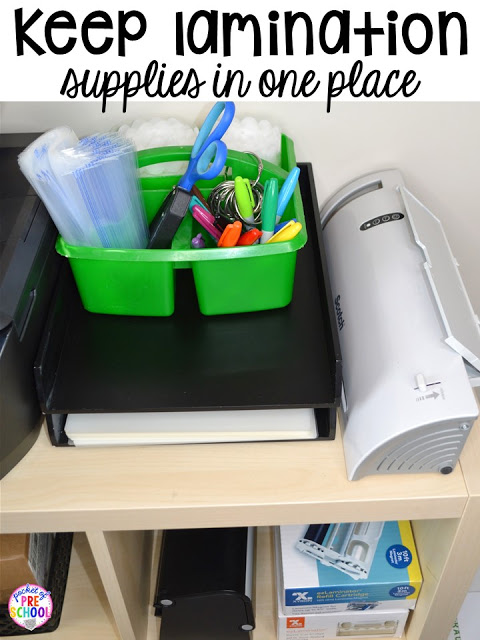
These are my organization tricks for setting up a prep station. Preschool teachers have so much to prep. In the photo above, you can see this handy shelf I keep next to my desk. It has my all the supplies I need right at my fingertips!
Paper
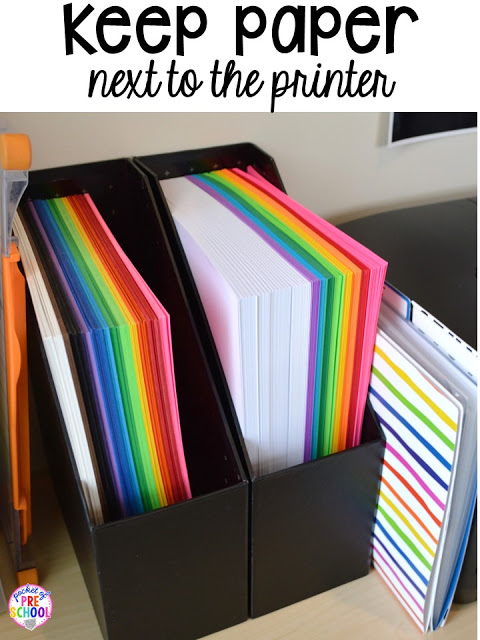
Keep card stock and regular paper in bins next to the printer. This way you don’t have to go grab colored paper or card stock every time you need to print because it’s right there ready to go! What a HUGE time saver!
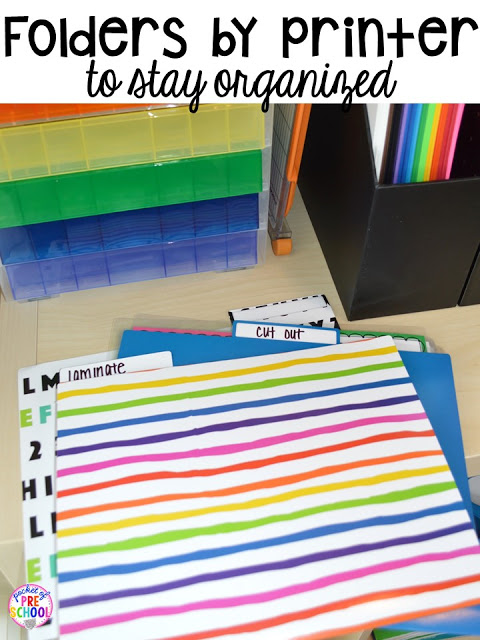
I print a TON so I put folders next to the printer to help me stay organized. One folder is for papers that need to be laminated, one is for papers that are laminated that need to be cut out and then I have a few extra folders for projects and things.
Say goodbye to HUGE pile of papers by the printer!
Laminating and prepping requires several essential materials. I keep them all organized in a caddy. Now I can just grab the caddy, some pages and the portable laminator and get to work!
I have two laminators:
- Scotch Laminators: LOVE LOVE LOVE this one and this one!
- Uses laminating pouches,
- Needs to be plugged in
- Takes a few minutes to warm up
- XyroLaminator:(I personally am NOT a fan of this one at all but some teachers love it)
- Cold laminator (no heat and no electricity needed, you turn the knob)
- Uses drop-in cartridges and
- Can use magnetic cartridges
- Perfect for long things
Under the caddy, I keep black letter trays for my lamination pouches. My paper cutter is also handy on the other side of the printer.
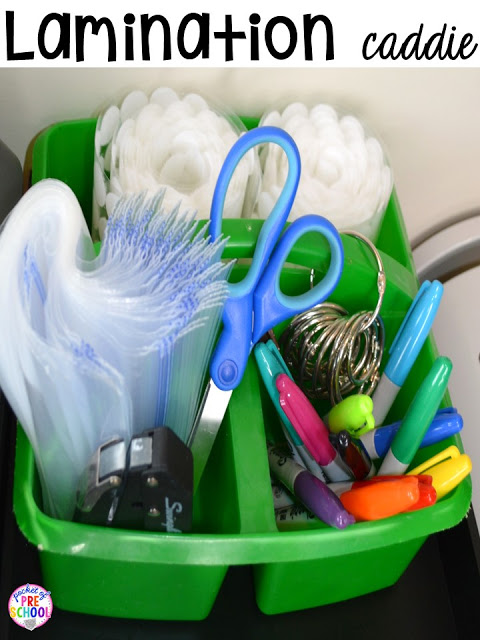
My lamination caddy!
I don’t know why I never thought of this hack sooner. We use caddies all over the classroom for students.
In my caddy is:
- Velcro Dots
- Baggies
- Scissors
- Sharpies
- Metal Rings
- Glue Stick (If you have smaller pieces, dot a spot of glue on the back and stick it to the lamination pouch so it won’t move as you laminate it)
- Hole Punch: This hole punch is amazing! It easily hole punches through many layers at a time.
Pin this image so you have the ink codes when you need them!
Want more teacher hacks? Check out all my favorite ART HACKS and ORGANIZATION HACKS that will change your life.
Need more organization tips, tricks and hacks? Follow this Pinterest board.
