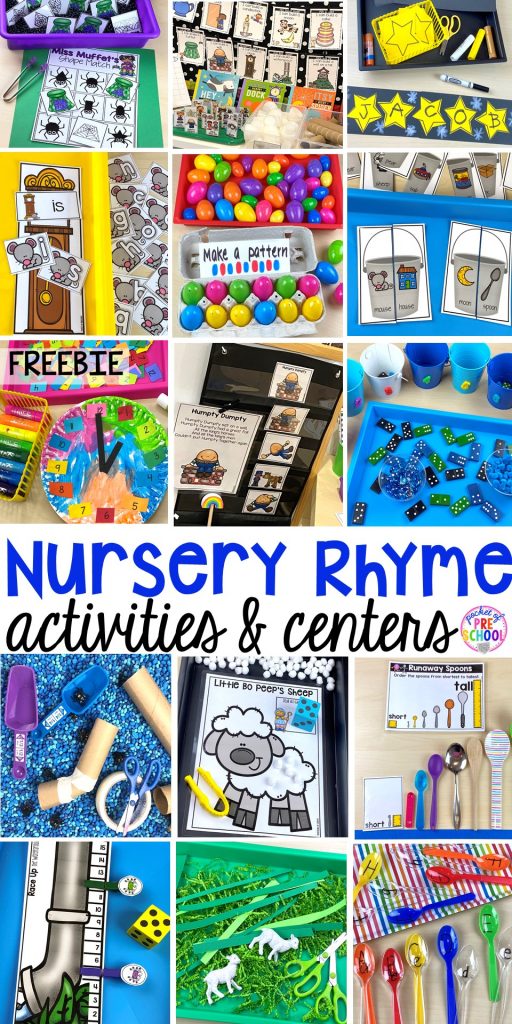
It’s time for a Nursery Rhyme theme! Let’s pack your lesson plans full of fun, hands-on activities, and centers that your little learners will love and learn a ton from too. Learning IS fun when you plan it out (and aren’t stressed out!), and I’m here to help. In this post, you will find three activities for each nursery rhyme plus ideas for the writing center, blocks/STEM center, and science center. And yes, I have FREEBIES for you too!
>You can grab all the printable Nursery Rhyme Centers HERE and the FREEBIES BELOW <<
Grab the FREEBIE by entering your email in the box at the bottom of this post. This post contains affiliate links which means I earn a tiny commission when you use my links at no cost to you.
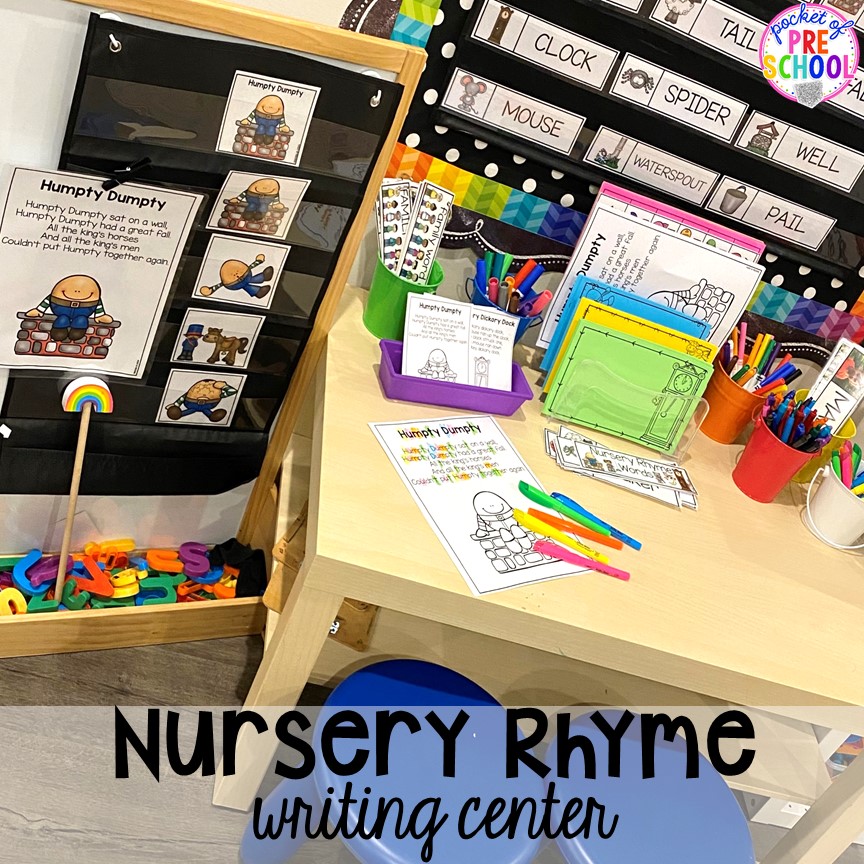
Nursery Rhyme Writing Center! Place vocabulary cards in a pocket chart with nursery rhyme writing paper and fun writing tools, just like you do for every theme. Next to the writing table, place a rhyme poster with the retelling cards so students can retell and sequence the rhyme! This stand-up easel from Lakeshore is my favorite.
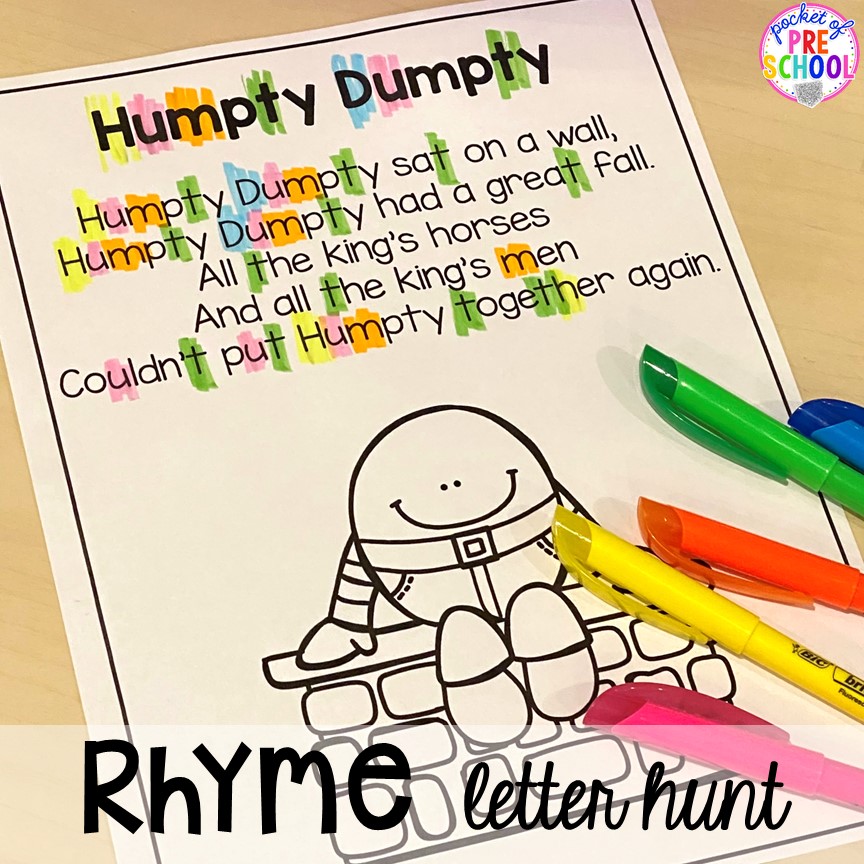
Place copies of the rhyme or several rhymes, either full page or smaller, with highlighters! Students can highlight letters or words they notice, just like a mini letter or sight word hunt.
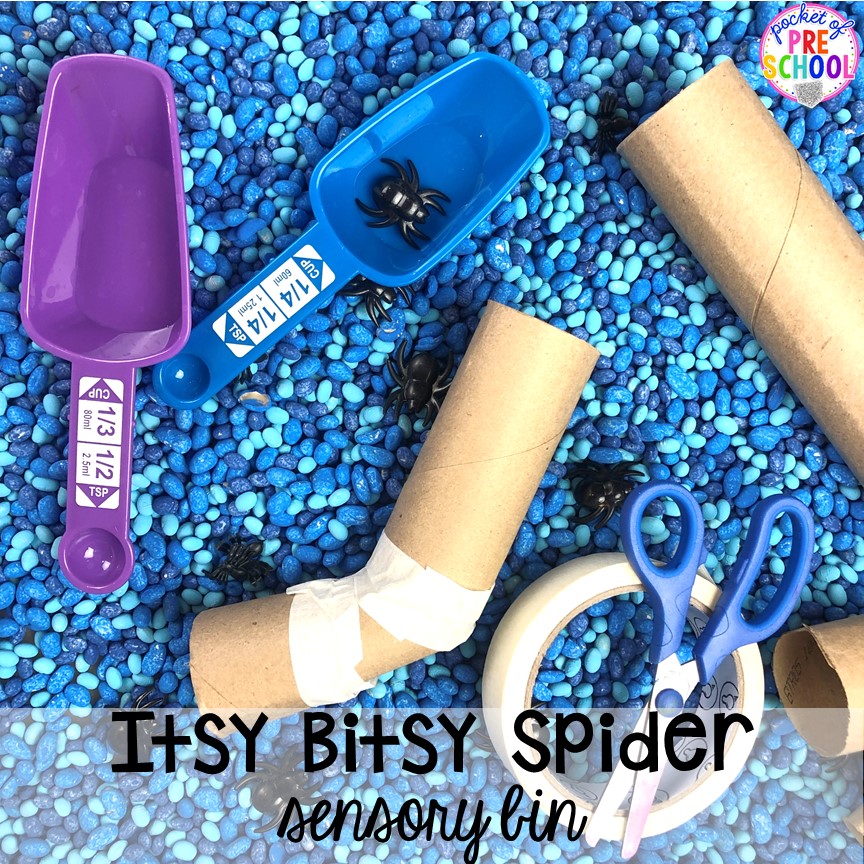
Itsy Bitsy Spider Sensory Table! For this sensory bin, students will construct waterspouts just like in the rhyme! The filler is white beans which I colored various shades of blue to represent water. Then I added small fake spiders! Check out how to color beans HERE. Add cardboard tubes, tape, and scissors for students to use to create various size waterspouts. Don’t forget to add small spiders too!
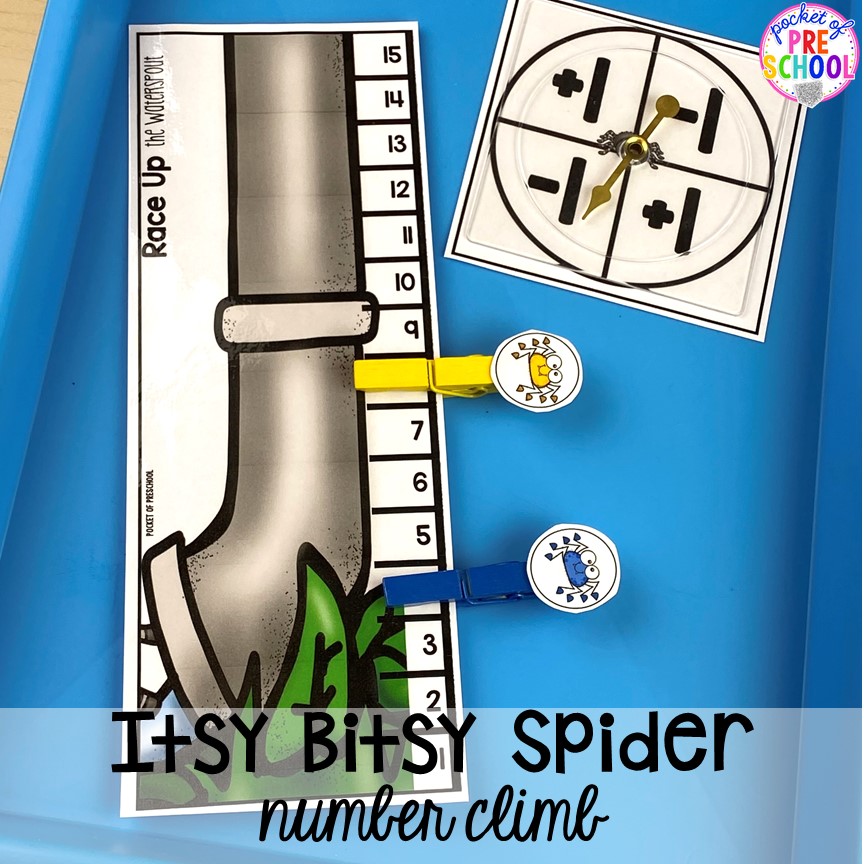
Itsy Bitsy Spider Number Climb! This game can be played TWO ways! The first way is shown in the photo to practice adding and subtracting one. Students spin the spinner and move the spider up (add one) or down (subtract one) the waterspout! The second way you can play is with a die to practice counting and one-to-one correspondence. Students roll a die and move that many spaces up the waterspout.
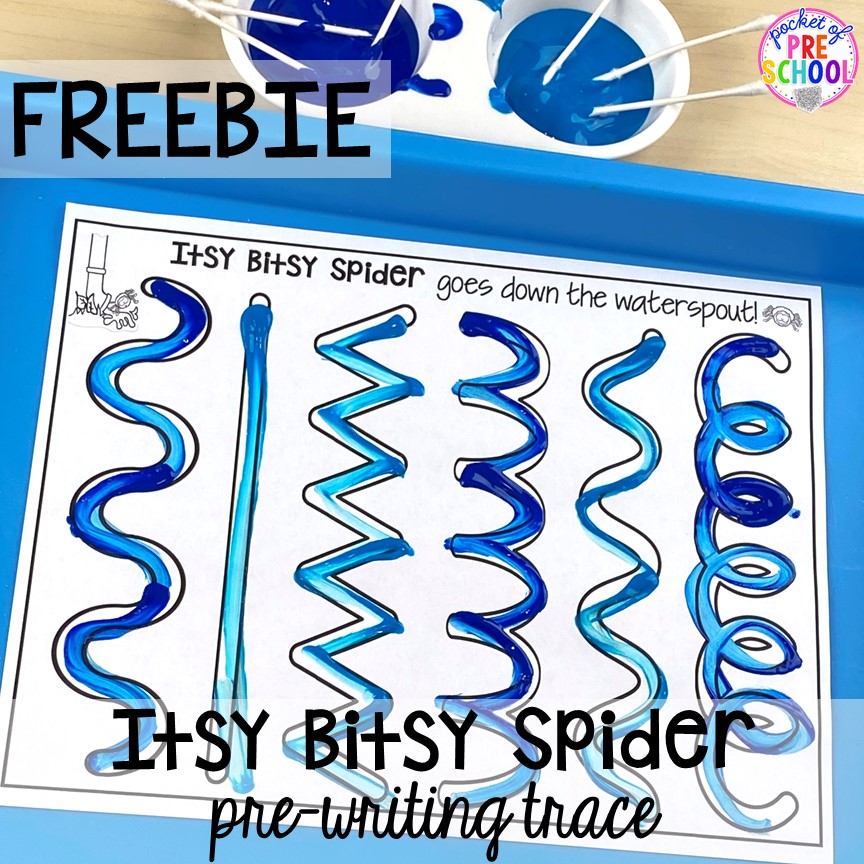
Itsy Bitsy Spider Pre-Writing Mat FREEBIE! Students need to practice and be able to make various types of lines in order to write letters and numbers. Students can use a marker to trace or paint using a Q-Tip the various types of lines (aka waterspouts).
>>Grab the FREEBIE by entering your email in the box at the bottom of this blog post!<<
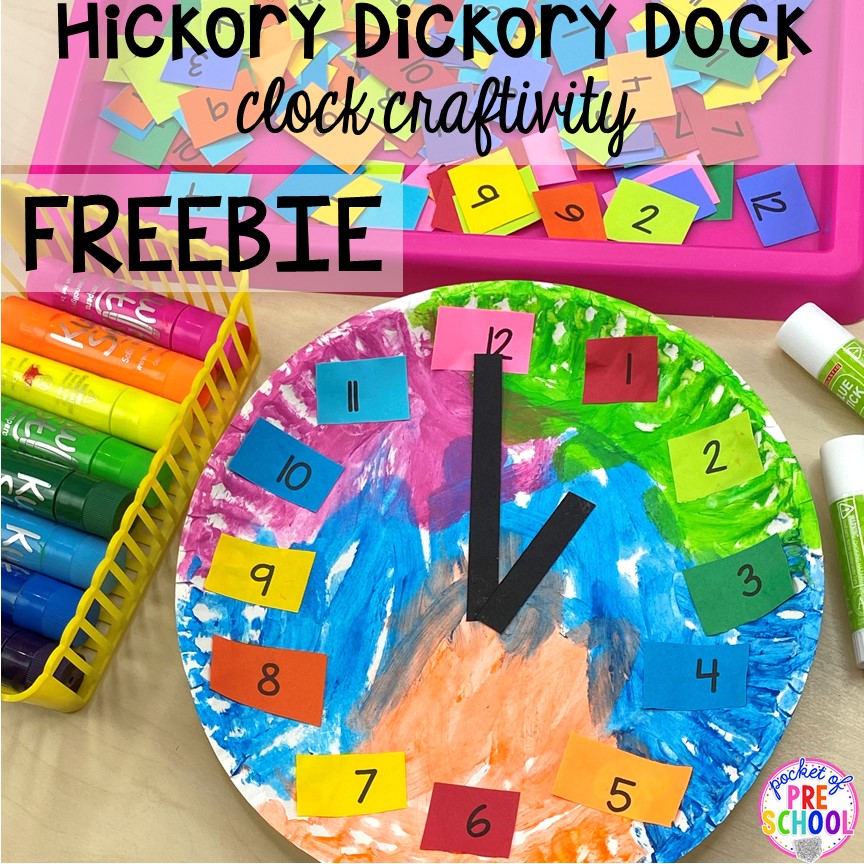
Hickory Dickory Dock Clock Craft! Create a clock as a fun way to practice identifying numbers and putting numbers in order. Print and cut out the small numbers on various colored papers and place them on a tray. Students color a paper plate with markers or paint sticks, then glue the numbers to the clock in order. Now, if you have younger students, it’s absolutely ok if the numbers are not in order and the clock looks abstract. Lastly, cut and glue the hands on the clocks. I cut small strips of black cardstock to create the clock hands.
>>Grab the FREEBIE by entering your email in the box at the bottom of this blog post!<<
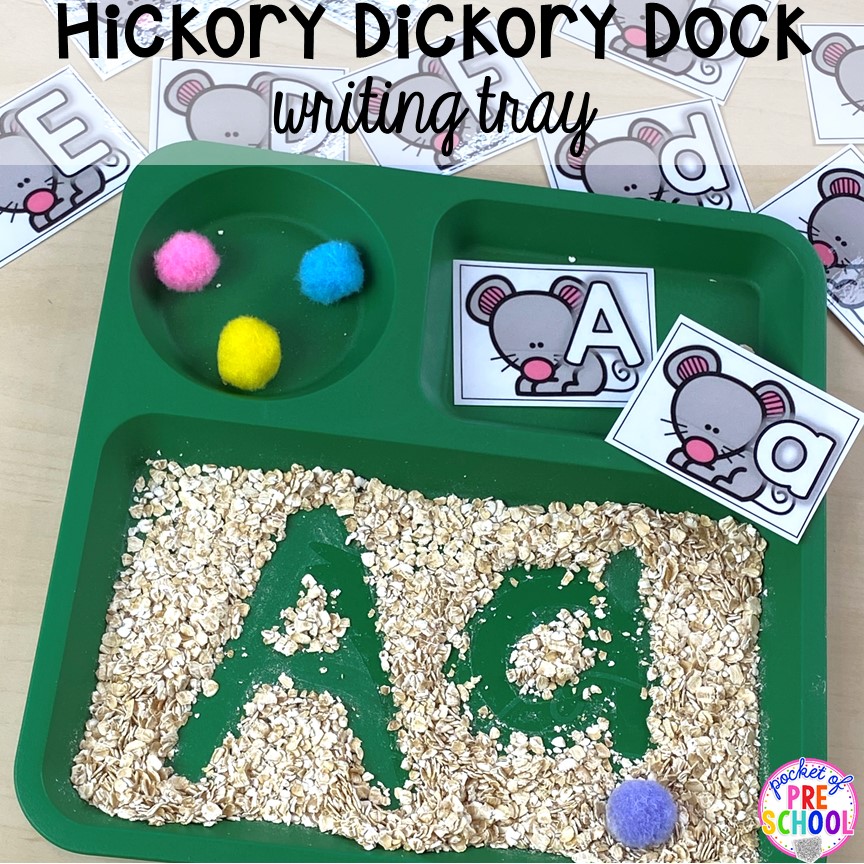
Hickory Dickory Dock Writing Tray! Grab a tray or a kid’s plate to create a writing tray! Place dry oatmeal in the tray because it looks like mouse food! Add the mouse letter cards (uppercase, lowercase, or match and write both uppercase and lowercase letters). Students use the pom pom to write the letter on the tray.
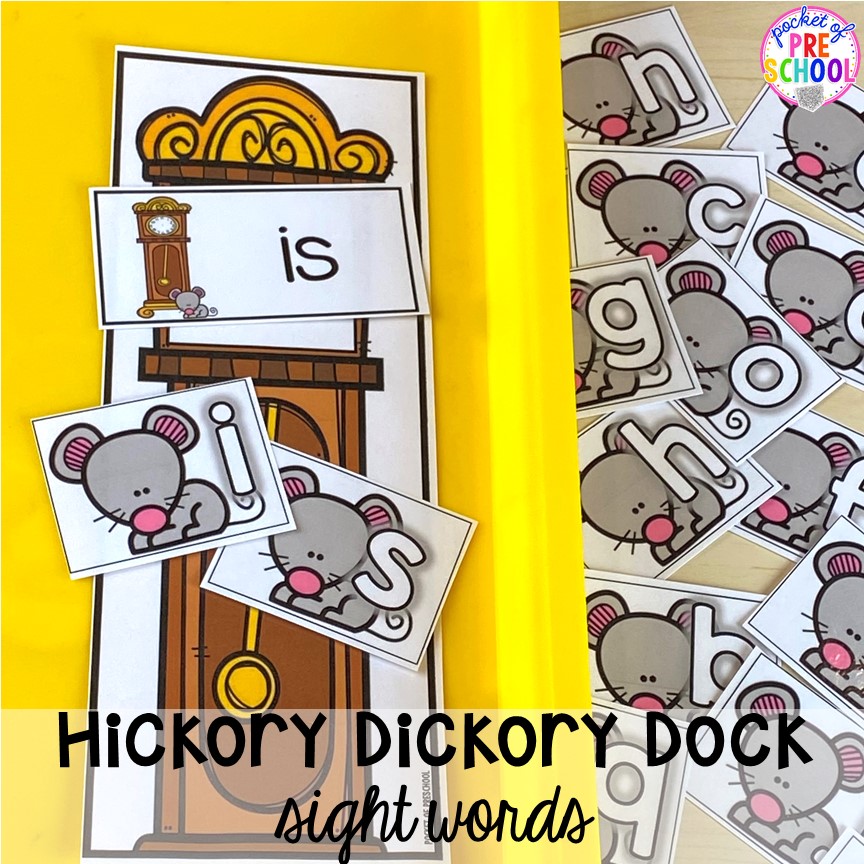
Hickory Dickory Dock Sight Words (or Letters)! Students can pretend to make the letter mice go up the clock to create a sight word! If you have younger students, they can match the uppercase and lowercase letters or just identify a letter mouse to go up the clock. Don’t you love games that can be played at various levels?
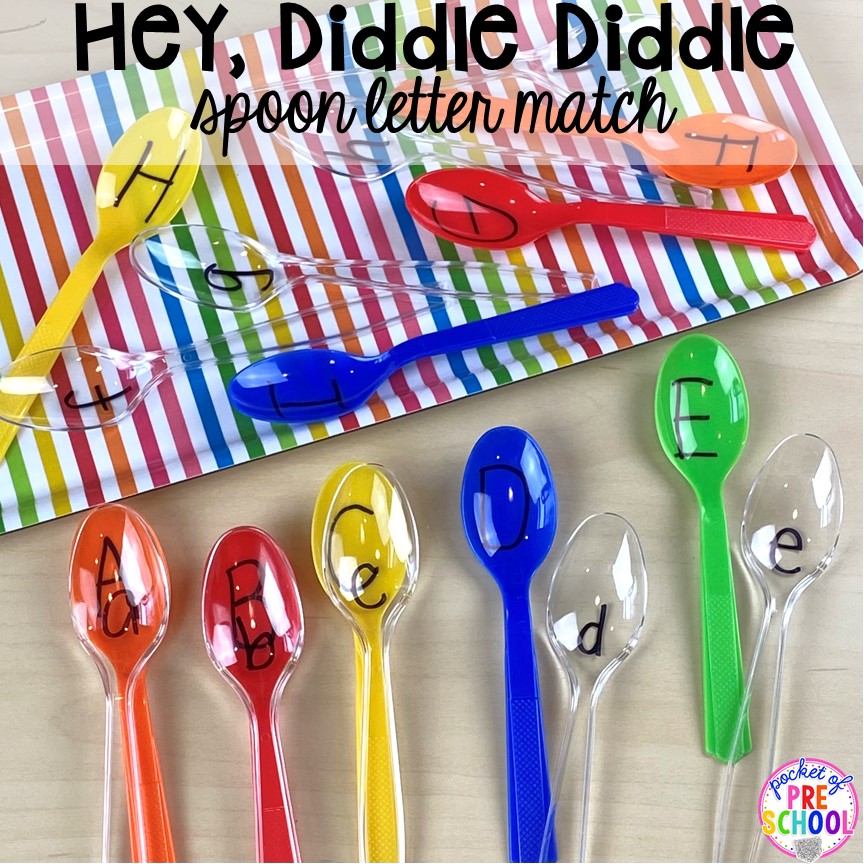
Hey, Diddle Diddle Runaway Spoon Letter Match! For this letter game, you will need colored spoons and clear spoons. Write a letter on a clear spoon and a letter on a colored spoon. Students match the spoons. Match uppercase letters, match lowercase letters or match lowercase with uppercase letters.
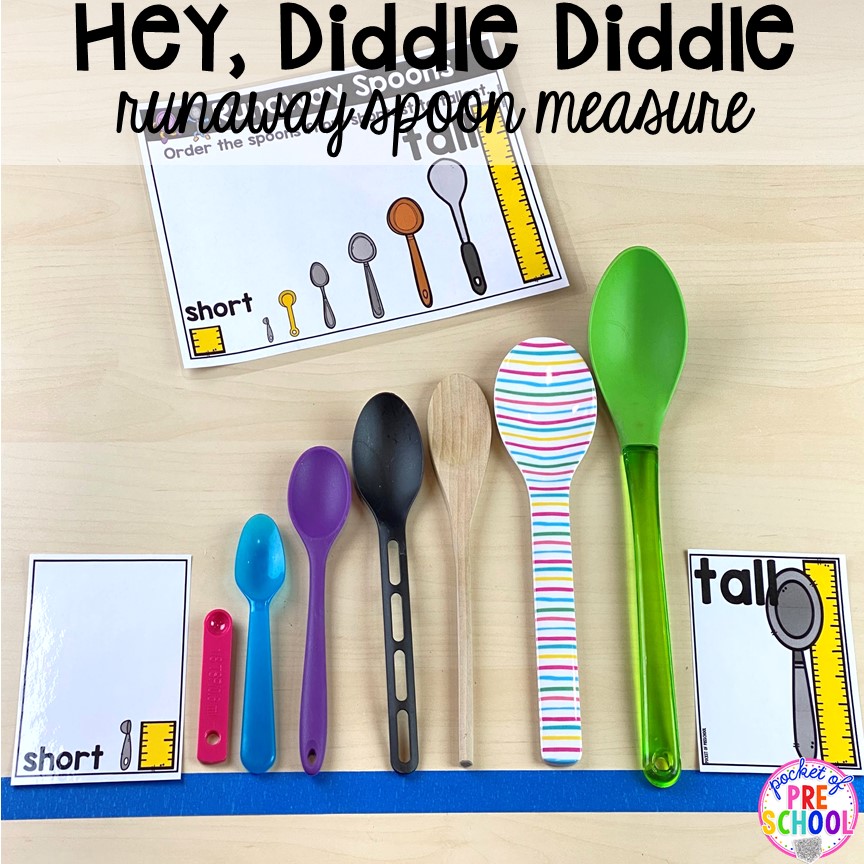
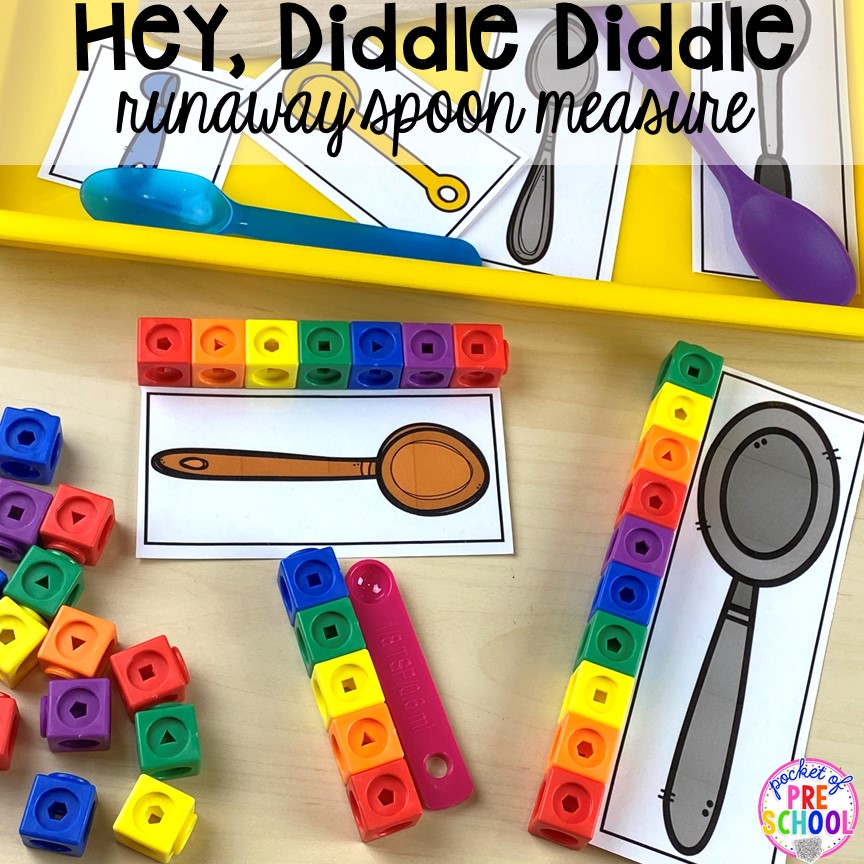
Hey, Diddle Diddle Runaway Spoon Measure! Grab various sizes of spoons and scoops from the kitchen for students to measure! Place a piece of tape on the floor as a visual to help students line up the spoons. Students can line up the spoons from short to tall, comparing the sizes as they line them up.
Hey, Diddle Diddle Runaway Spoon Measure! You can take the measurement activity one step further and measure each spoon with cubes or other items like chains or counters. Now students are counting and using non-standard forms of measurement to measure.
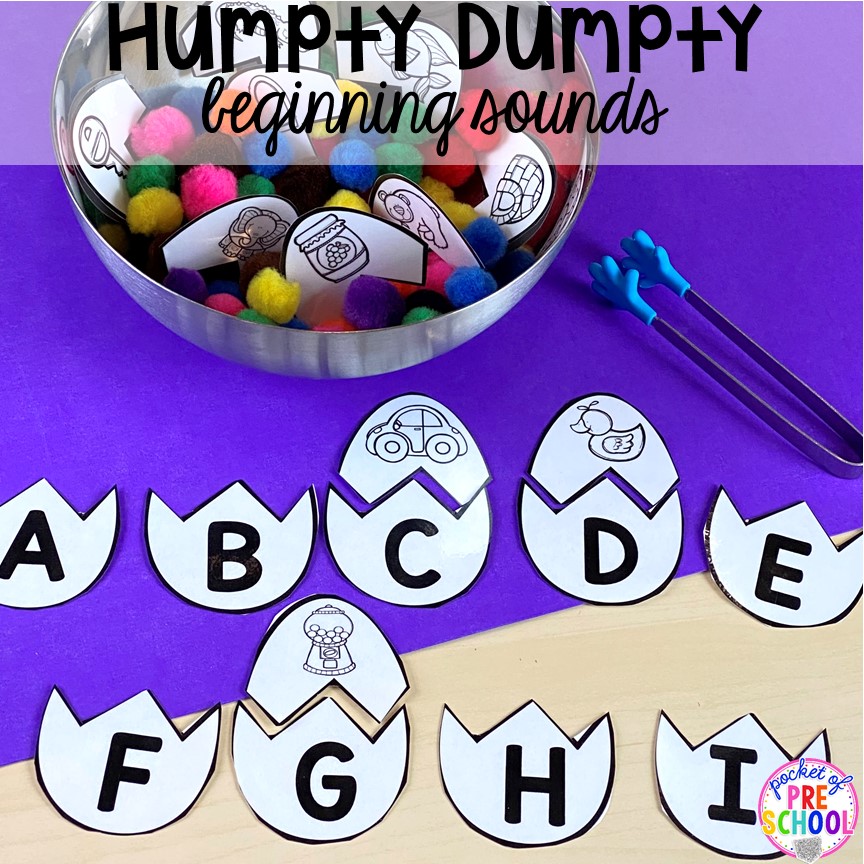
Humpty Dumpty Letter and Beginning Sound Puzzles! Students can practice beginning sounds with these egg puzzles. For extra fun, place the top of the egg puzzles in a bowl with pom poms for students to pick from.
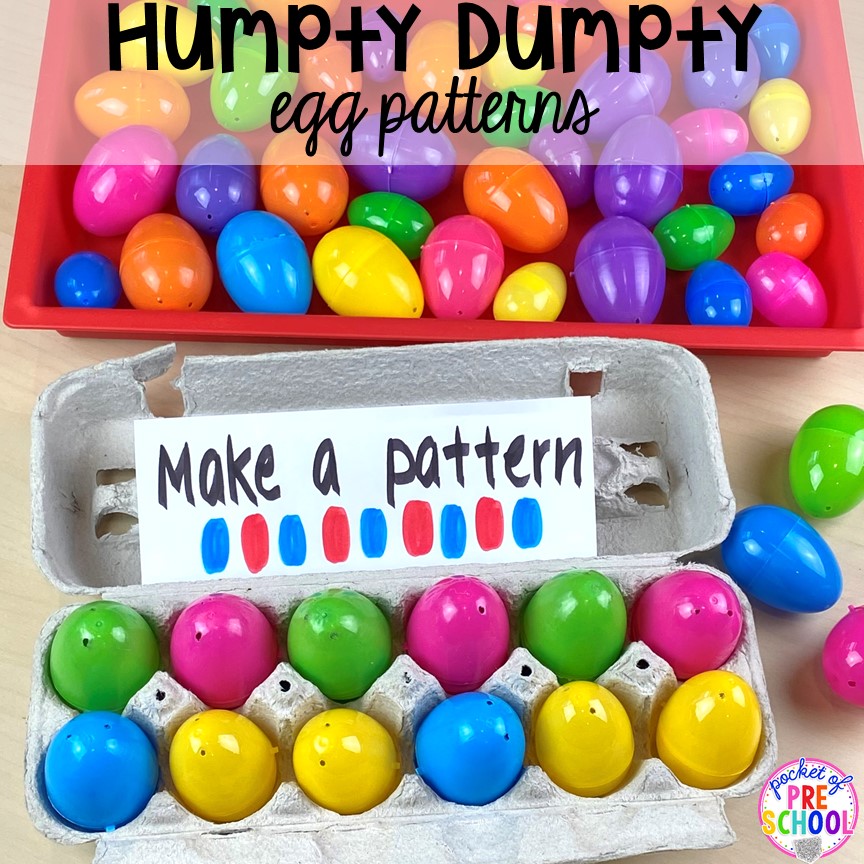
Humpty Dumpty Egg Patterns! Grab some egg cartons and make patterns with plastic eggs! Super simple and so much fun. Make a little sign for the top so students know what they are supposed to do.
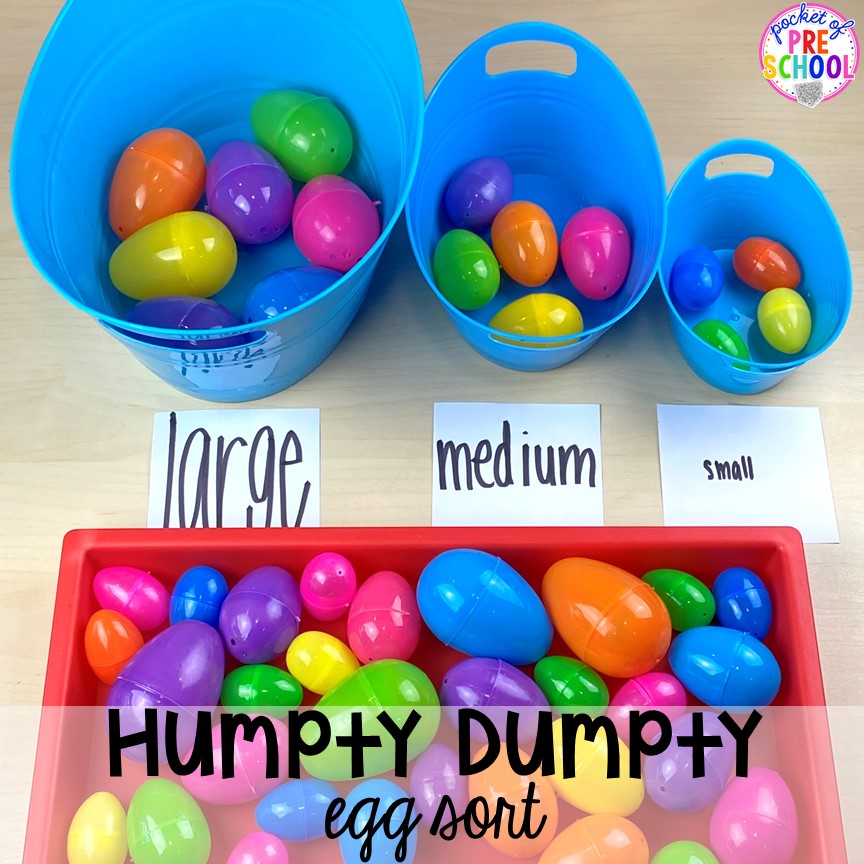
Humpty Dumpty Egg Sort! Now let’s sort the eggs by size. Just grab a few tubs or containers that are different sizes and place a label on each container. Write the word size in the size that it is (ex: write the word small, small in size on the card).
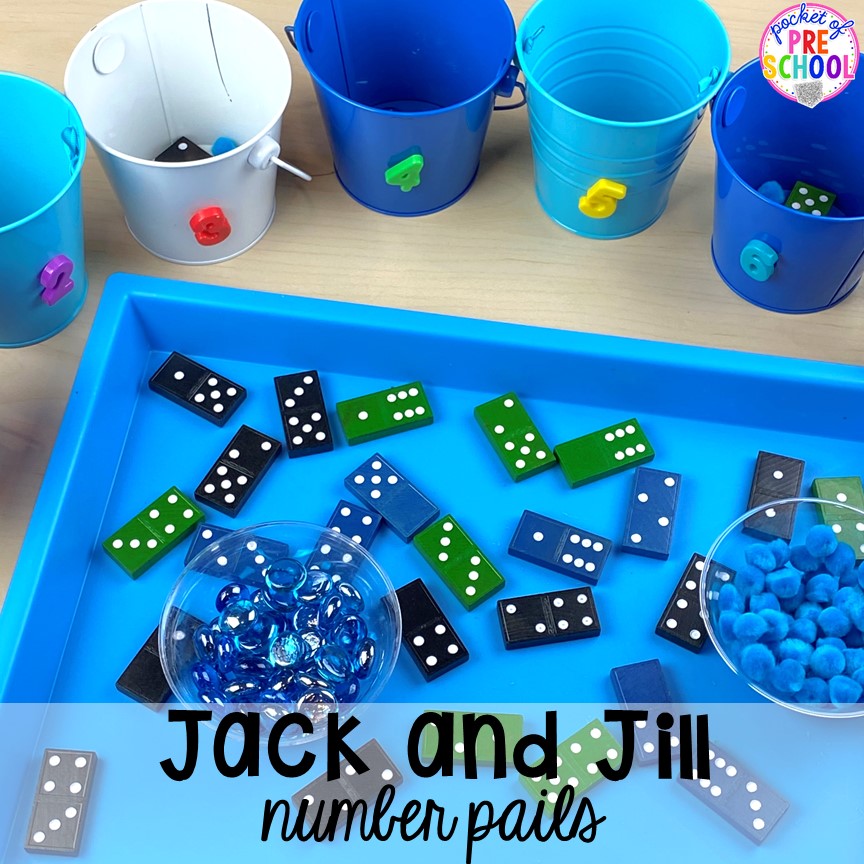
Jack and Jill Number Pails! If you have a ton of metal pails like me, place a magnet number on each pail. If you don’t have metal pails, use plastic cups and write a number on each one. Students can count the dots on the Dominio and place them in the matching pail. Students can also count out the corresponding number of water pom poms or gems and place the correct amount in the pail.
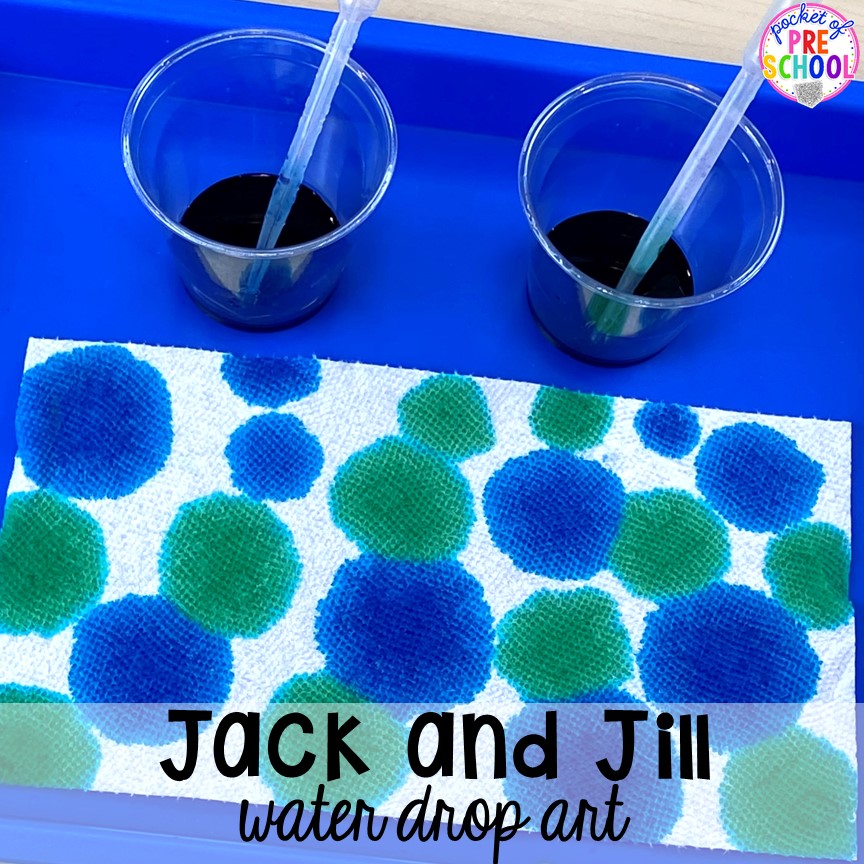
Jack and Jill Water Drop Art! Waterdrop art is just gorgeous, or at least I think so. It’s also great fine motor and a fun way to practice self-regulation (you know they want to squeeze out the whole thing). Place green and blue water in cups with droppers. Students use the droppers to drop drops of colored water on the towel. You can use food coloring or liquid watercolor to color the water.
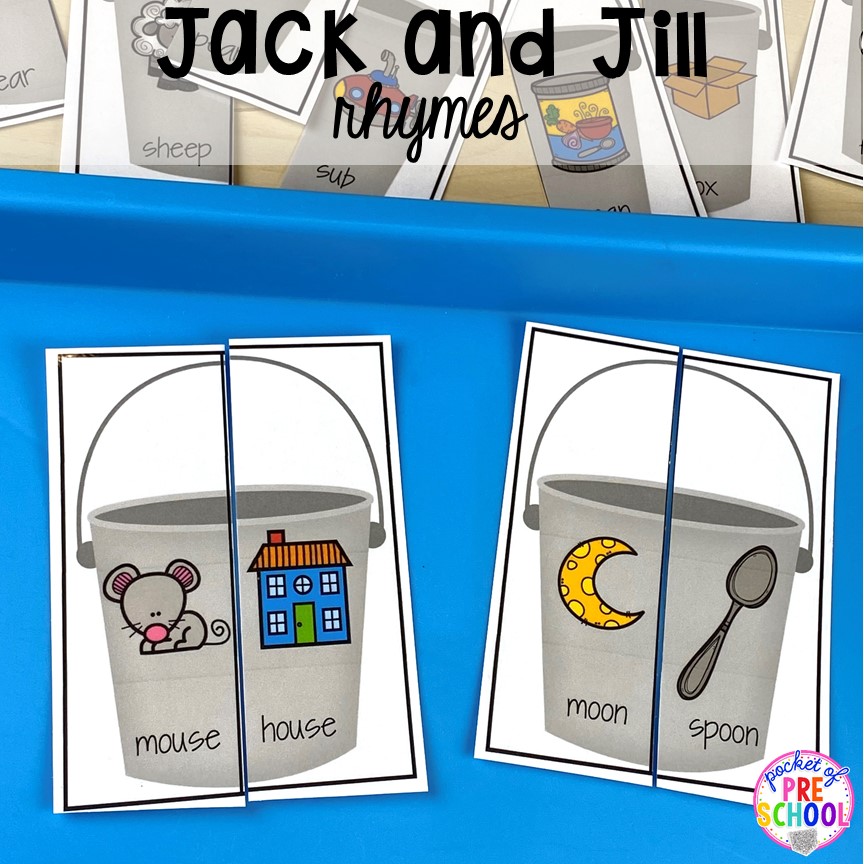
Jack and Jill Rhyme Pail Puzzles! Students can match the rhyming words to complete the pail puzzle! It’s fun to offer these at a table, in a pocket chart, or place the puzzle pieces in a mini sensory bin.
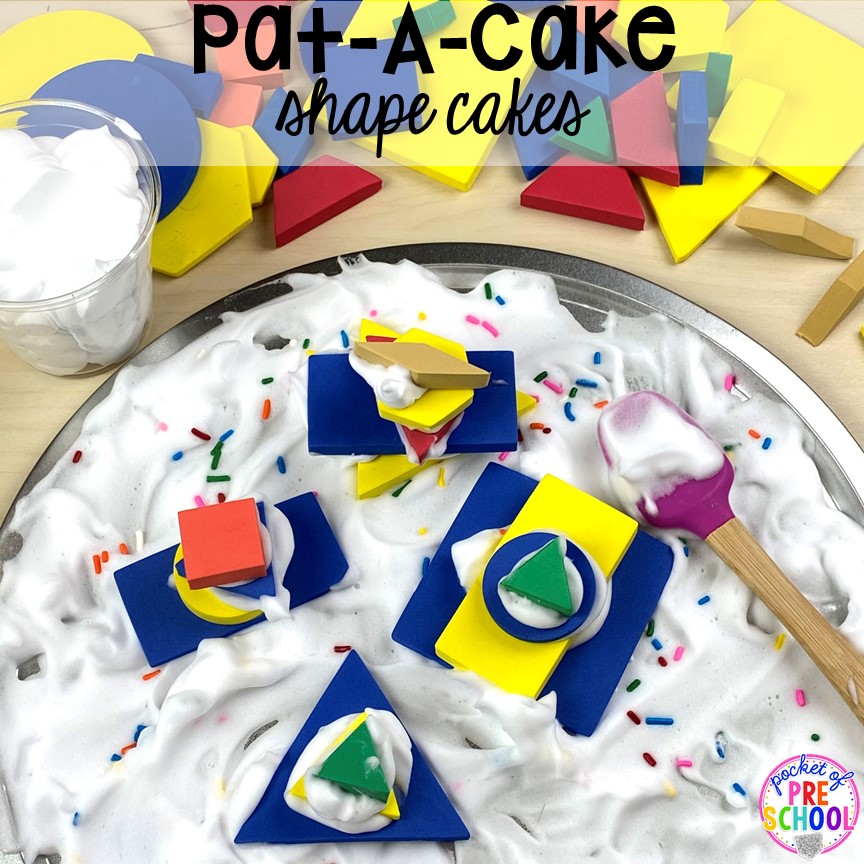
Pat-A-Cake Shape Cakes! On a cake pan, pizza pan, or cookie pan, spread shaving cream. We are going to pretend that is the icing. If you can’t use shaving cream, use whipped cream. Now grab some foam shapes or plastic shape manipulatives (typical 2D shapes or pattern blocks will work). Students stack the shape-spreading “icing” in between each layer to create shape cakes. They can make shape cakes that match like the triangle shape puzzle this friend made or shape cakes with different shapes. Add real sprinkles for extra fun!
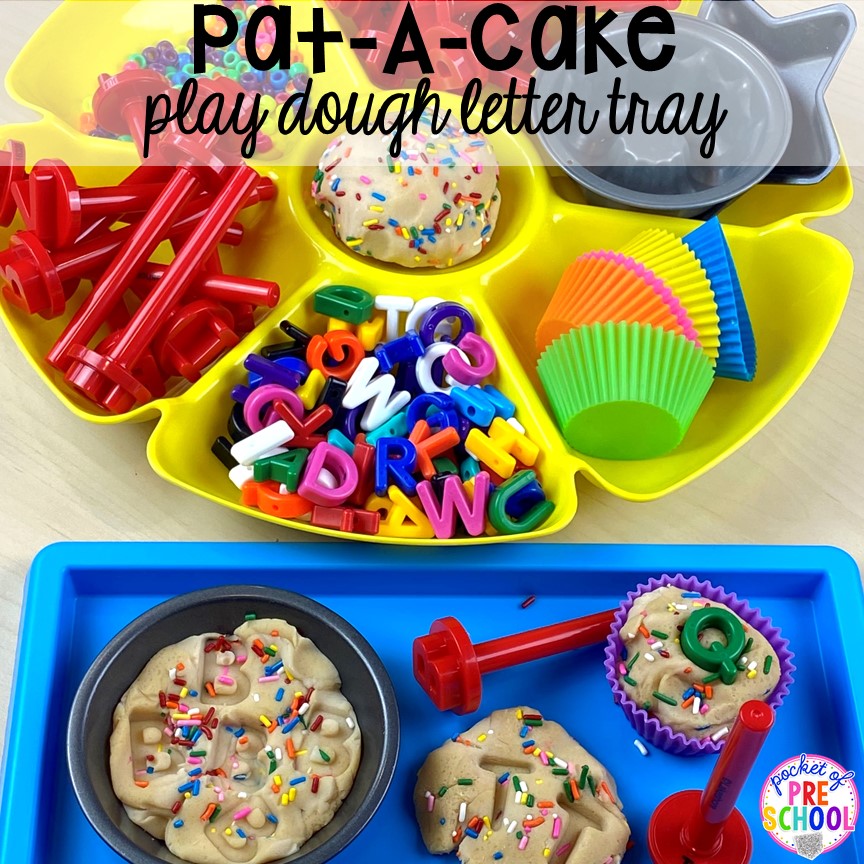
Pat-A-Cake Letter Play Dough Tray! In the rhyme, the baker marks the cake with the letter B, so create a play dough tray where students can mark their cakes with letters just like in the rhyme. This is homemade play dough with rainbow sprinkles added. In the play dough tray are letter stampers and letter beads for students to use to “mark” their cakes! The play dough tray is from Lakeshore, or you can find them at the Dollar Tree too. Don’t forget to add small cake pans or silicone cupcake molds!
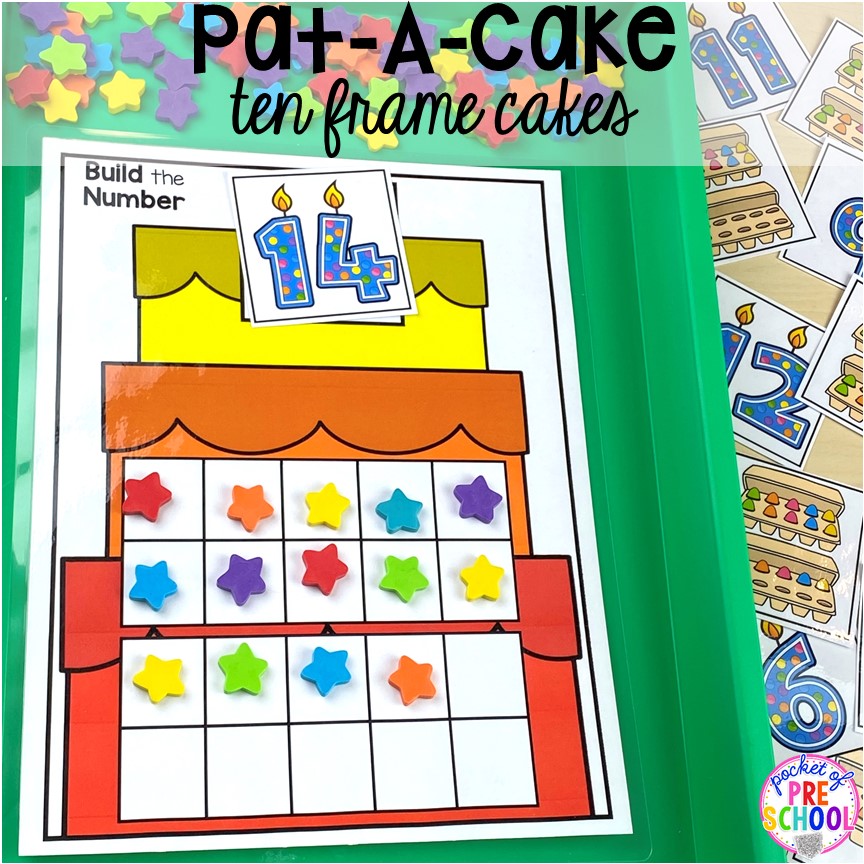
Pat-A-Cake Ten-Frame Mats! Ten-frame mats are one of my go-to counting activities. Students can pick a number card and make it in the ten frame using mini erasers, gems, or other small manipulatives. This set also comes with a single ten-frame mat if your students are just practicing numbers 1-10.
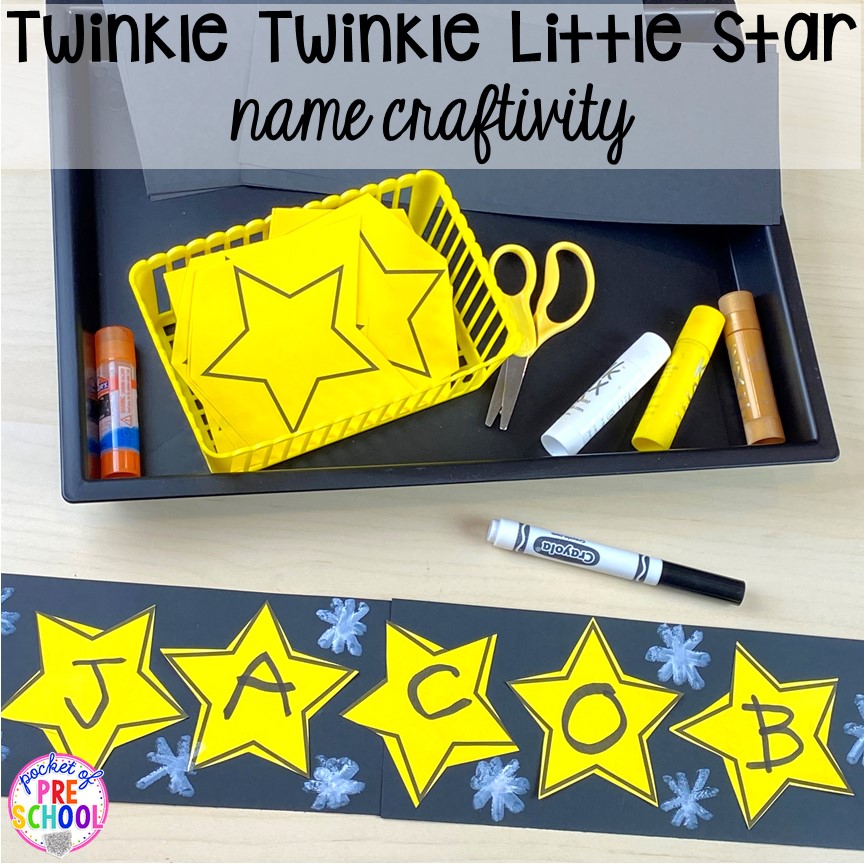
Twinkle Twinkle Little Star Name Craft! Name crafts are always a hit in my classroom. It’s a bonus that they make a cute bulletin board also! Stars can be tricky to cut, so you can cut them for your students if you need to. Students can write the letters in their names on the stars and put them in order on black paper (cut in half horizontally). If your students are struggling with writing letters, you can write the names in pencil, and they can trace the letters! Lastly, they can make stars using paint sticks or white crayons.
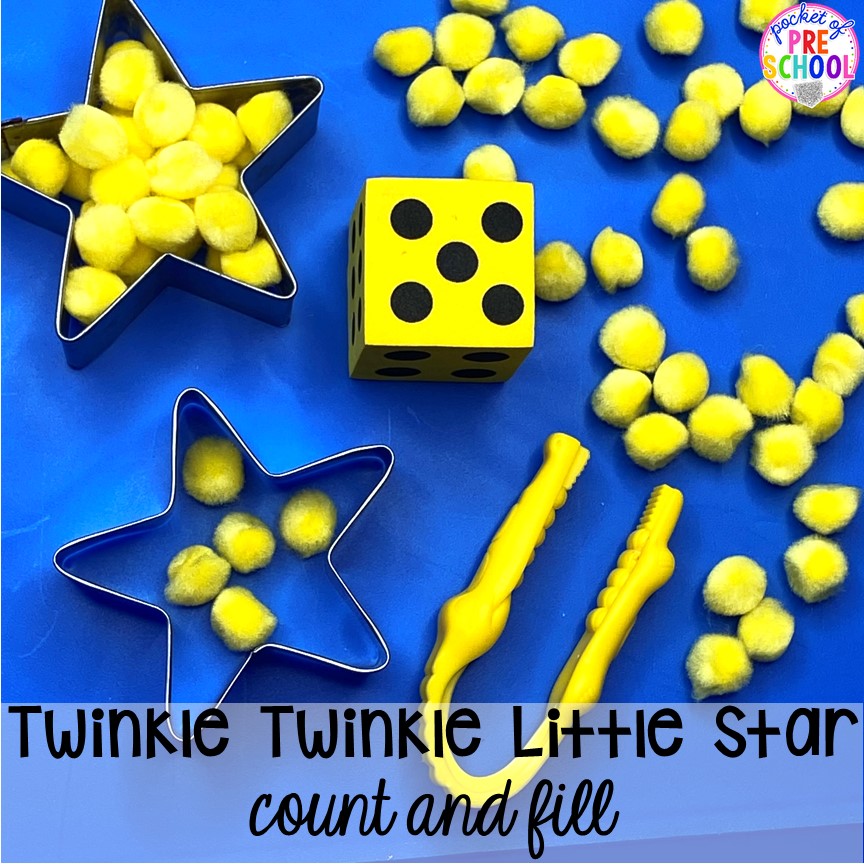
Twinkle, Twinkle Little Star Count and Fill! For this low prep counting game, you will need cookie cutters, dice, pom poms, and tweezers. Students roll the dice, count out that many pom poms, and place them in the cookie cutter. The game is over when both cookie cutters are full!
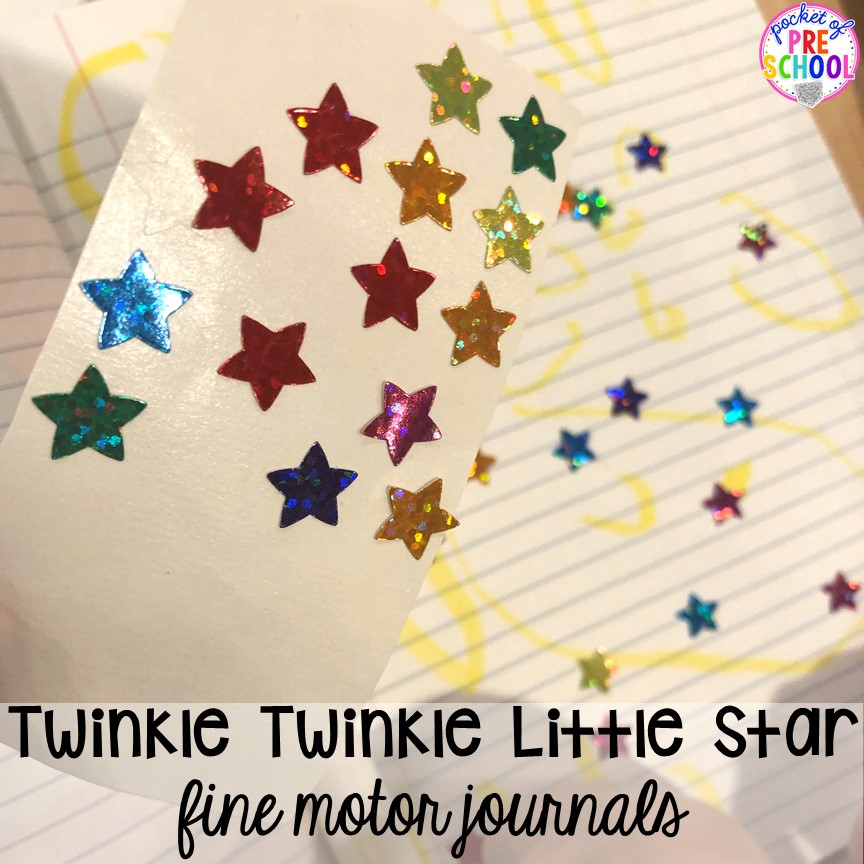
Twinkle Twinkle Little Star Fine Motor Journals! Students can use their fine motor journals or a piece of paper for this activity. For a fun way to practice the letter C, students made crescent moons or the letter C all over their page. I modeled how to write it first. Then, the students did it on their pages. After their page was full, they placed star stickers all over their page.
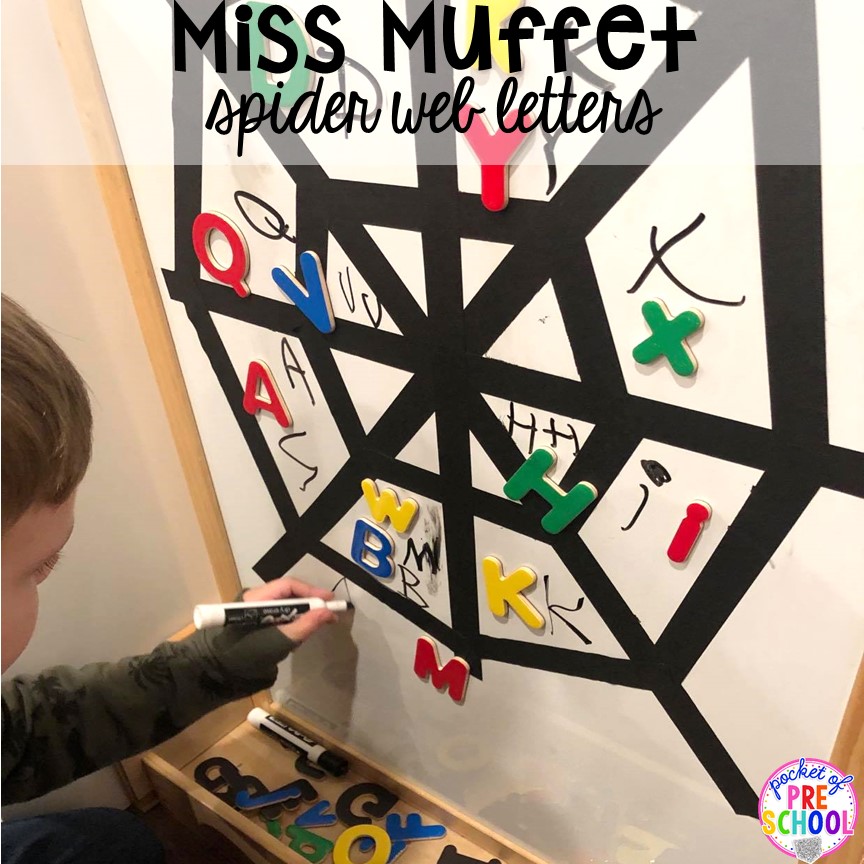
Miss Muffet Spider Web Letters! On the back of my stand-up easel, I made a spider web with black tape. Students would pick a letter, identify it, place it on the web, and write it with a dry-erase marker. When students write on a vertical surface, they are strengthening their upper arm and shoulder muscles. This area of the body needs to be strong in order for them to have strong fine motor muscles. The bigger muscles have to develop before the smaller muscles.
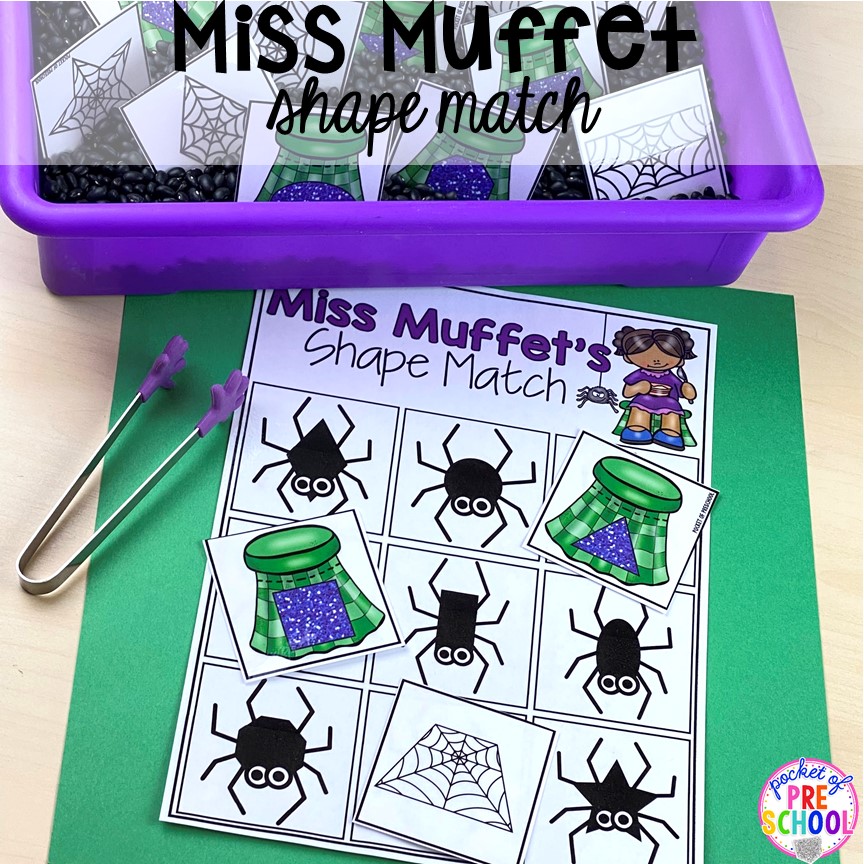
Miss Muffet 2D Shape Match! Place the shape cards in a sensory bin like this one that has black beans in it. Students pick a card, identify the shape, and match it on the board.
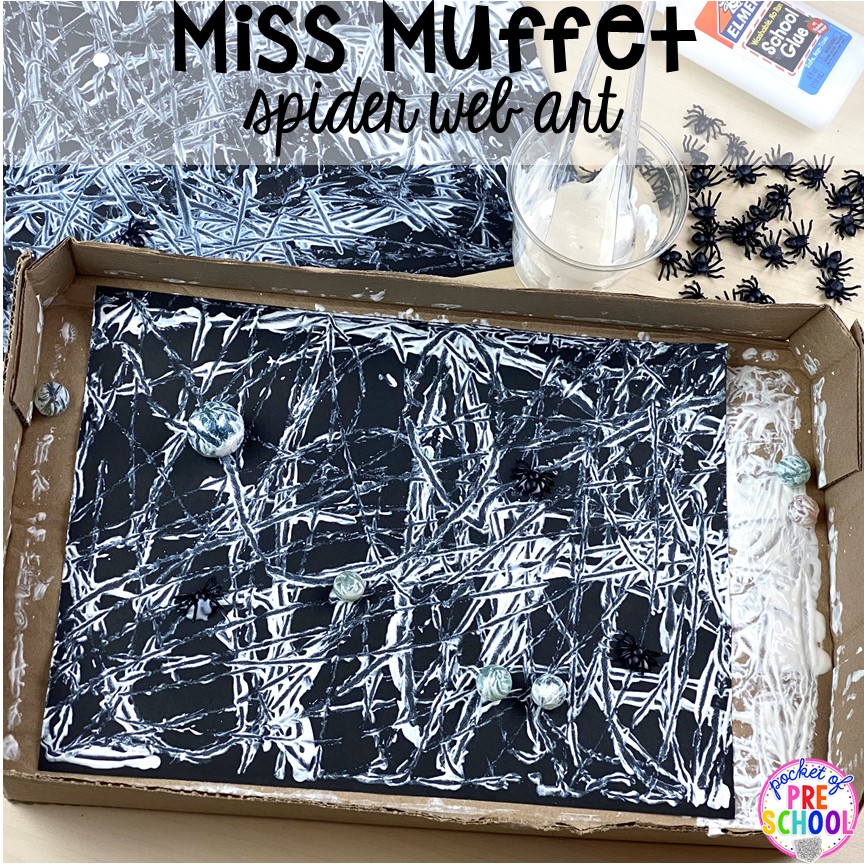
Miss Muffet Spider Art! Make spider web art. Marble art is always so much fun and looks like a spider web! Place a black piece of paper in a box or lid and place the marbles in a cup of white paint with tweezers. Students use the tweezers to place the paint-coated marbles on their paper and shake the box! As the marbles move, they make marks all over! Glue tiny spiders to their pages once dry.
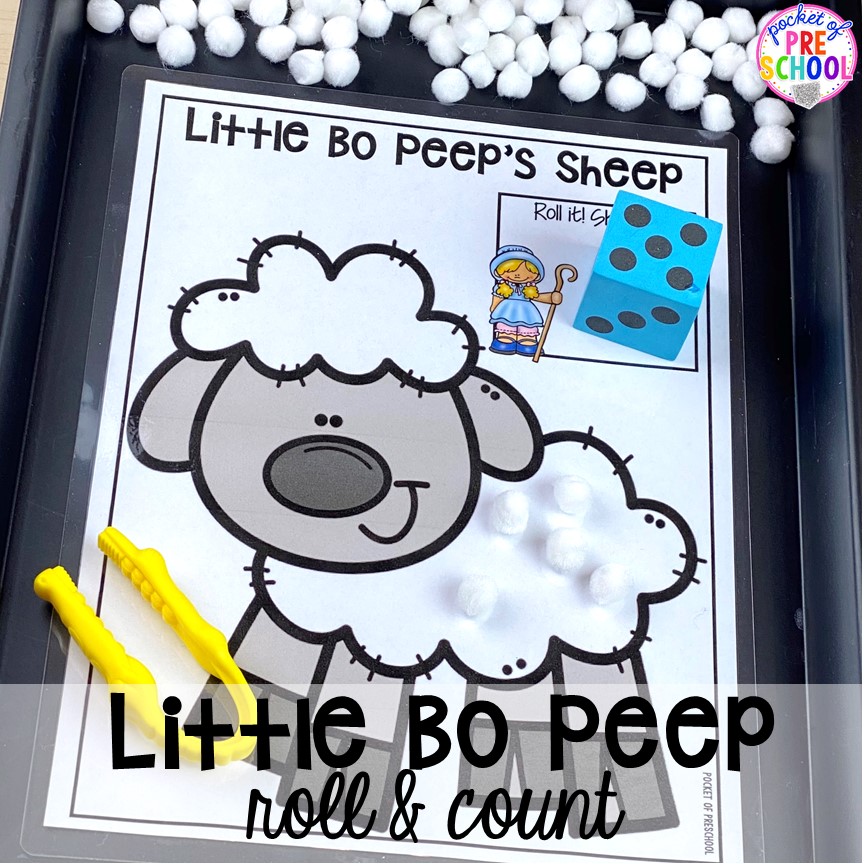
Little Bo Peep Roll and Count! Students roll a dice, count out the corresponding number of pom poms and place them on the sheep. When the sheep is full of pom poms, the game is over. Add tweezers to sneak in fine motor work.
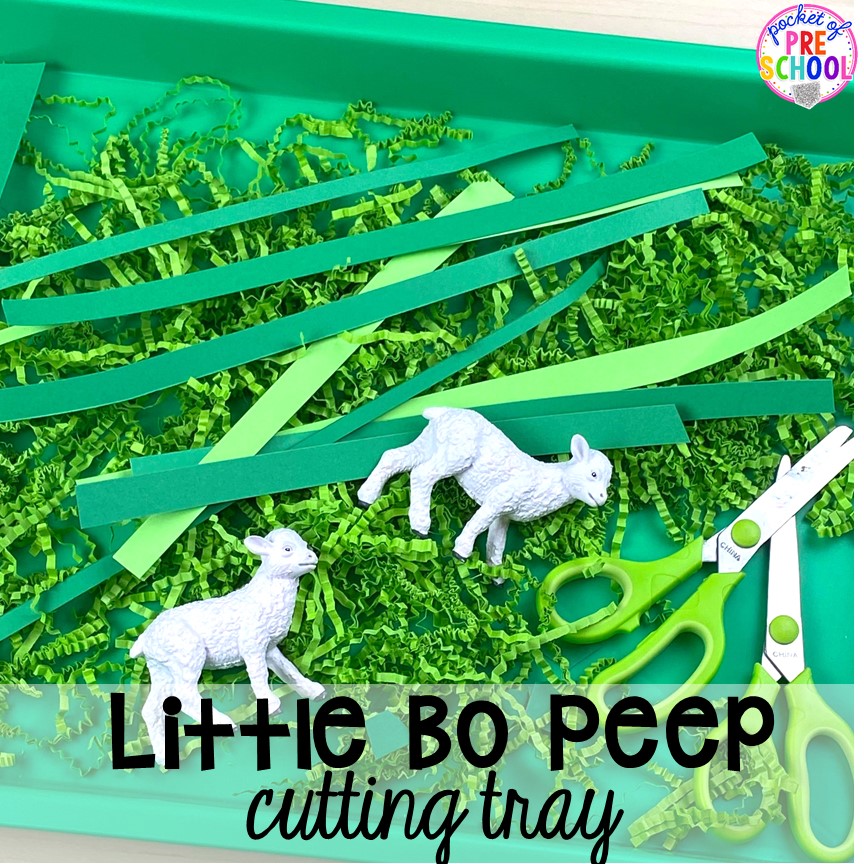
Little Bo Peep Cutting Tray! Place green shredded paper (Dollar Tree) and green paper strips on a tray. Students cut the “grass” for the sheep to eat. There is just something about making tiny pieces of paper that students LOVE. Plus, it’s great scissor skill practice.
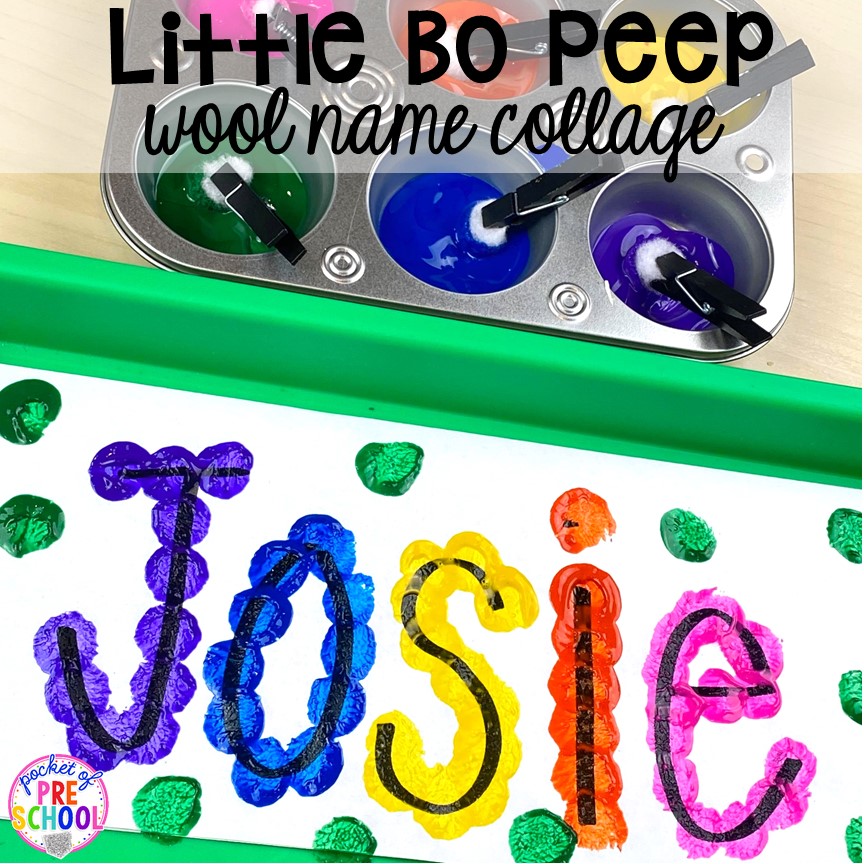
Little Bo Peep Wool Name Collage! Place a pom pom in each clothespin and pretend it’s wool! Write students’ names on white paper, and students can use the “wool” to stamp or trace their names. This would be fun to do with sight words too!
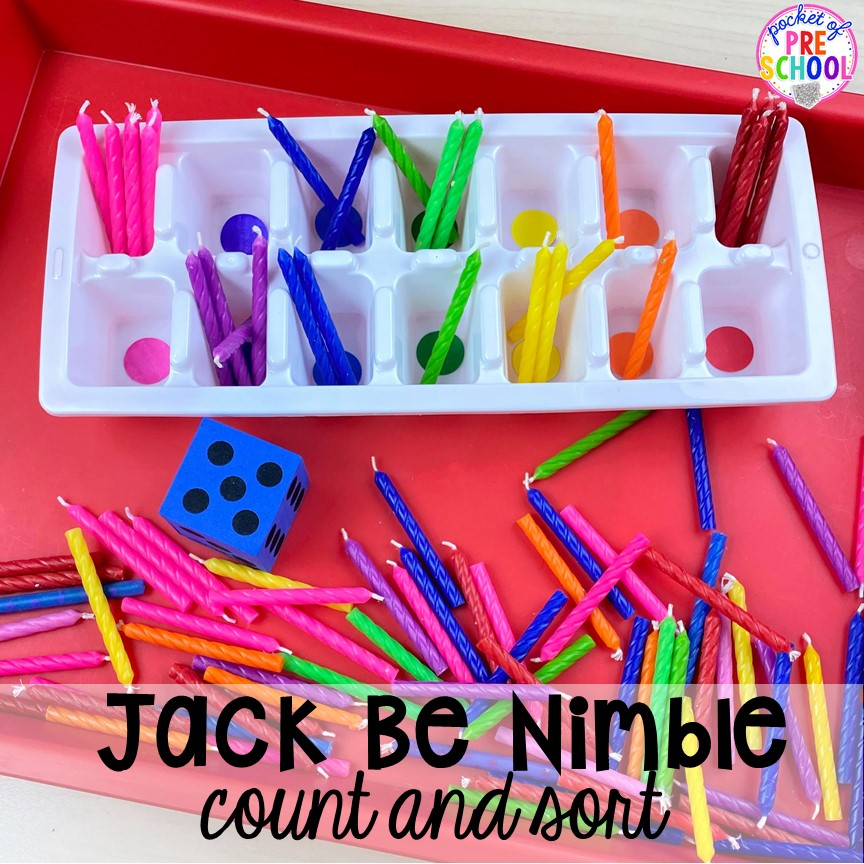
Jack Be Nimble Count and Sort! Grab an ice tray and place colored dot stickers or paper in each spot. Students roll the dice, count out the corresponding number of candles, and sort them into the tray. If your students are younger, they can just sort the candles by color!
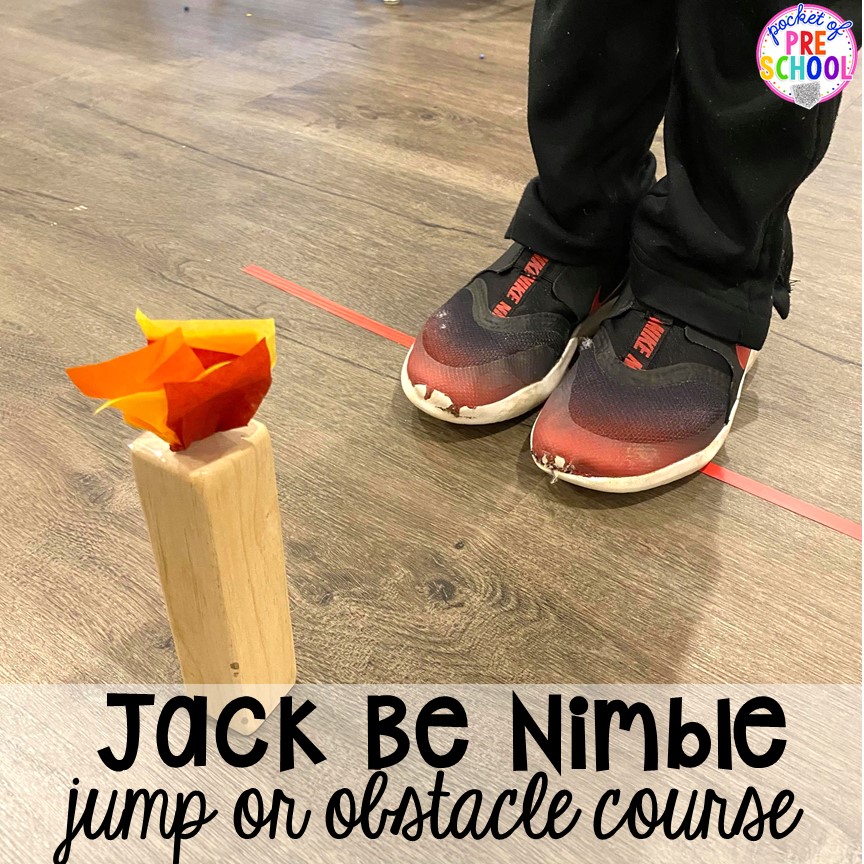
Jack Be Nimble Jump or Obstacle Course! Make candles with blocks and tissue paper. Just tape some red, yellow, and orange tissue paper to the top to create a flame. Students can just jump over one candle, or you can make an obstacle course for your students to be “nimble,” like Jack in the rhyme.
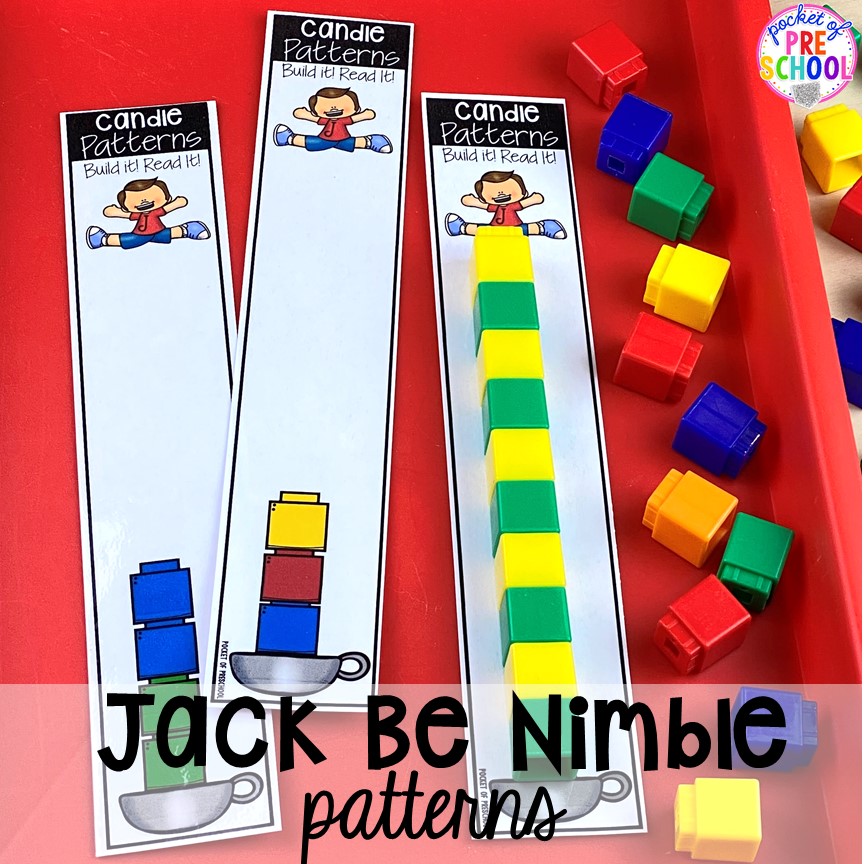
Jack Be Nimble Candle Patterns! Students can use connecting cubes to extend or create their own candle patterns for Jack to jump over.
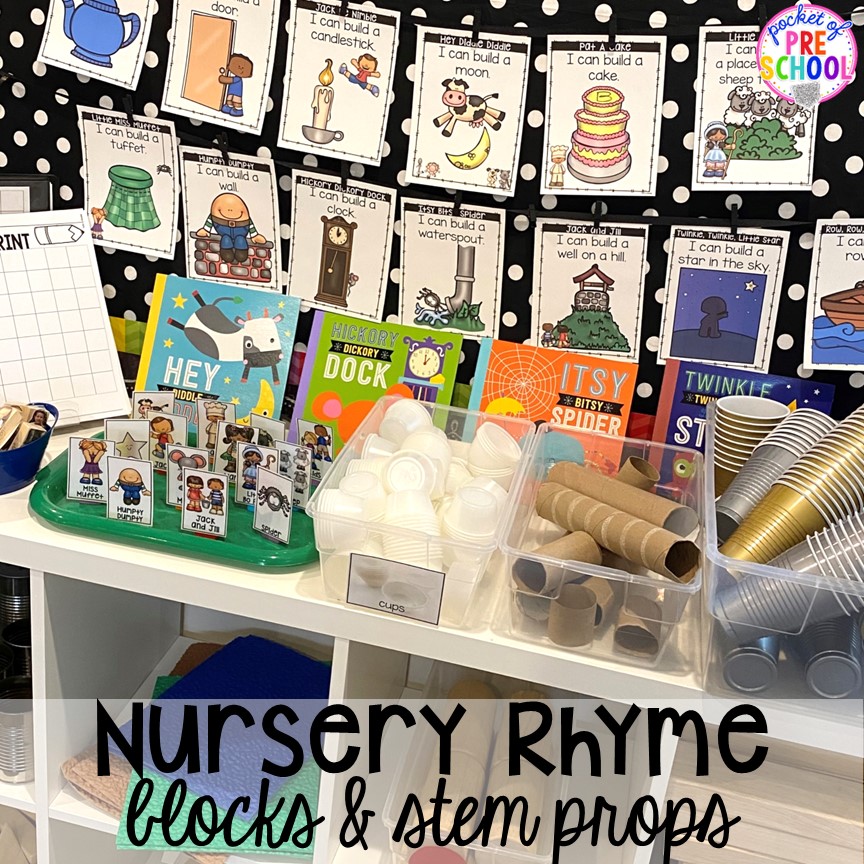
Nursery Rhyme Blocks & STEM Props! Bring the theme to the blocks center for a great nursery rhyme learning experience. I set out lots of props and add these STEM I Can Build cards for nursery rhyme structures.
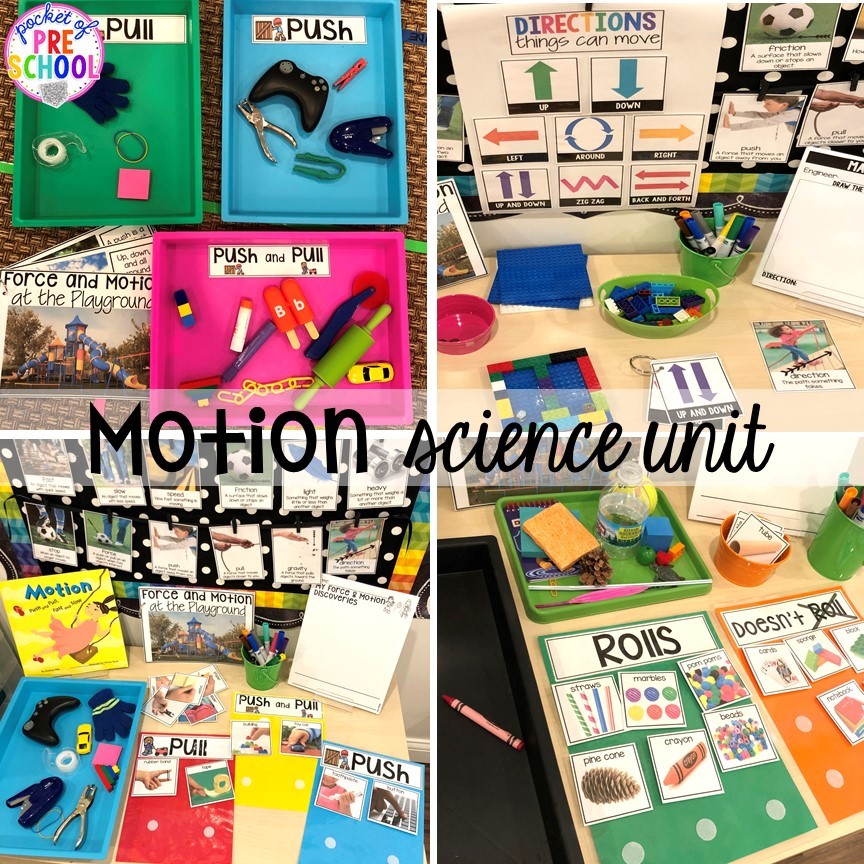
Motion Science Center! I know you are thinking: What can I do in the science center for a nursery rhyme theme? Try exploring motion at the science table because many of the rhymes have motion in them (ex: Jack and Jill fall down the hill, Jack jumps over the candle, Humpty falls off the water, the spider gets washed down the waterspout). You can grab my All About Motion Science Unit HERE.
Goodness, that was a lot of activities to share. There are just so many great nursery rhymes that children adore, and teachers can make them come to life in the classroom! I hope you have tons and tons of ideas and that your lesson plans are a little easier now that I have inspired you!
>You can grab all the printable Nursery Rhyme Centers HERE and the FREEBIES BELOW <<
If you loved the Nursery Rhyme Theme, try a Fairy Tale Theme!
Love it? Pin this image!
