I want to start off by staying that my classroom is ALWAYS a work in progress. I am always adding new activities, taking out the old, putting up new student work, taking down the old, and organizing.
This is a look from my circle area. I have a long room with a L shaped space on the left. Behind the windows are my office and the child development observation window. I am a lab classroom in a high school.
Above my cubbies are two big bulletin boards. I added the square scrapbook paper to it so I can easily put up and take down students’ work. I am going to add clothespins to each square to make the changing of boards even easier!
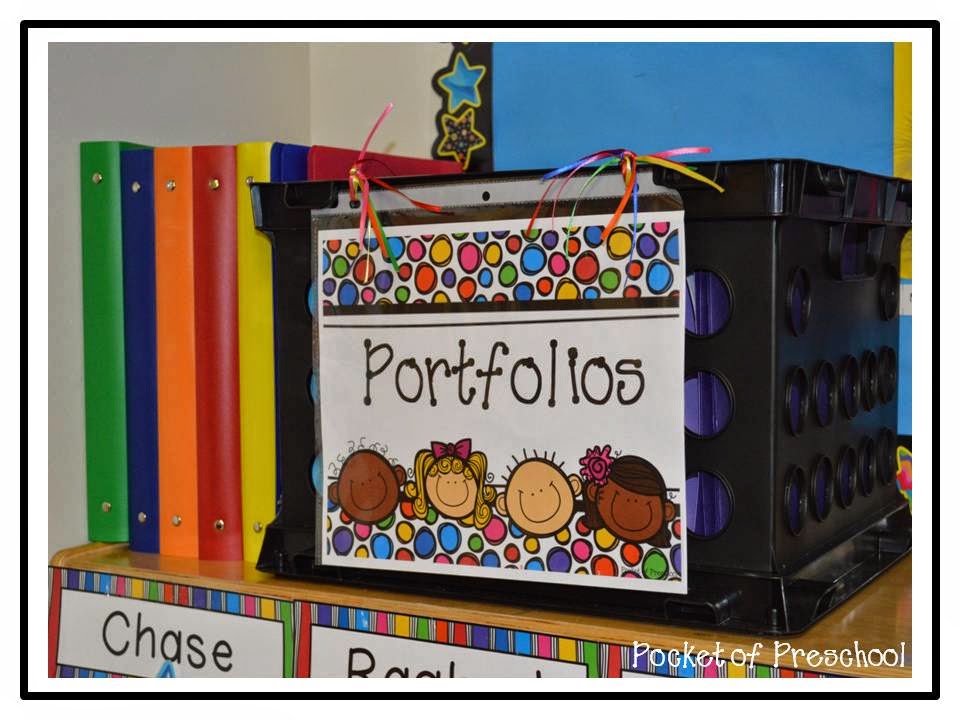
On top of the cubbies are the students’ portfolios in binders and the portfolio crate. You can read all about how I do portfolios and assessments with my preschoolers HERE. Go check out Portfolios and Assessments made Easy in my TPT store HERE.
I made new colored stars for each student this year to use for the question of the day. The stars are attached with Velcro and have a magnet on the back. When students come in each morning, they pull their star off and go answer the question of the day. It makes remembering the morning routine super easy. They put their lunch in the fridge and answer the question all in the same place!
Don’t you love how fun the super stars look! Oh and our mascot is a super star. Stars are everywhere in our classroom! You can read more about how I do question of the day HERE and check out my question of the day packs in my store HERE.
My circle area received some fun updates and changes! I moved my gross motor shelf which was where the green bulletin board is It was a distraction for some kids last year who sat next to it.
I LOVE my grid for students to sit in. I used duck tape. Warning…it does leave a nasty mark when you take it off! Have you ever noticed that is is super hard for kids to make a real circle when you need them too for an activity or class meeting? I have a solution to the problem…make a rainbow tape square around the edge of the grid. You can simply say, “everyone stand on the rainbow” and they move there! It’s amazing!
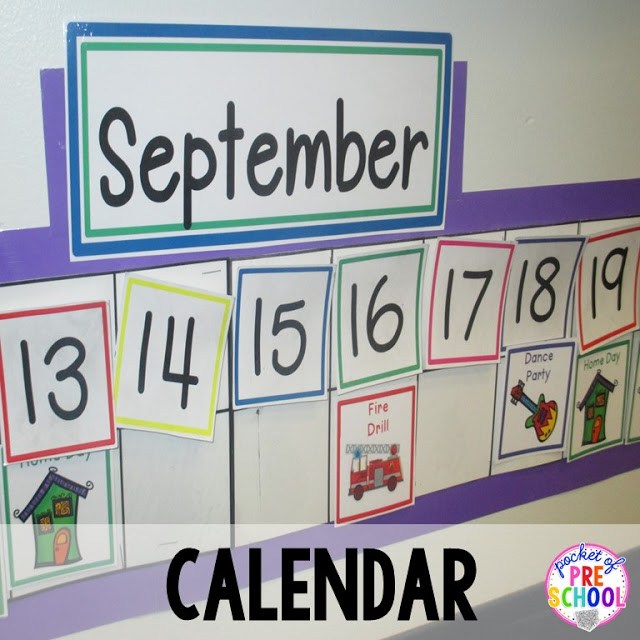
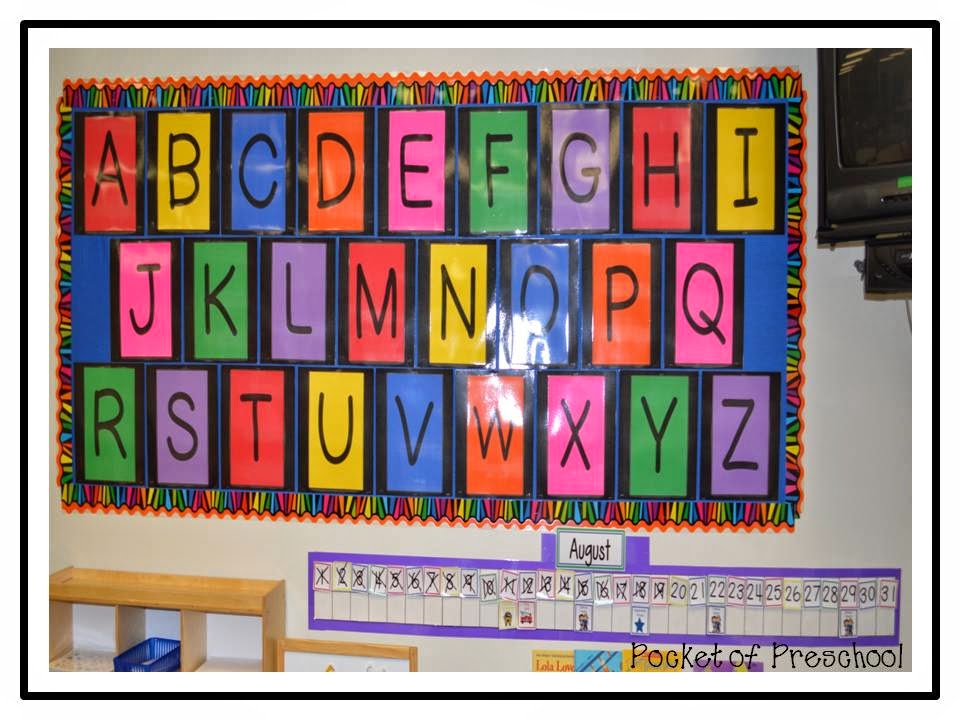
Check out how and why I do a linear calendar HERE.
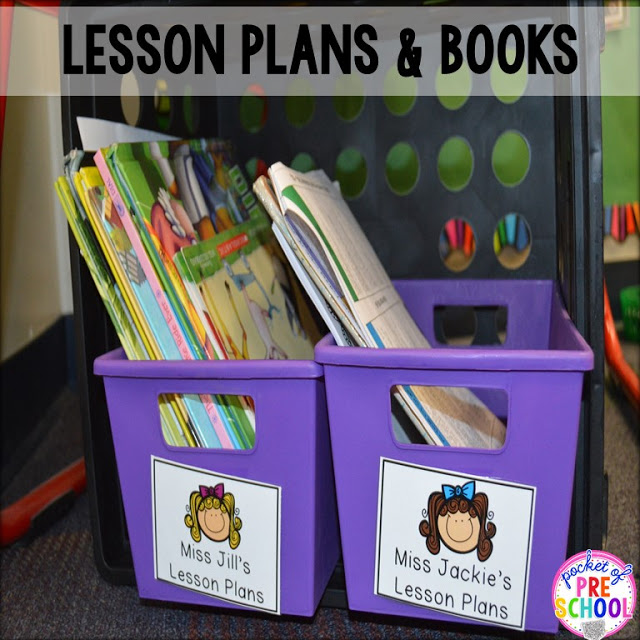
I needed a place for lesson plans and teacher supplies. I placed a back create under my easel! In it are our lesson plan boxes! It is right there in case I need to refer to it.
My teacher supplies are on top of the crate and in my bright yellow bucket!
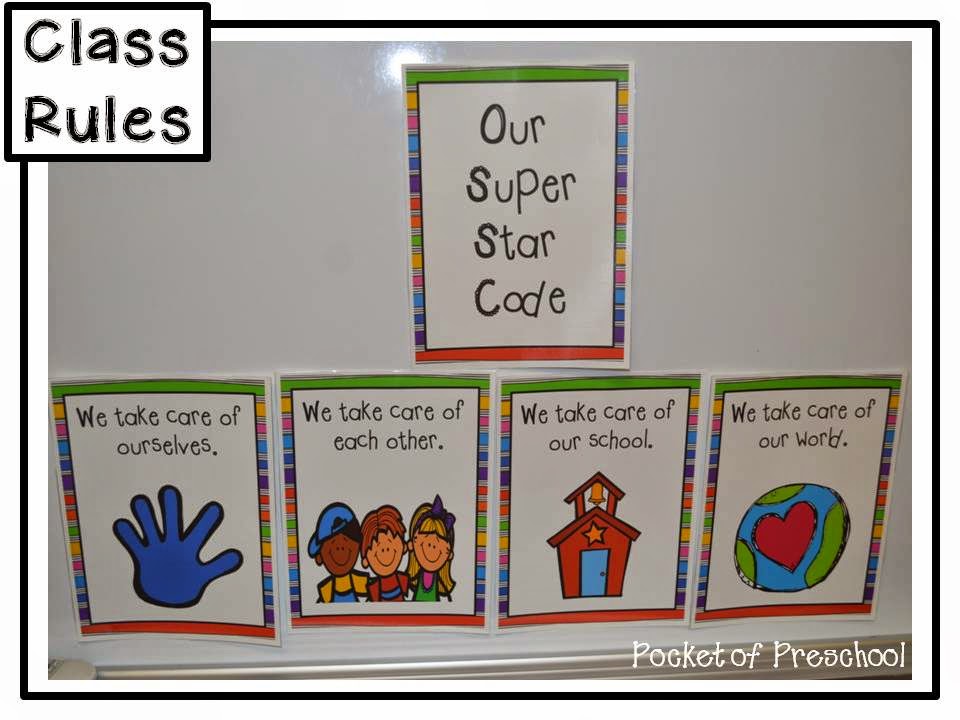
Our class rules were updated with a new clip art and a new font! Find out how I teach our classroom rules HERE and check Class Rules out in my store HERE.
For behavior, I use a red and green choice board. It works wonders! Simple and visual for my young learners. You can read all about it HERE and check out Green & Red Choices HERE in my store.
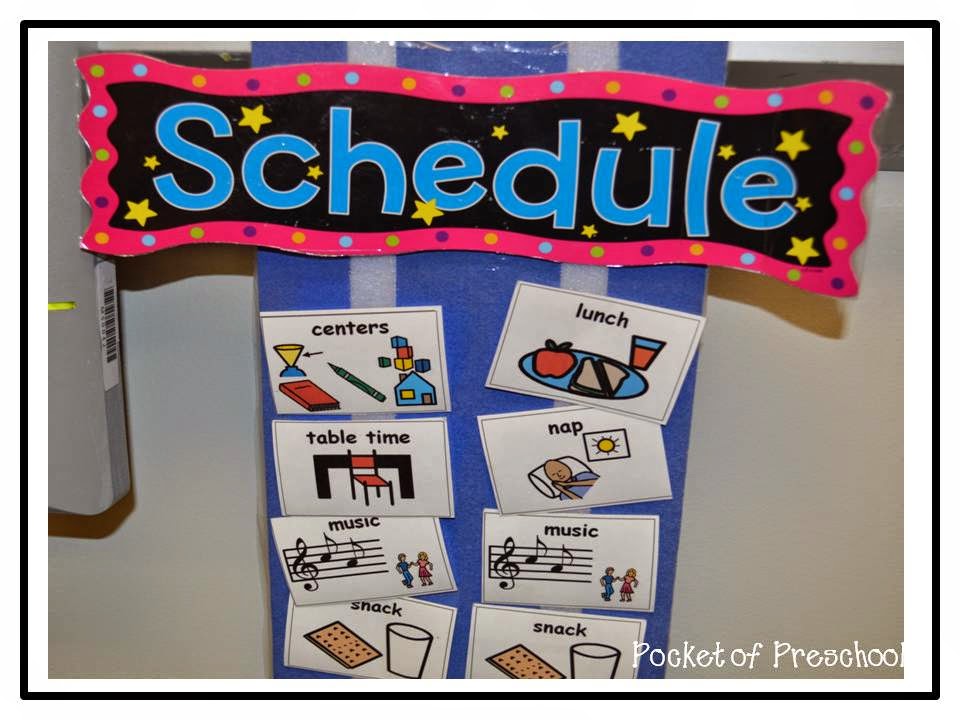
One of my favorite summer projects is my new visual schedule! It looks like a long day because it is. My full day classroom is open from 7am – 6pm. I put the morning on the left and the afternoon on the right to help break up the day into manageable pieces for my students.
Each piece is attached with Velcro. After each part of the day is finished, it is removed and placed in the basket. You can get my Editable Schedule in my store HERE.
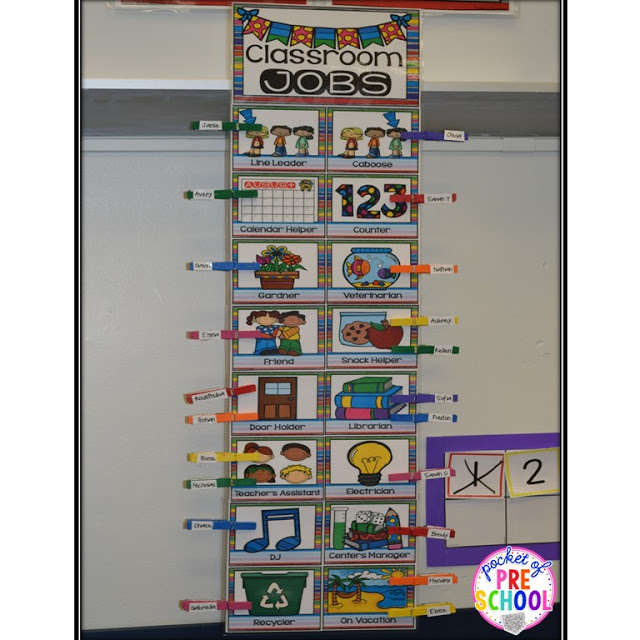
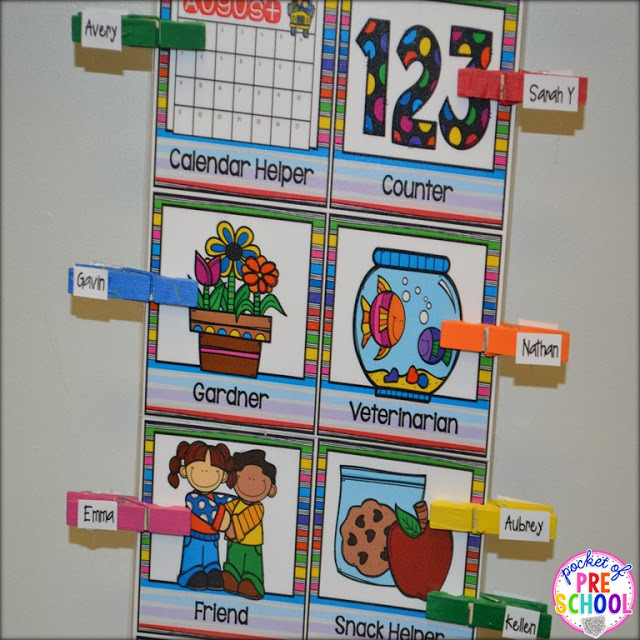
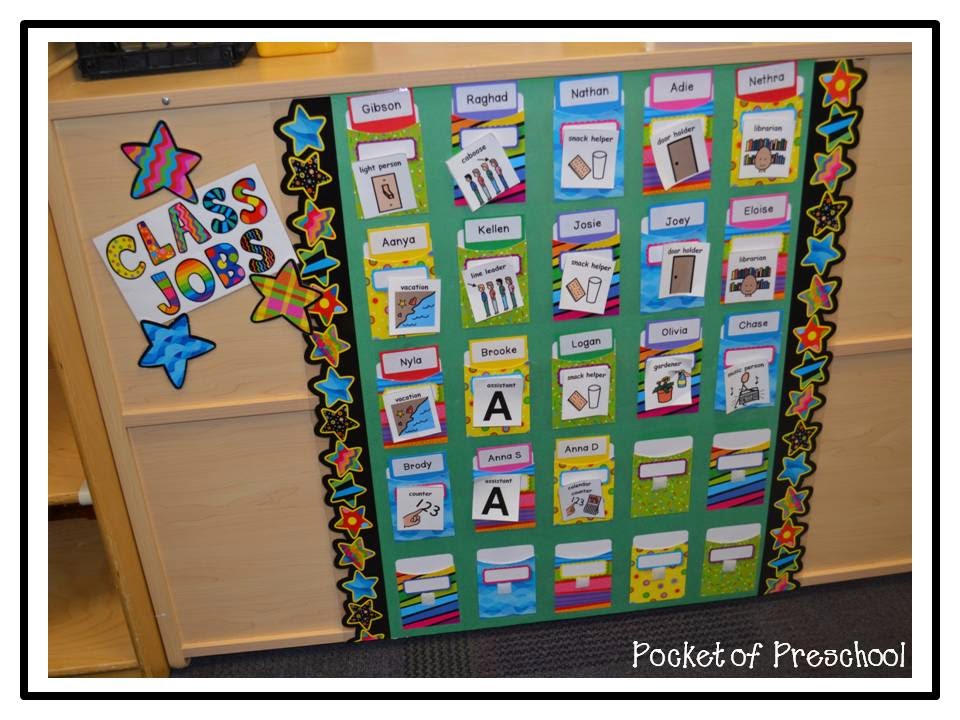
Look at my new (another summer project) job chart! It is bright and colorful just like my classroom. My old one was a little wore out. Just a note, if you make a clip chart put the students names on BOTH sides of the clothespins. I learned this the first time I changed the jobs. I had a few kids with their names upside down.
You can get my EDITABLE Job Chart it my store HERE.
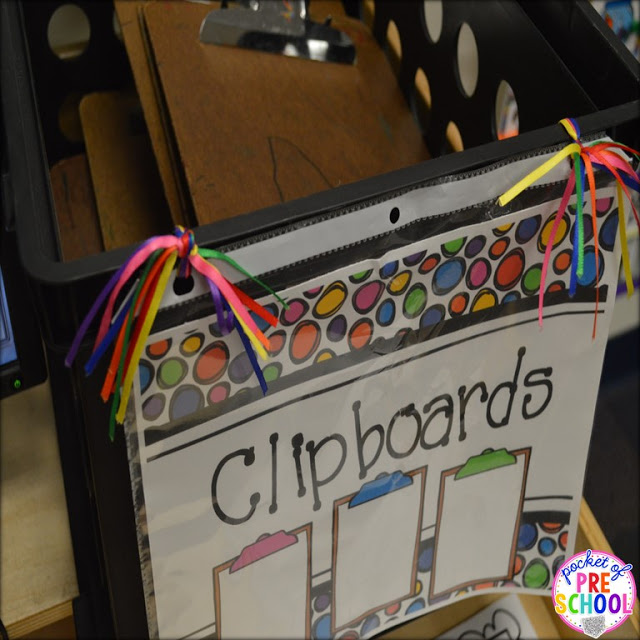
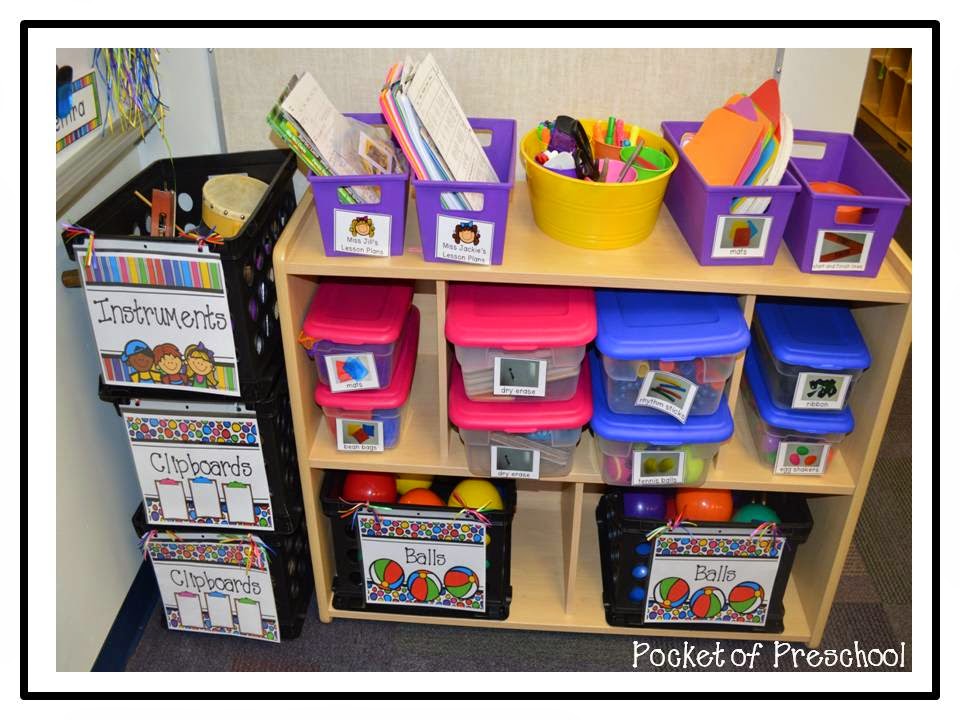
We use clipboards a ton in my room. It is just something about giving a preschooler a clip board makes them powerful! You can get my EDITABLE Full Page Classroom Labels HERE.
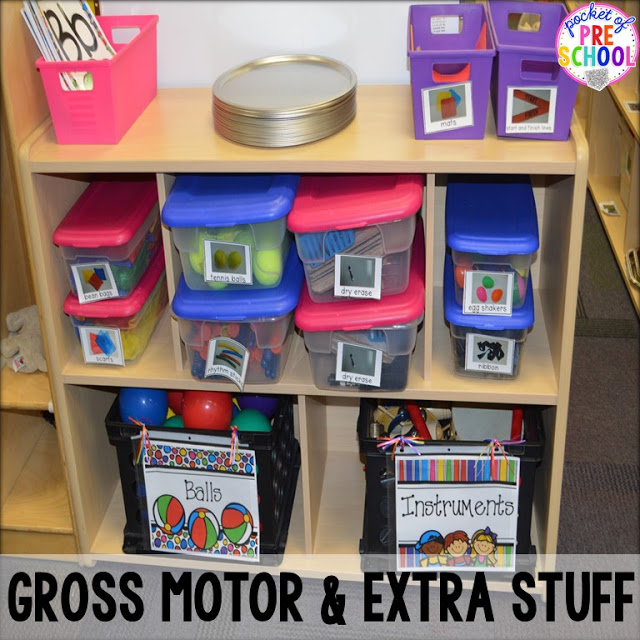
This is the gross motor (and extra stuff) shelf I moved to reduce distractions. I have all my charts in a basket, magnet pizza pans (Dollar Tree), and dry erase boards here too.
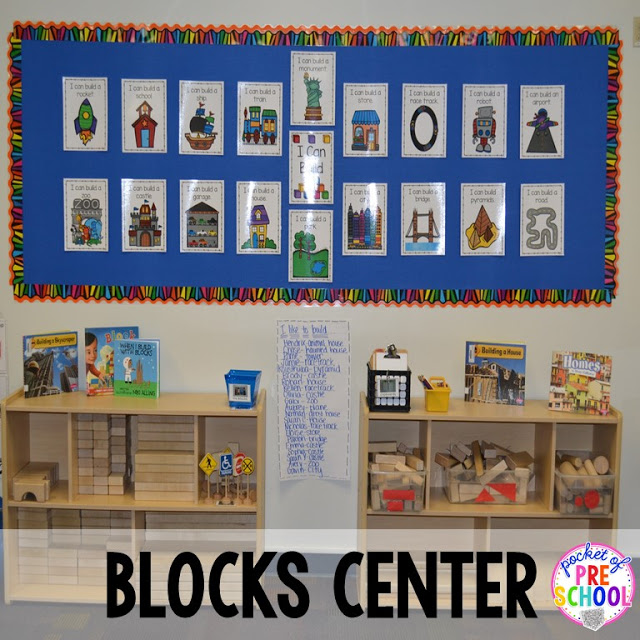
CENTERS! I have 5 centers in my classroom: library, pretend, discovery, art, and blocks. Check out my series about How to Set Up Your Classroom Centers HERE.
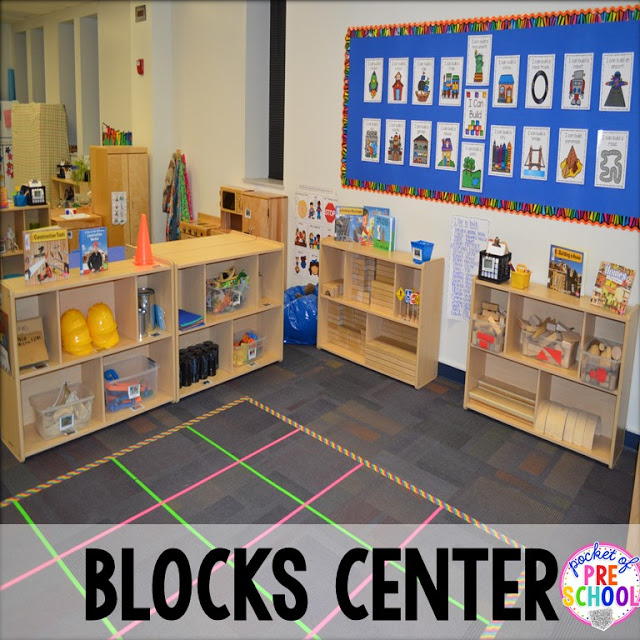
Read more about my blocks center HERE. I am very excited about my new I Can Build posters. You can get them HERE.
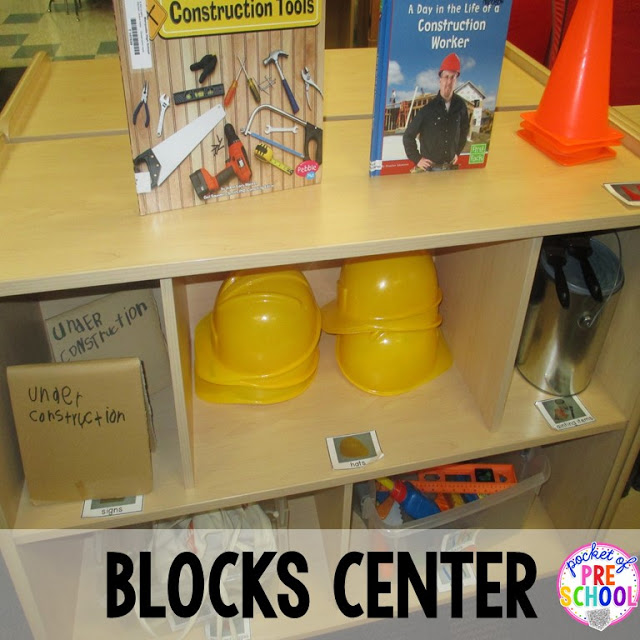
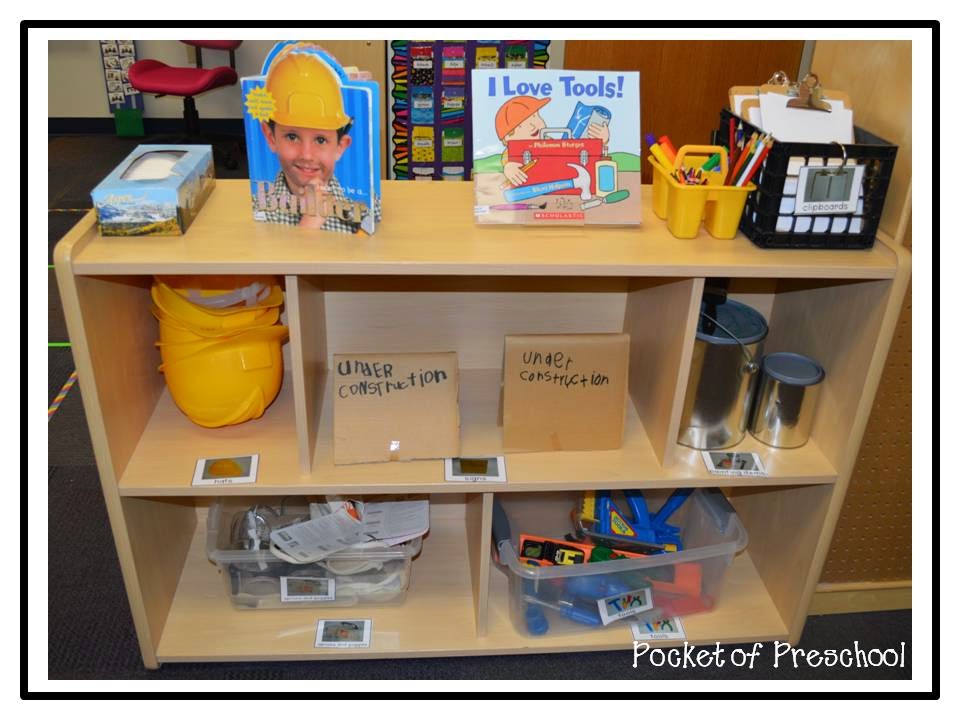
Books and supplies to be construction workers! The empty paint cans and aprons are from Lows and Home Depot.
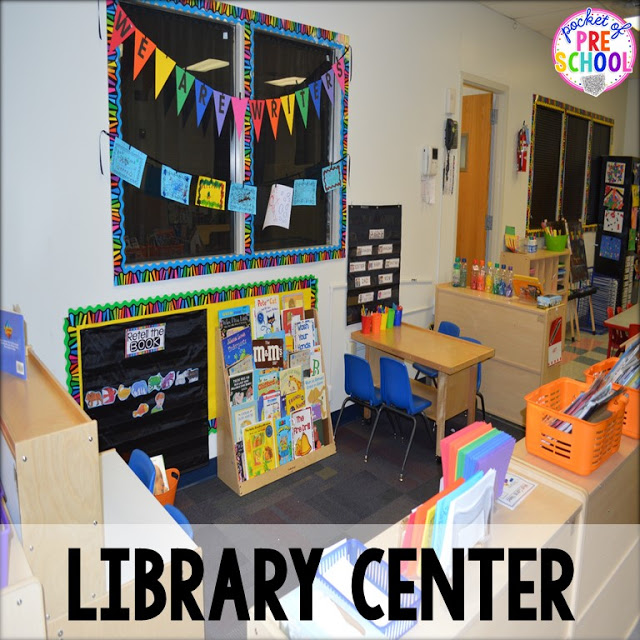
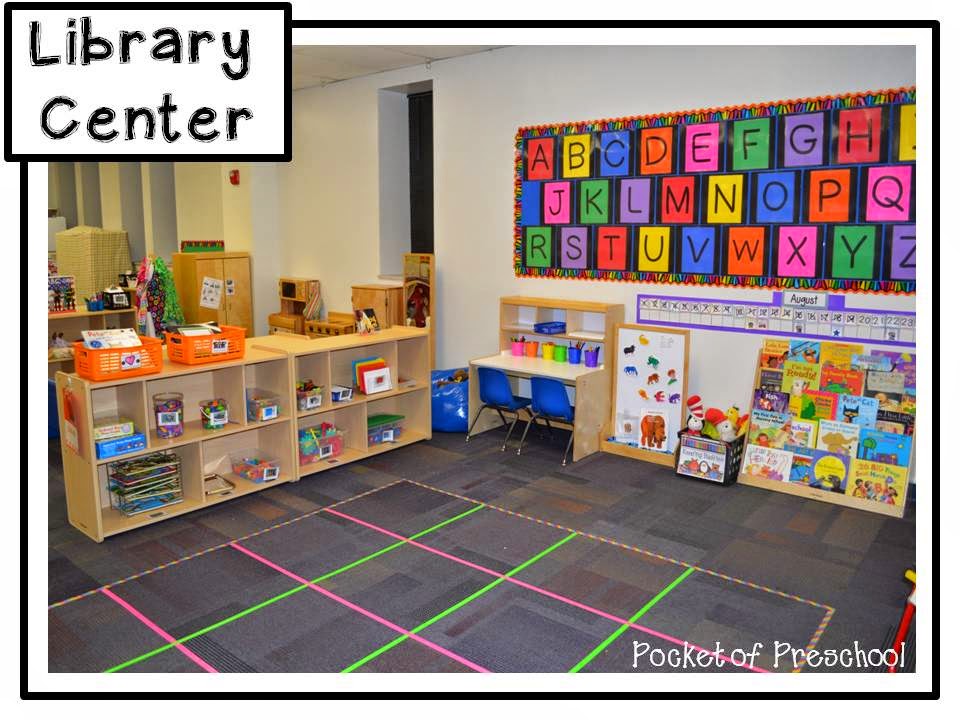
My library center!
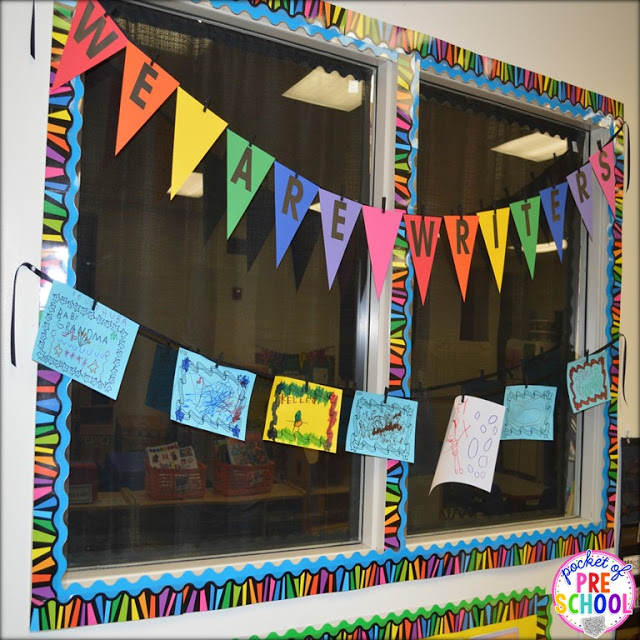
This We Are Writers banner is a new addition to my library center. I placed a black ribbon under it to clip students’ writing so it can be displayed in the classroom for all to see.
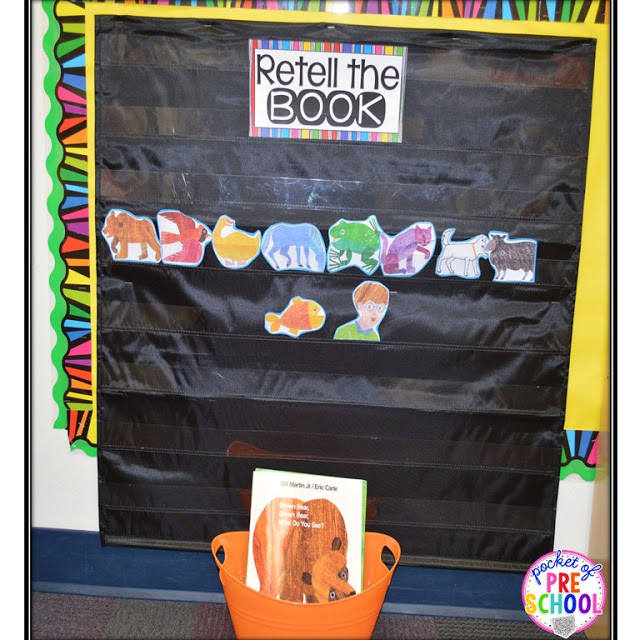
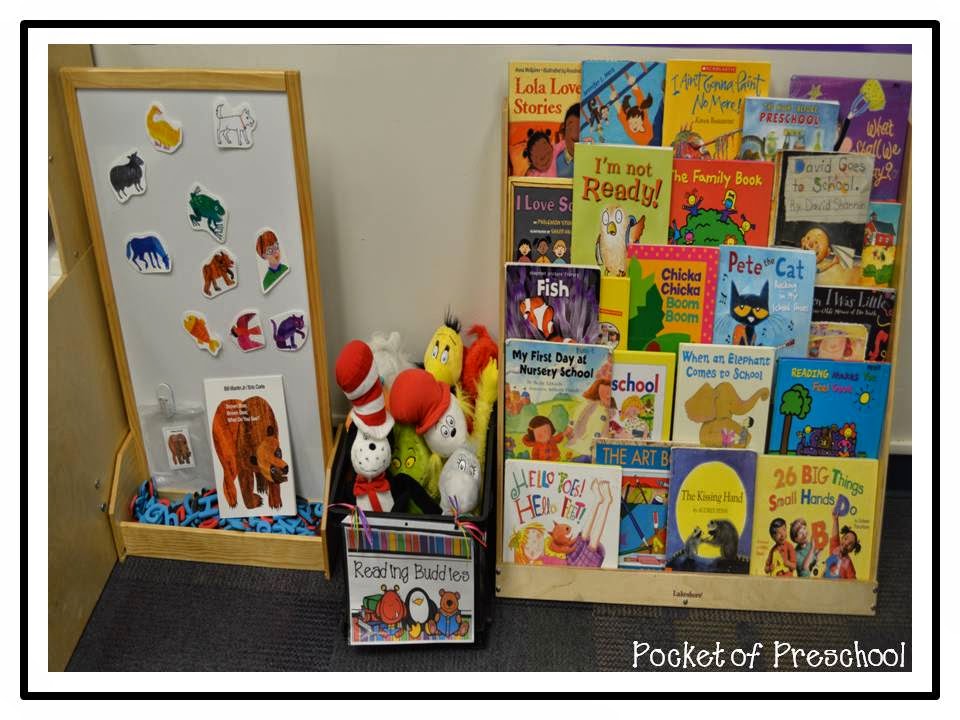
My students LOVE retelling books using story sequence cards. I was so excited to find out that they make black pocket charts now! Now students will have a place to retell books all year long! We did Brown Bear Brown Bear this week during our All About Me unit.
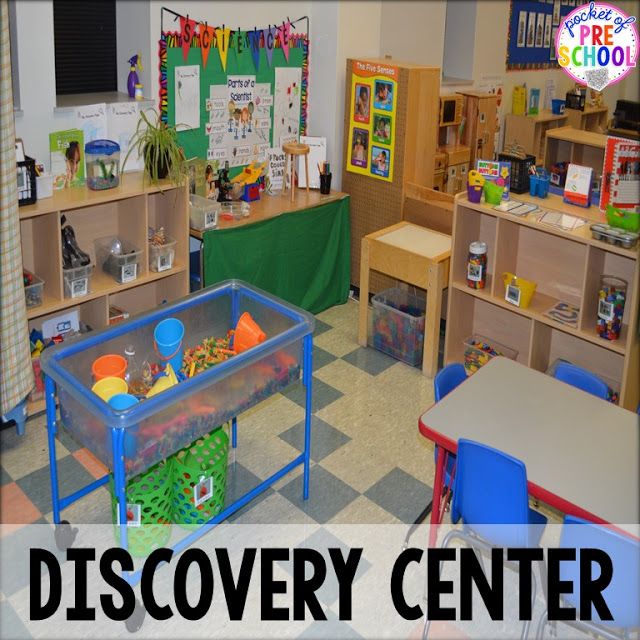
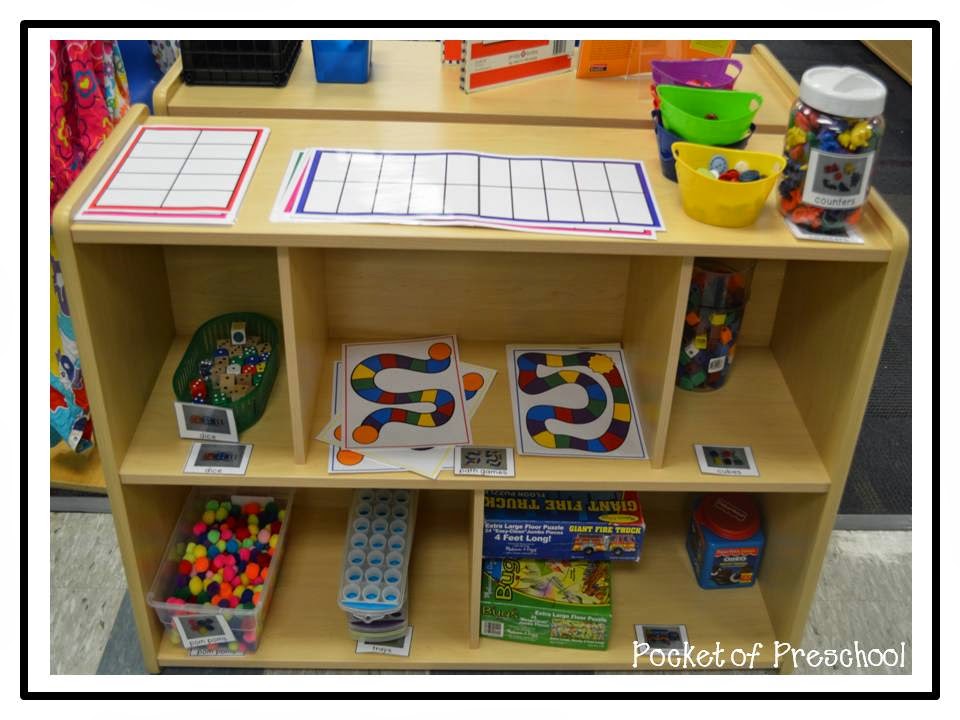
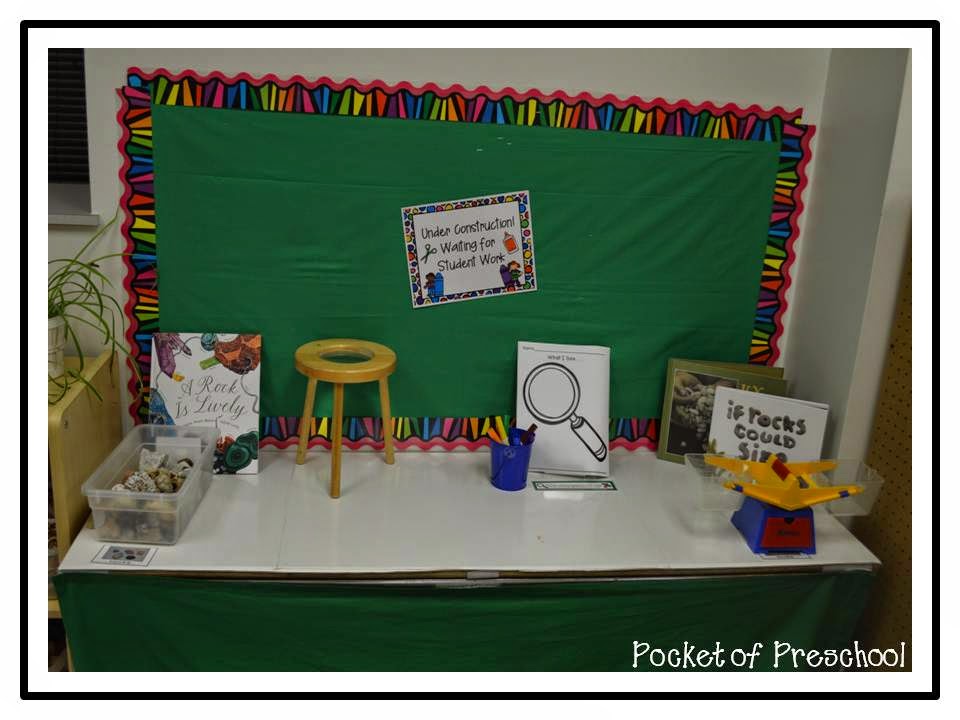
My discovery center which is all about math and science! Read all about my science part of my center HERE plus tons of inspiration to help you set up your science center.
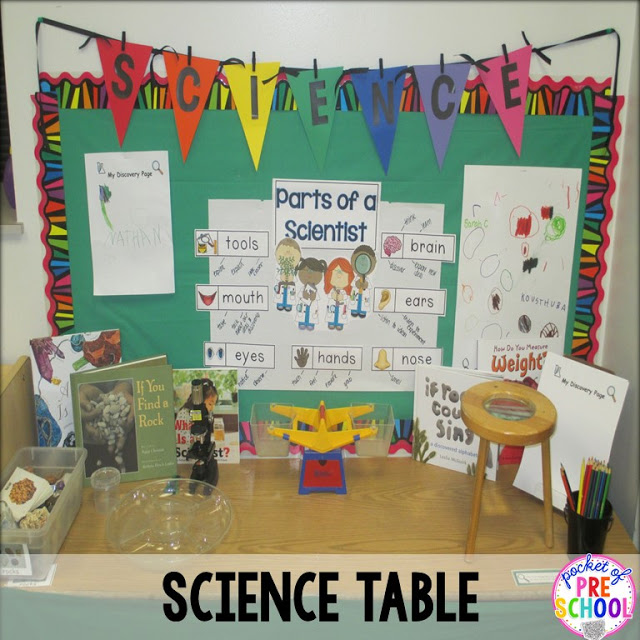
I had to add a colorful Science banner to my science table. It also points out to families where we are doing our science explorations!
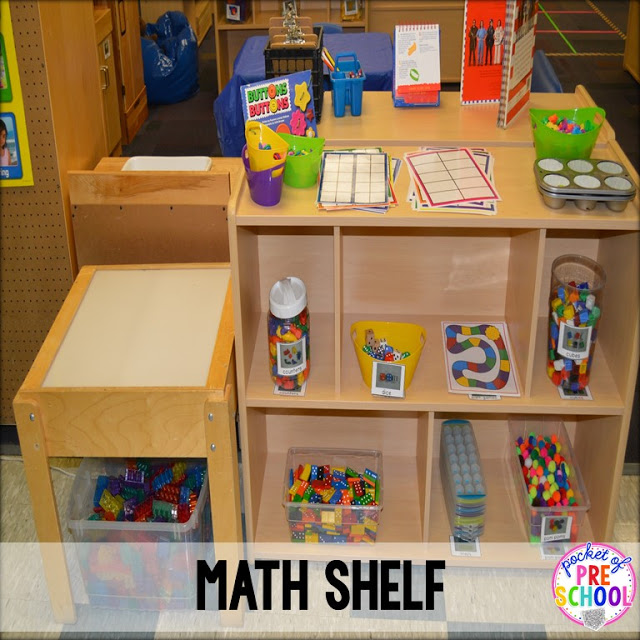
Read all about my math part of my center HERE plus tons of inspiration to help you set up your math center.
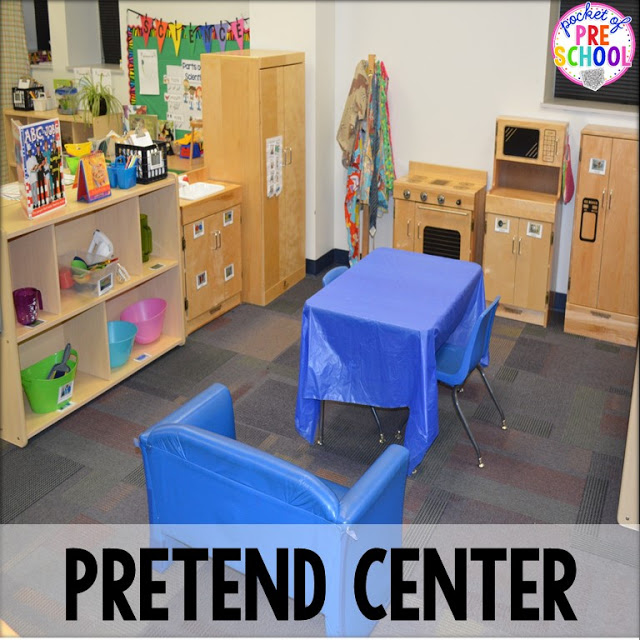
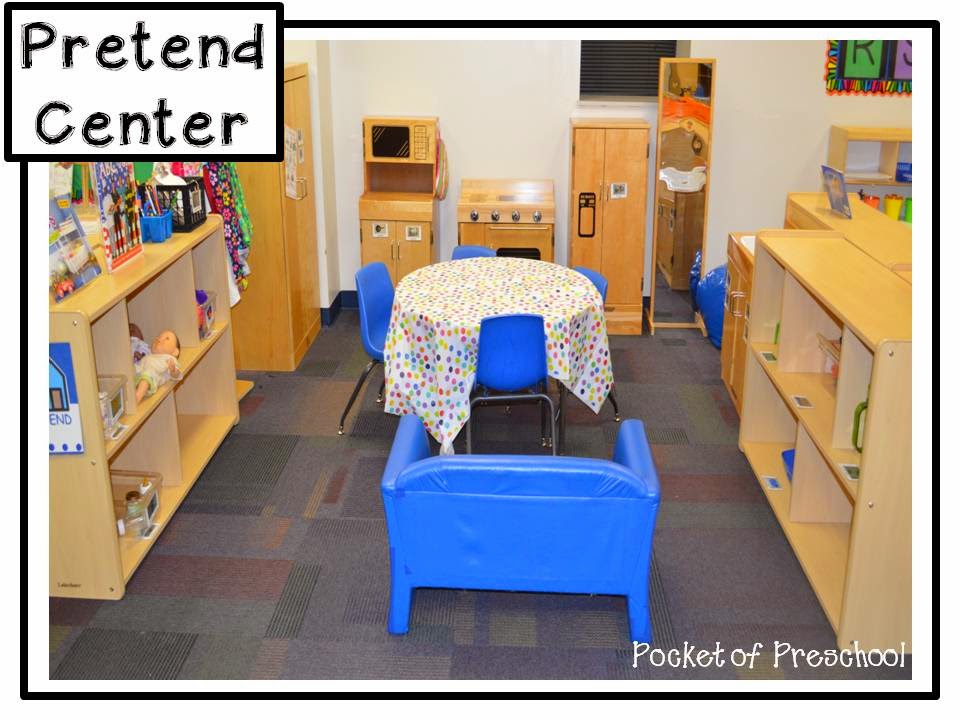
My pretend center aka dramatic play. I always start with house and then pretend changes into something new every month or so. You can read all about all our fun pretend themes HERE. Last year we changed pretend into a grocery store, bakery, pet store, ice skating rink, farm, birthday party, and aquarium.
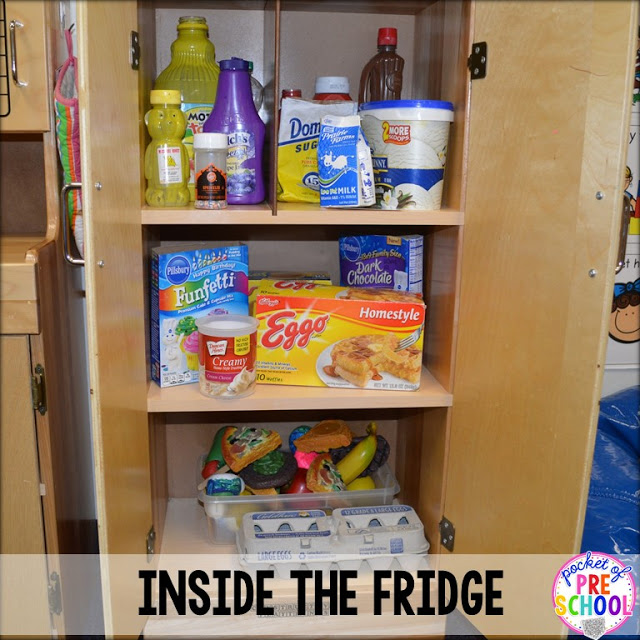
Don’t you always want to know what’s inside the fridge? We have empty bottles (colored with paint to match what it is), plastic food, eggs and cupcakes made with model magic, and paper waffles pancakes inside the box! Look at all the environmental print students are exposed to when you use real containers!
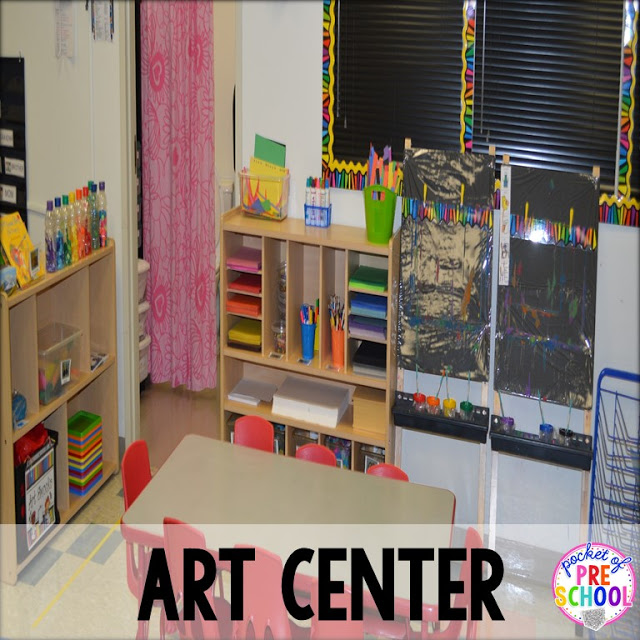
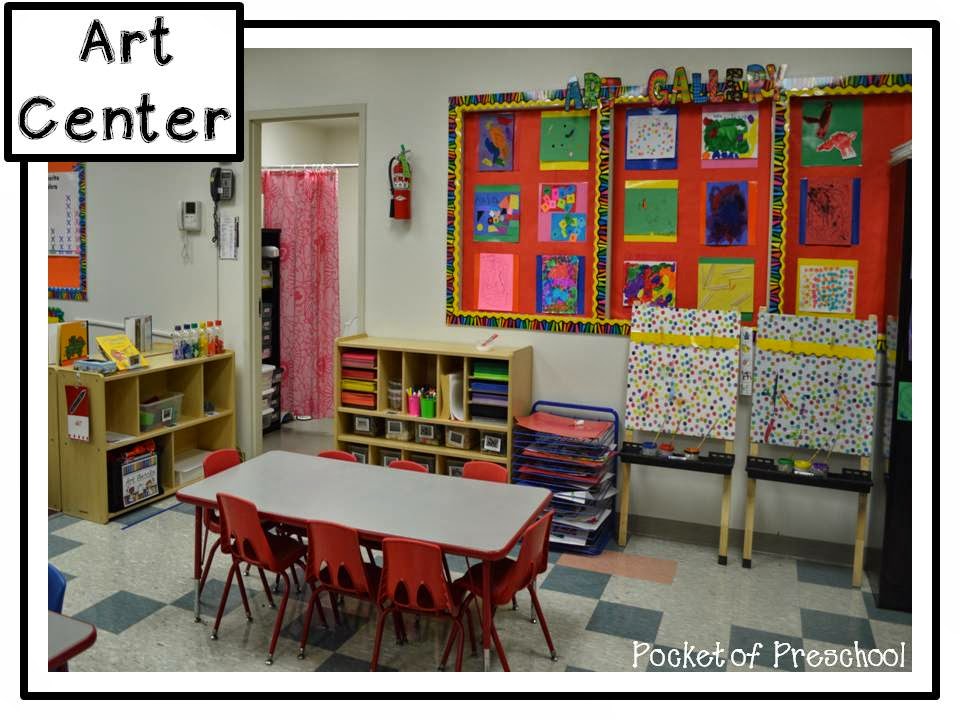
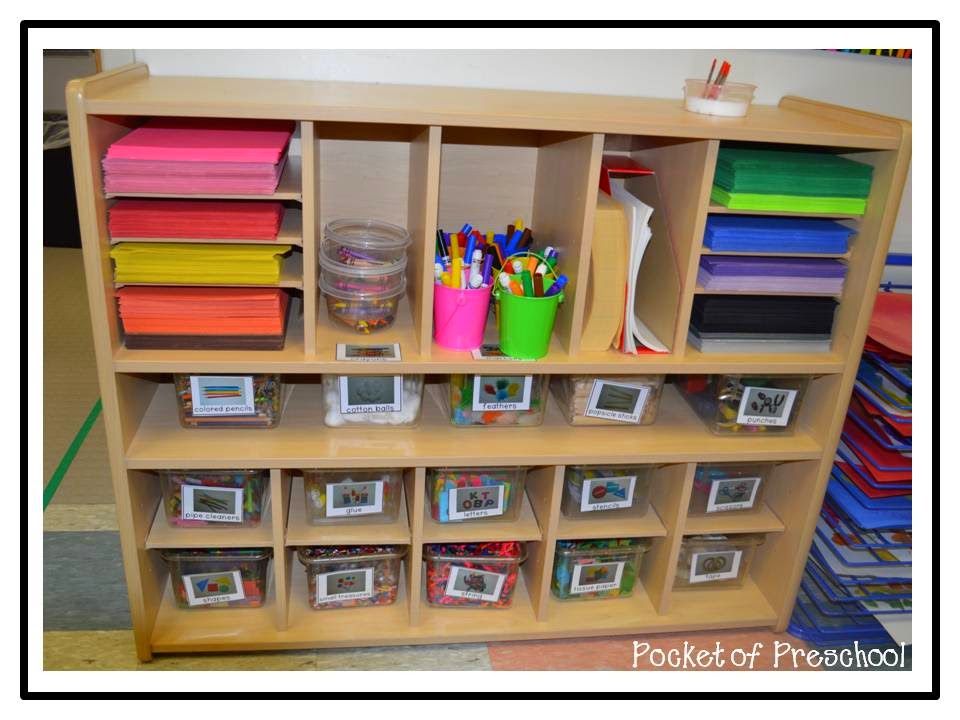
My art center. Read about me art center HERE.
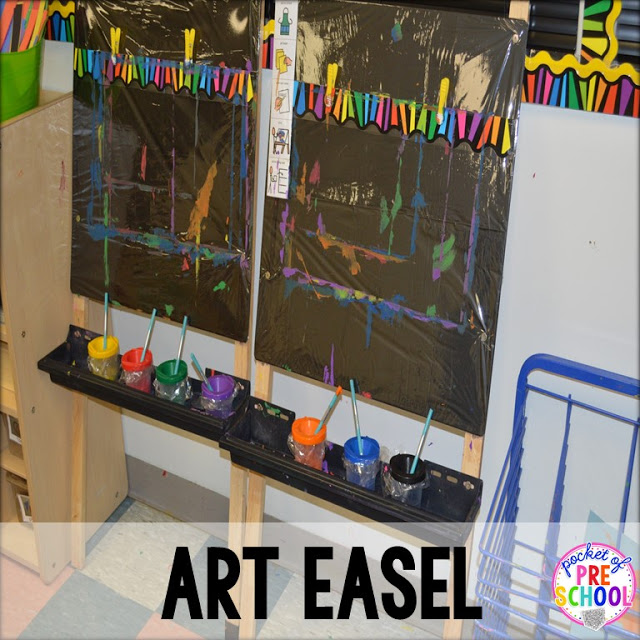
My easel! It is covered with a black tablecloth and the covered in plastic from the fabric store. The border is taped on to help my short students put on and take off their artwork independently.
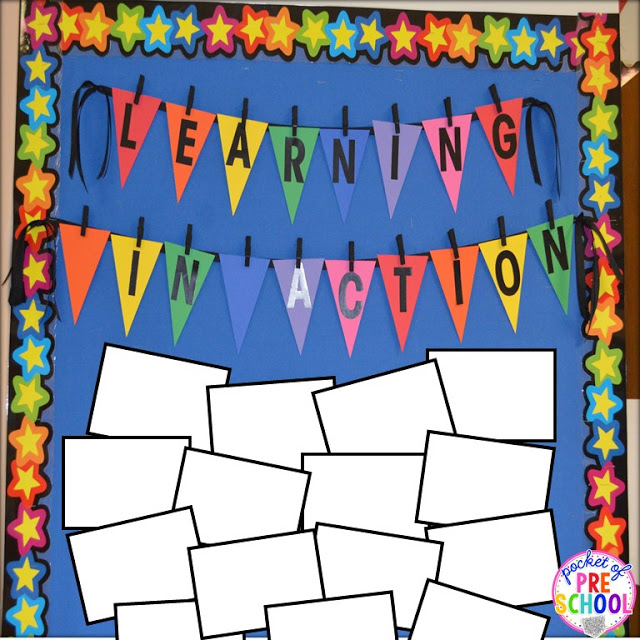
This is my new bulletin board outside my classroom and I just had to make another banner for it too. I am going to put up pictures of students “learning in action”. I want families to see that we are learning through play and play is POWERFUL!
My Classroom 2014-2015
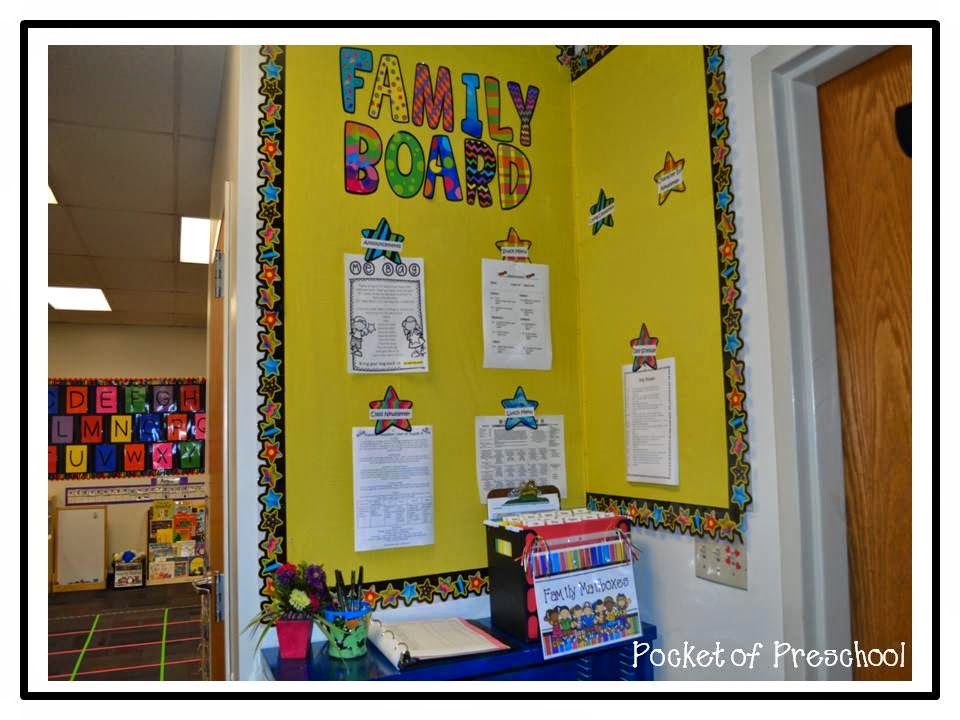
The family board is full of information for families. It houses the sign in/out sheets, mailboxes, extra forms, lunch menu, snack menu, daily schedule, announcements, and my newsletter.
On top of the cubbies, is where I keep my student portfolios and portfolio filing crate. You can find out more about my student portfolios and assessments HERE. Want the super cute labels? I use them everywhere and I even used them for signs at my Meet the Teacher! Find out more about theme HERE.
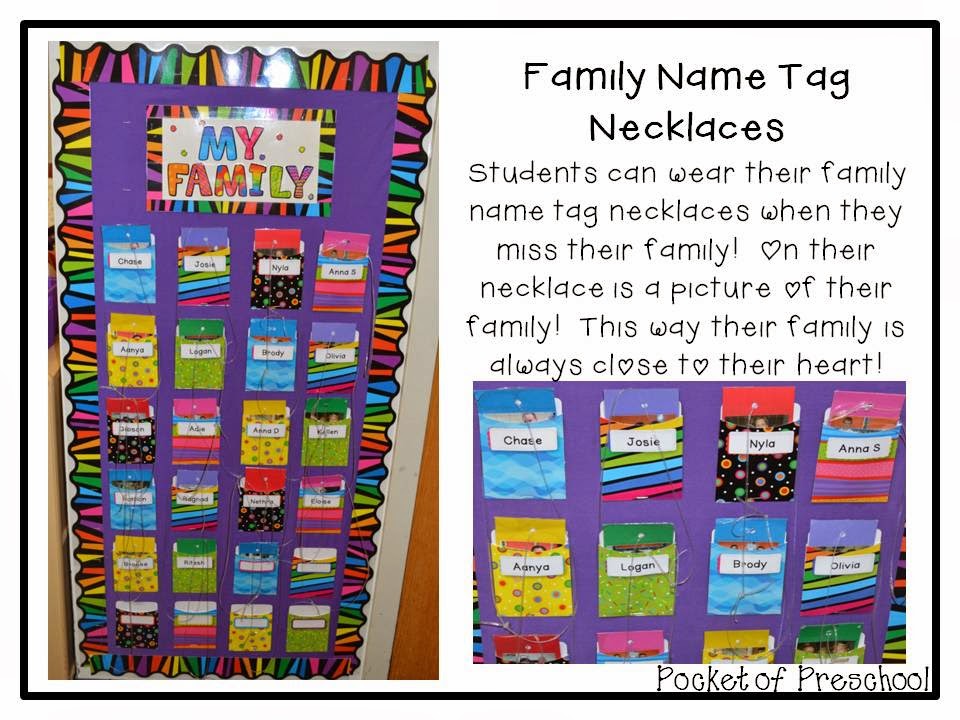
Parents and students LOVE the family name tag necklaces I make each year! At Meet the Teacher, I take a picture of each student with their family. I print the picture, add their name sticker at the bottom of a piece of card stock, laminate, and add some plastic string. Students wear their family necklace anytime they miss their family. The can keep their family close to their heart while they are at school. They are magical!
If you continue into my room, you will be in my circle area. I found this idea on Pintrest and LOVE IT! This year for student spots, I made a grid. Each student has their own square to sit in. They can actually see where their space ends and their friends begins! This is AMAZING! I used the skinny duck tape to make it. It took about 6 rolls!
On the back of a block shelf is where I keep the job chart. It is easy for me to see from circle too! I can never remember who has what job.
I also have my visual schedule at my circle to use as a reference throughout the day.
This is my letter wall which I am using to post pictures of vocabulary words that we learn during our studies throughout the year. Below that is my Linear Calendar. You can read how to implement and make it HERE.
My classroom rules are posted in my circle area. Each day we review our rules, “shout out” our superstar behavior, and talk about things we need to work on. To read more about my classroom rules, click HERE.
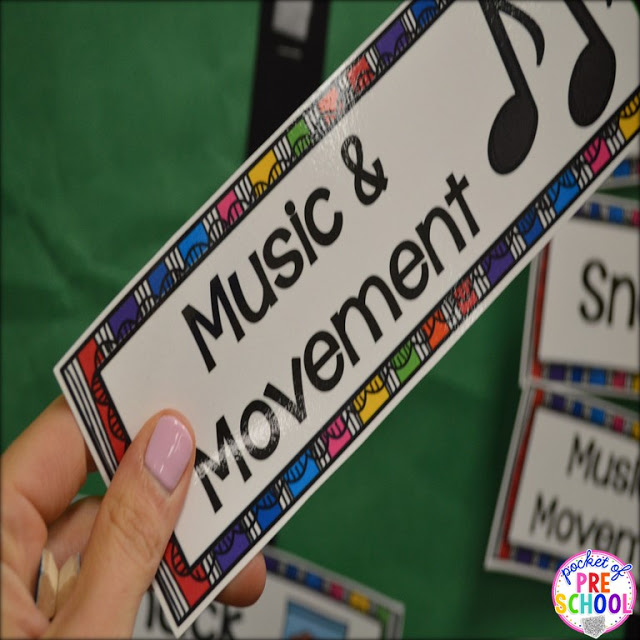
This is my teacher shelf. I have a bin for my lesson, books, and activities for the week. Preschoolers need MOVEMENT so I have lots of movement supplies here too. I use clip boards all the time with my preschool friends. Preschoolers LOVE clip boards! The musical instruments are for our dance parties!
Around the outside of my circle area is my library center. I have 5 centers in my classroom: library, pretend, discovery, art, and blocks.
My library center!
You can see all the school books on my book self. When we begin a new study/theme, I put out all new books related to that study/theme! I keep my Dr. Seuss reading buddies and magnet board by the books too. At my magnet board is always a book students can retell using character cards, setting cards, or sequence cards. I LOVE to read books multiple times for different purposes during circle! After I read the book at circle (many times and many ways), I add it to the center so the students can read it over and over independently!
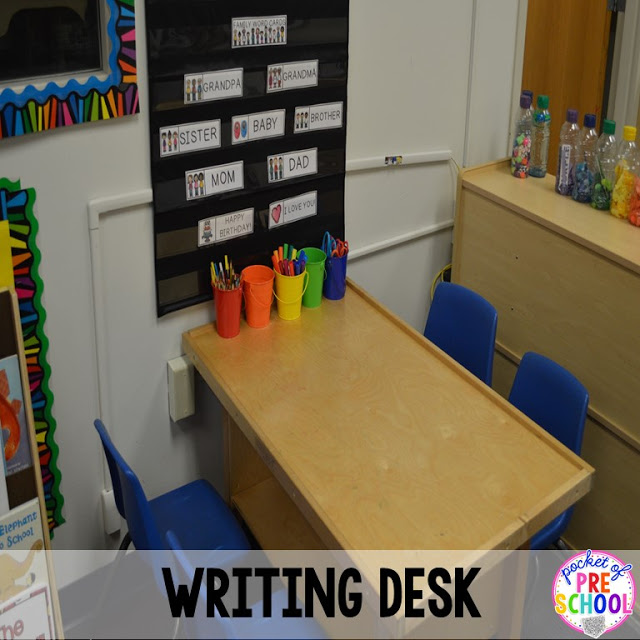
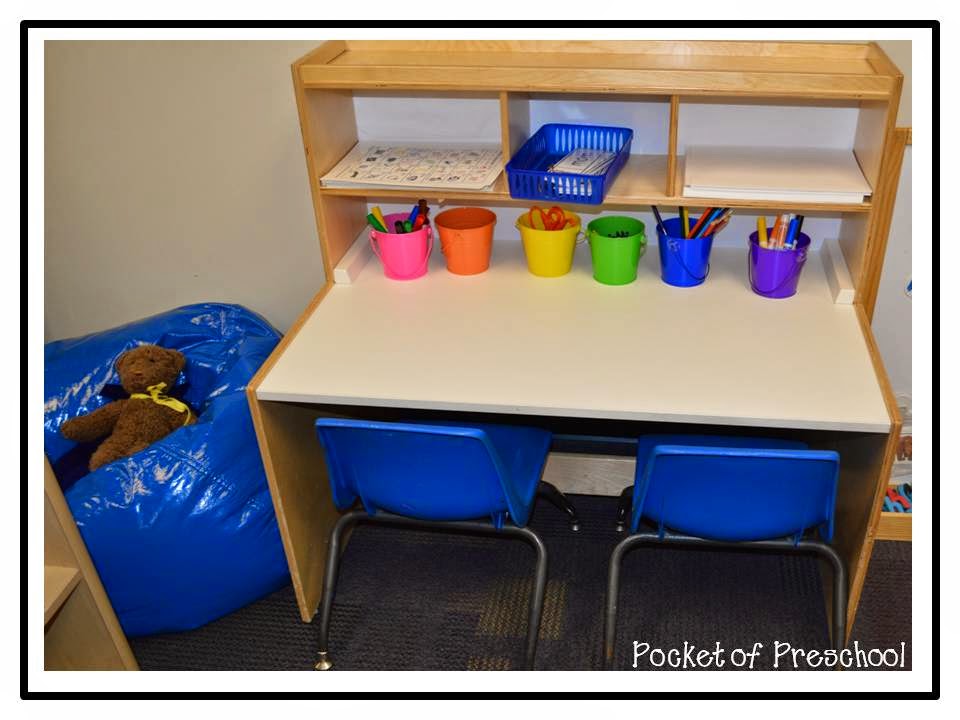
The student writing desk! My class Safe Place is the blue bean bag. Students can go there when are mad, sad, or need to calm down.
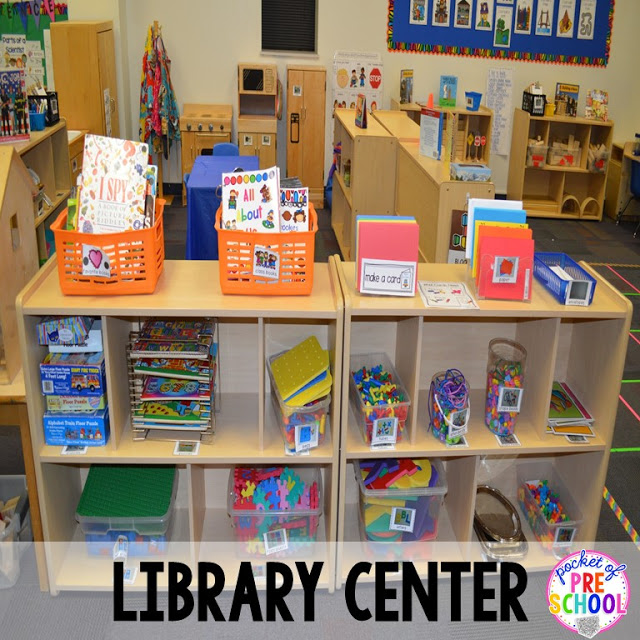
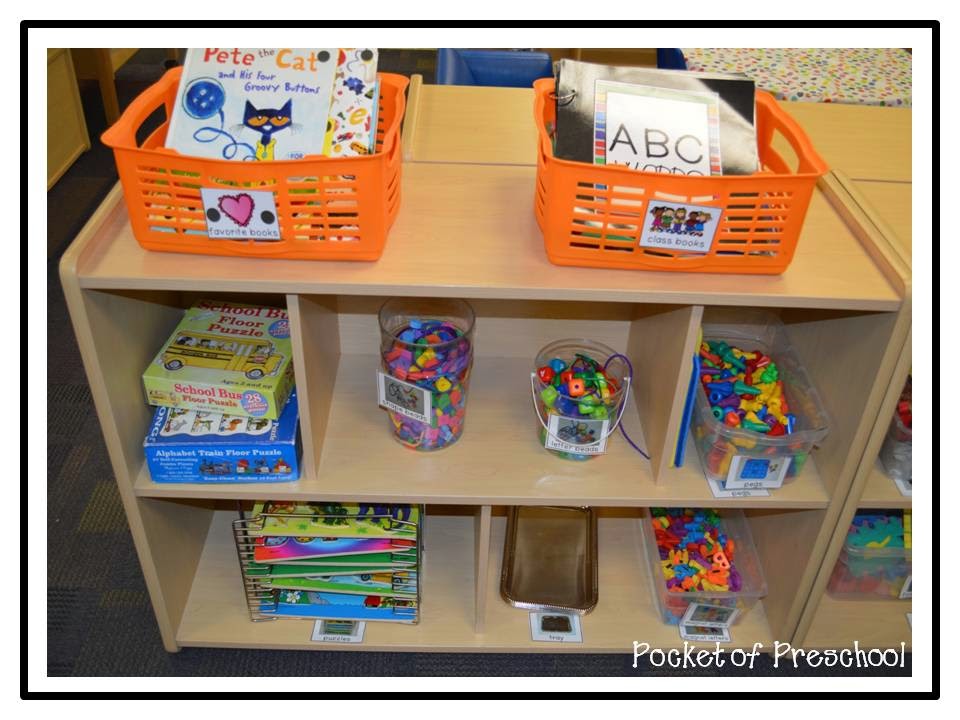
This is my letter manipulative and fine motor self. On the top of it are two book baskets. One holds our class books that we create and the other holds our favorite books. At the end of a study, students vote and pick 3 or 4 books that add to our favorite basket.
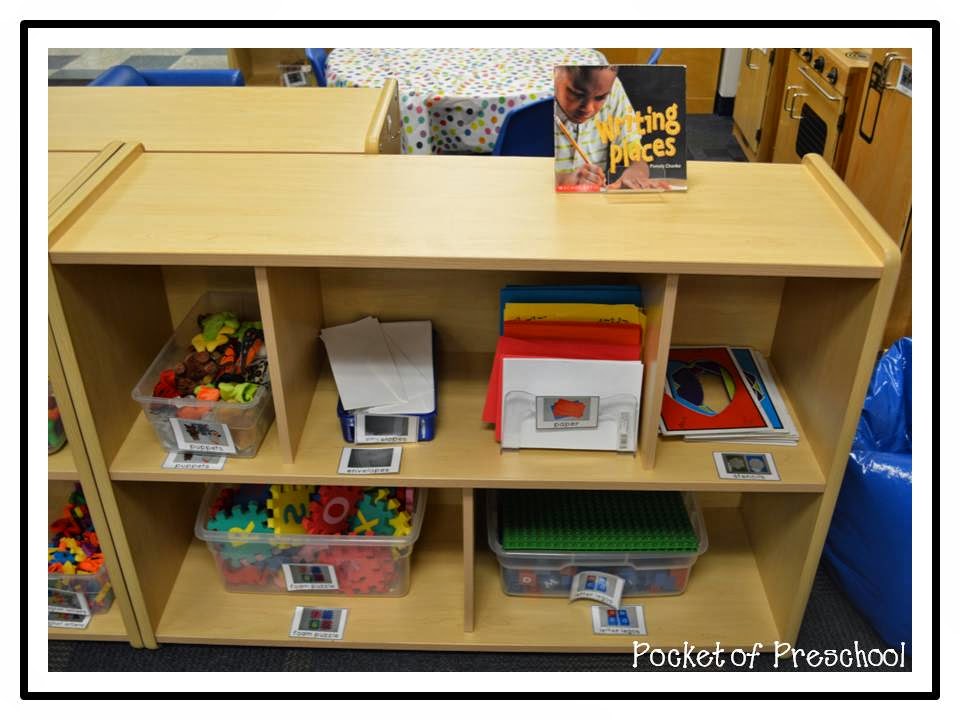
More letter manipulates and writing items! Can you ever have enough? The top shelf is used for activities about the study/theme we are learning about.
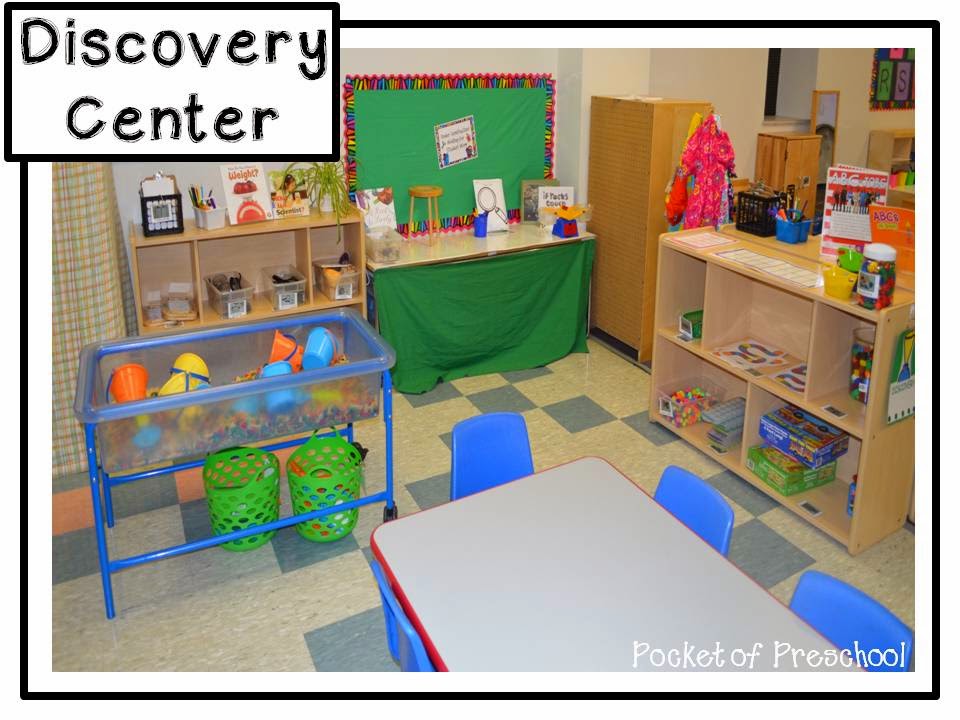
The discovery center which is filled with math and science fun!
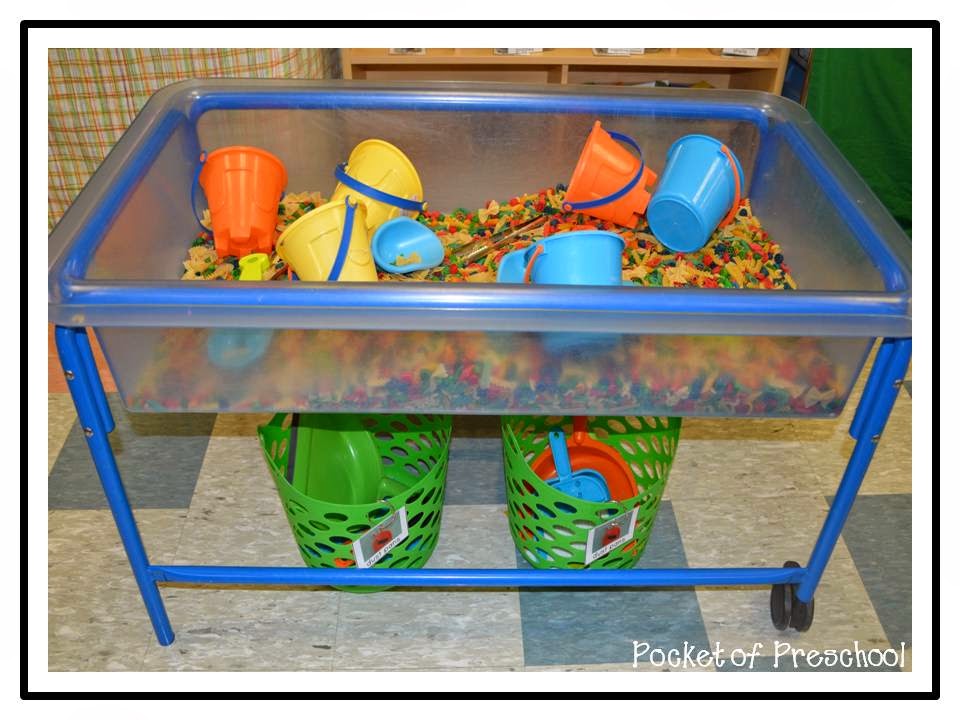
The sensory table! Everyone LOVES the sensory table including me. If you look under it, there are baskets with dust pans for the students to use when the materials somehow “fly” out of the sensory table. Each week I add something new or change something in my sensory table to keep students engaged, interested, and always learning.
The math shelf is home to math manipulatives and games. You can purchase the game Cover Up HERE.
This our discovery table. Students can explore and investigate many things over the school year. To begin the year, we are learning how to be a scientist and use scientist tools by exploring rocks!
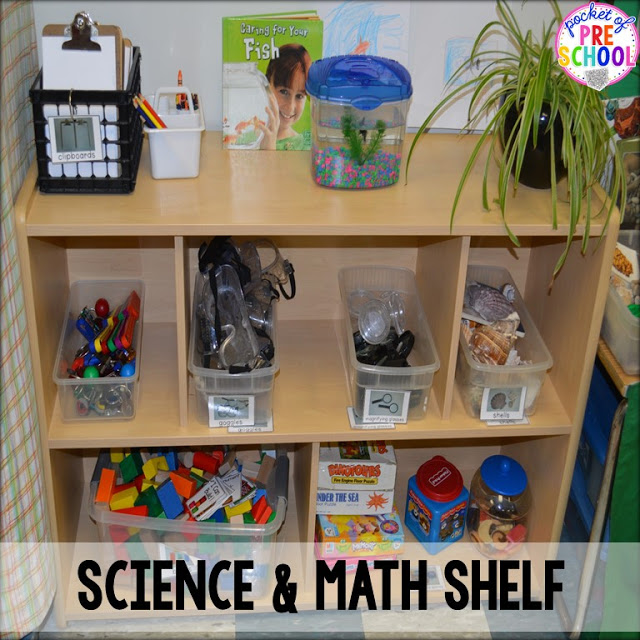
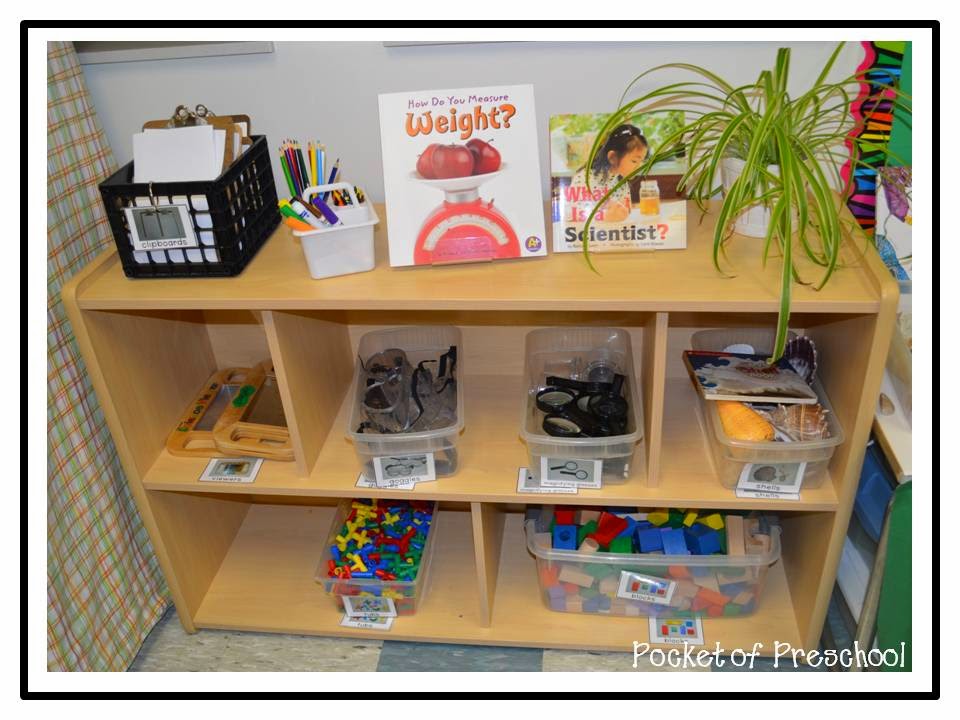
The shelf is where students can find scientist tools and items from nature. You can see I have magnifying glasses and jars, goggles, small clip boards, writing tools,and shells. I keep fine motor manipulatives here too.
My art center!
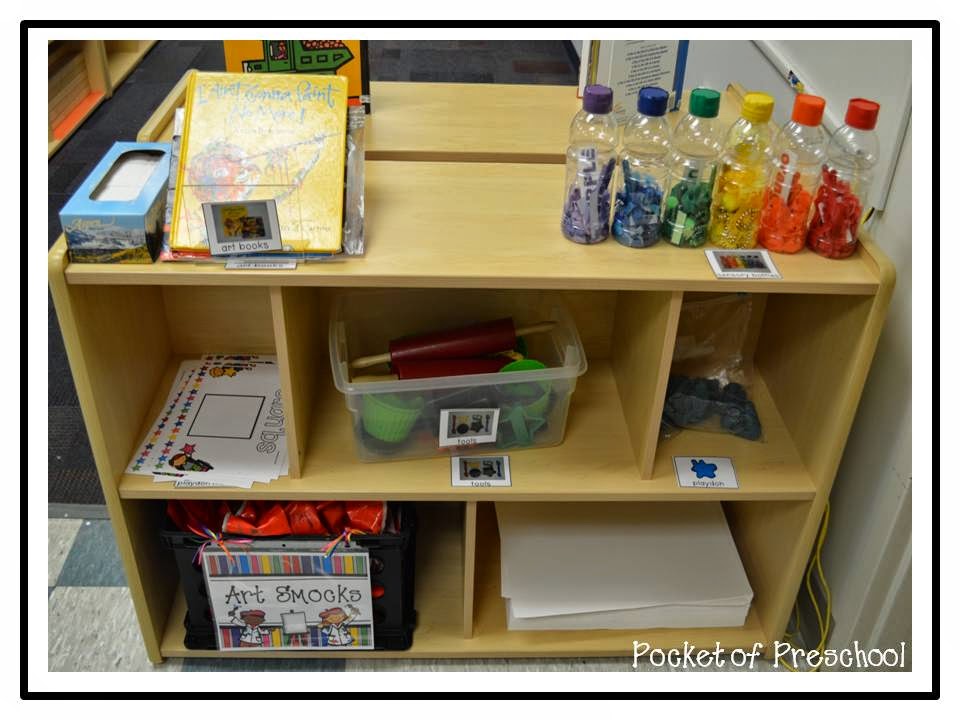
I have books in EVERY center so in art there are books about art. Playdoh, playdoh tools, and playdoh mats are always kept on this self. You can purcahse the playdoh mats HERE. If you want to check out how to make the color sensory bottles and a FREEBIE, click HERE.
Who could be bored with all the fun things on this shelf? This is the one self in my classroom that doesn’t change. Each week, I have an art exploration activity or process students can explore and I keep it on top of this shelf.
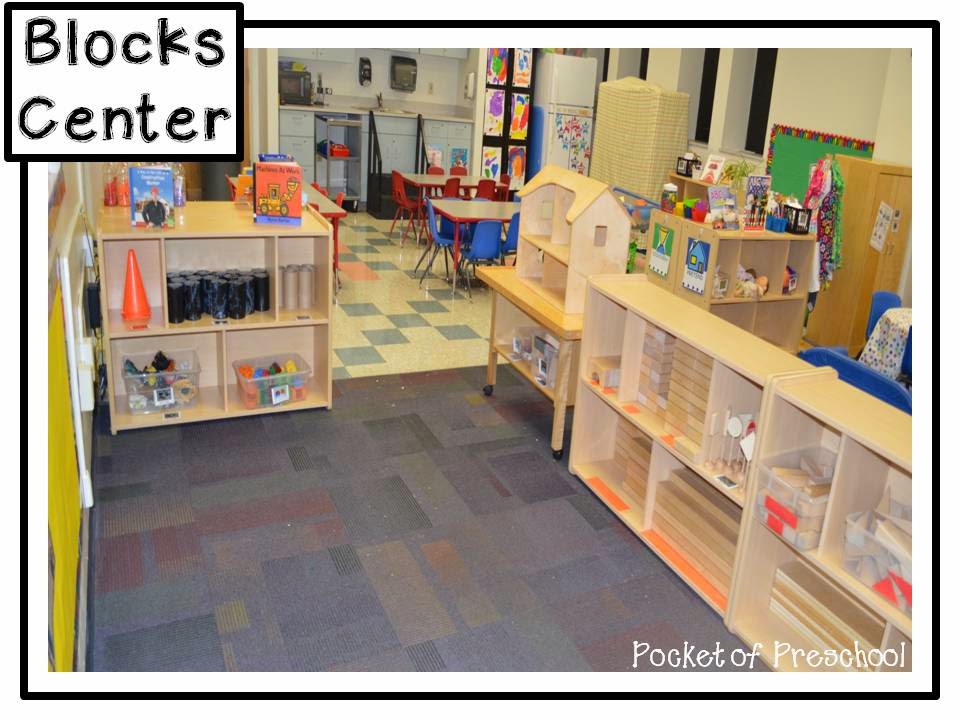
To read more about my block center click HERE.
Under construction! Tools, hats, signs, paint cans, tool belts, small clip boards, and writing supplies!
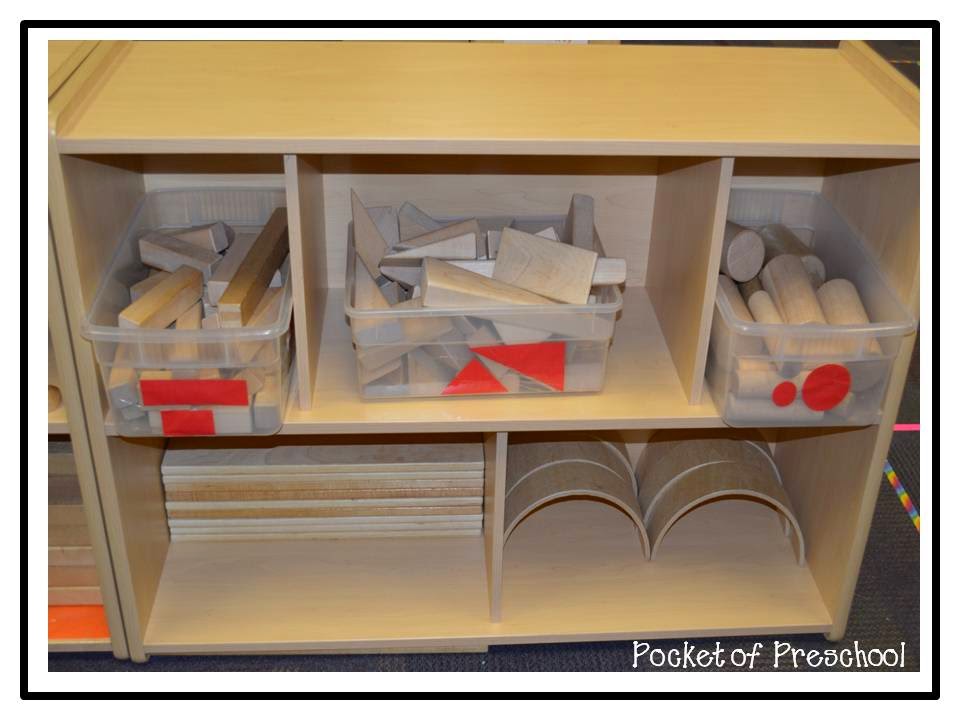
Wood unit blocks!
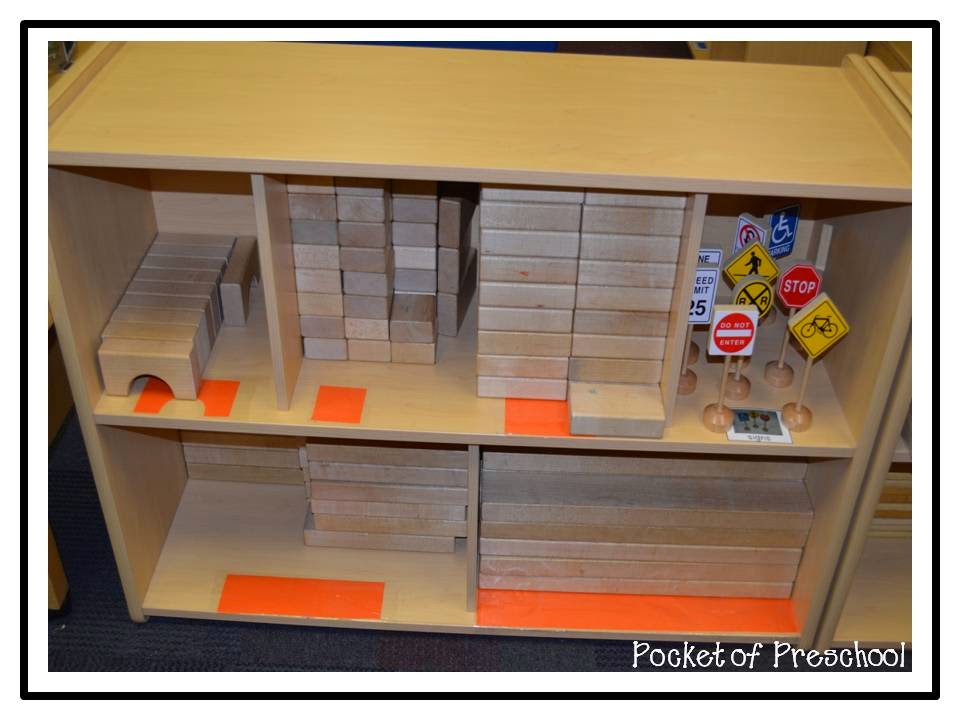
More wood unit blocks and signs!
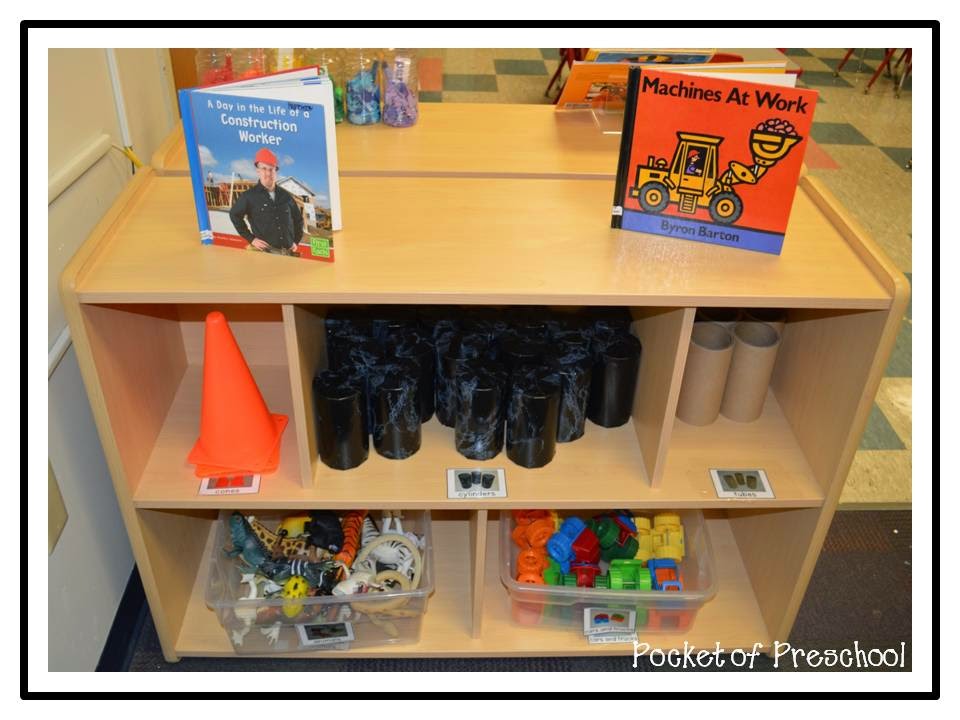
This shelf changes OFTEN. I always have animals and cars. I have a HUGE tub of animals so the kind of animals changes. It could be filled with pets, ocean animals, zoo animals, farm animals, forest animals, insects, or dinosaurs. I put building materials that relate to our study on this self. For example, when we learn about plants I add fake flowers, fake leaves, rocks, and green foam paper to represent grass.
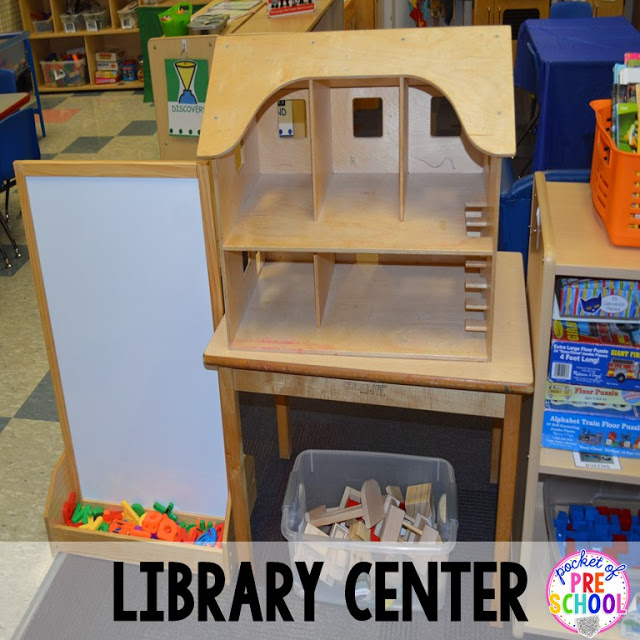
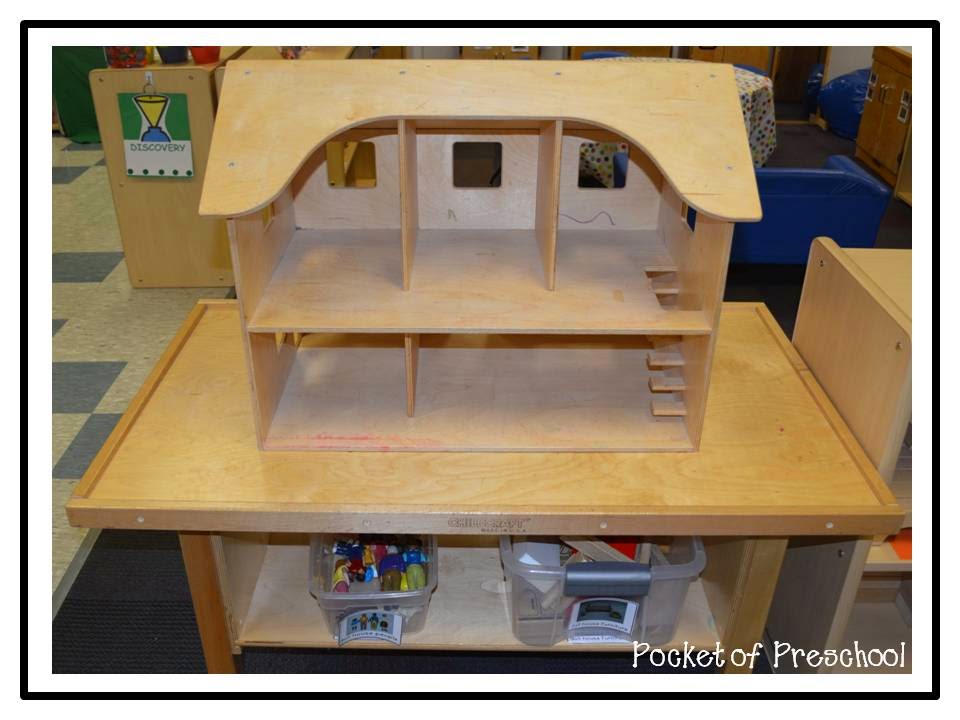
And the doll house.
One thing about my pretend center is that it will only be “home” the month of August! For each study/theme, it completely changes into something else. My pretend center has been a grocery store, pet store, pizza restaurant, ice cream shop, ice skating rink, zoo, aquarium, farm, Lows, mechanic shop, birthday party, garden, pet hospital, and a doctor’s office. Read all about the Birthday Party click HERE.


