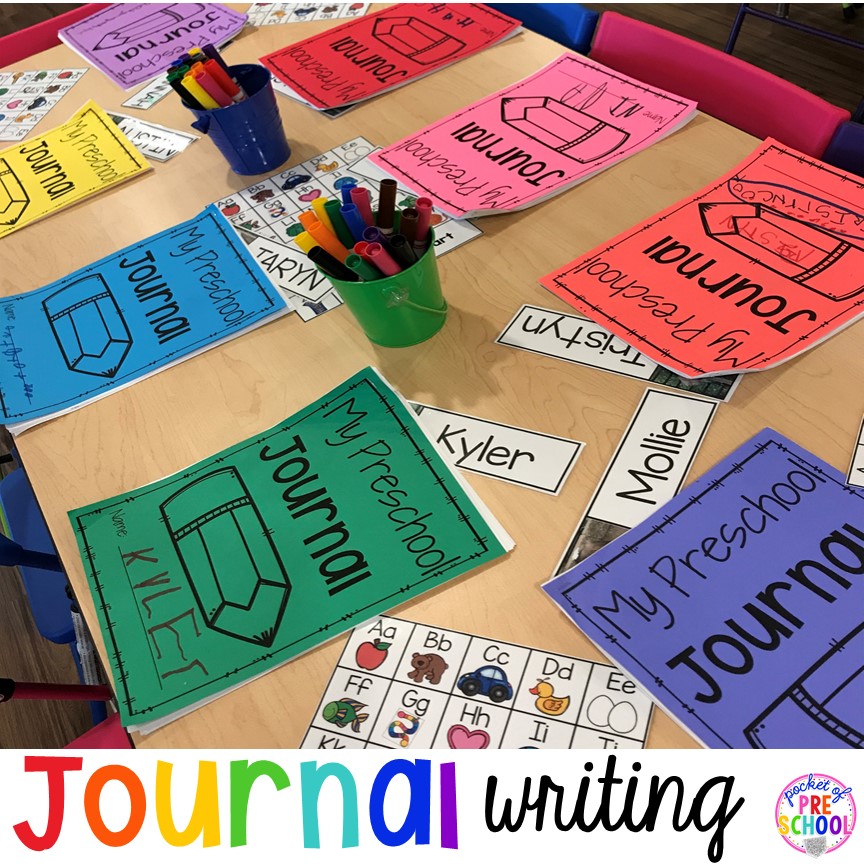
Writing journals with little learners is SO MUCH FUN (once they get the routine down)! It makes my teacher’s heart overflow to see them drawing, writing, and sharing their ideas! I get to see them fall in loving with writing and seeing themselves as writers! What a gift! In this post, I’m going to tell you all the details about how to implement journal writing in your classroom and get your kids excited about writing too!
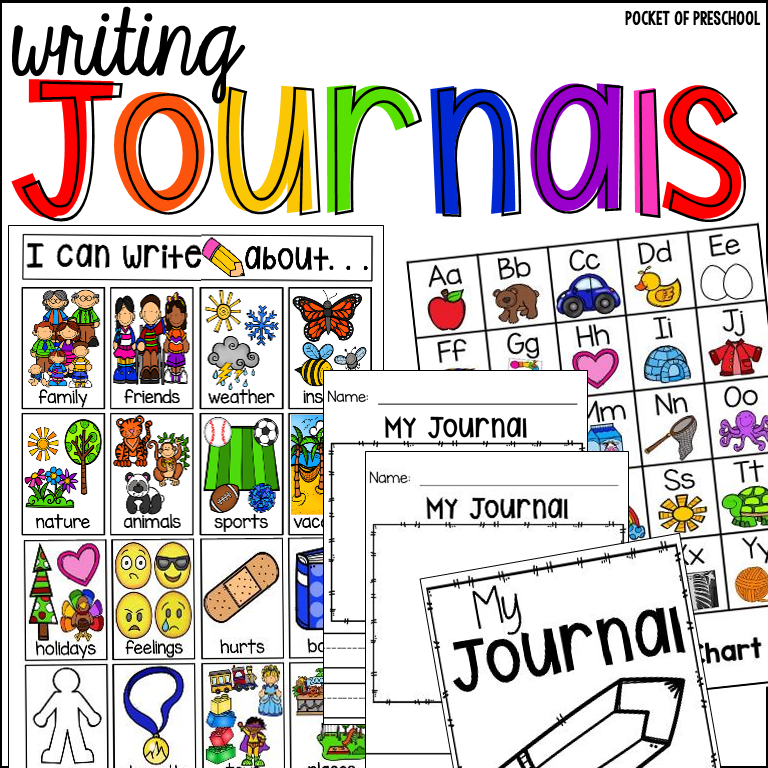
You can grab my Journal Writing packet from TpT HERE. It includes all the printables and teacher directions discussed in this post, plus MORE.
Let me start by saying that we only do these journaling activities during the second half of the school year. In the first part of the school year, we do “fine motor journals,” which are very different. The focus is on developing their fine motor strength and how to make letters, numbers, shapes, and different types of lines.
The most asked question I always get asked is…. what do students write about? My students CHOOSE what they want to draw and write about. I never give my students a prompt to write to, and they never copy my sentence. NEVER. I want students to fall in LOVE with writing, so I let them pick what they want to write about! Writing is a way students can express their thoughts, feelings, ideas, memories, and connections. They will be more invested in their writing if they decide what they want to write about.
Grab the FREEBIE by entering your email in the box at the bottom of this post. This post contains affiliate links which means I earn a tiny commission when you use my links at no cost to you.
Getting Started Tips and Tricks
Day One: Starting journals will take practice and modeling just like any classroom routine or procedure.
During the entire first week, we start journals, I model by doing my journal at circle time. I write my name at the top, draw a picture, and write about it on the line.
Make it a Routine: Just like any other part of your day, make journal time consistent. Reinforce it as a routine or procedure, so students know what to expect and what is expected of them. You know your students and classroom best, so make a journaling routine that works for you and your students.
Example: Our journal time routine is: sit at the table, write your name, draw the picture, and write on the line. Then they read it to me and go do the table time activity until school is over.
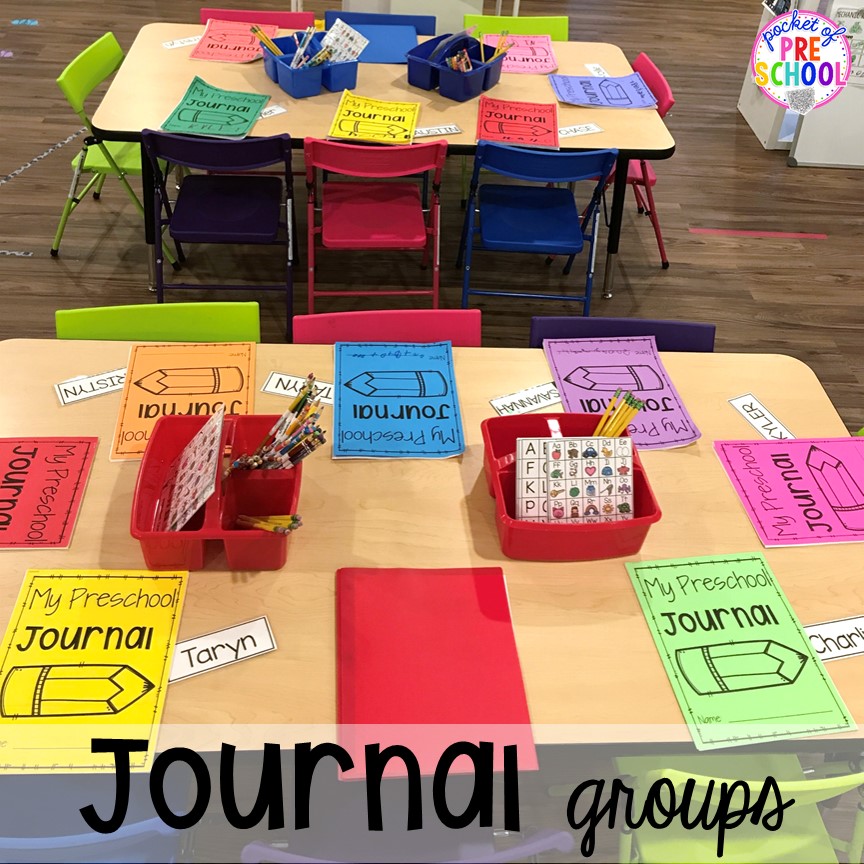
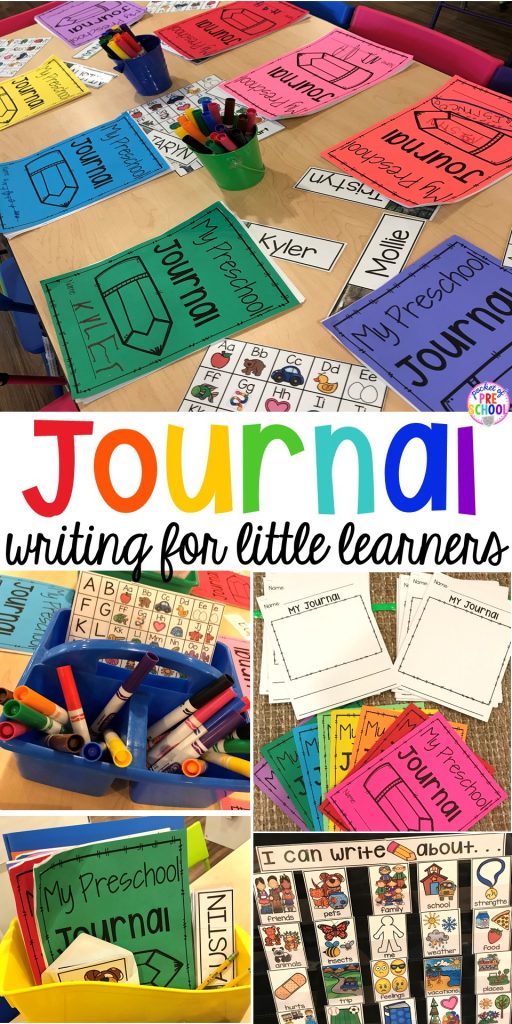
Color Code: If you have multiple tables of students for journals, color code the supplies and journal tubs. The table in the front is the red table, and the table at the back is the blue table. The red table has the red caddies and red journal folder/tub, and the blue table has the blue caddies and blue journal folder/tub. You can group students by ability or do mixed ability grouping. If you have a few tables for journals, have a teacher sit at each table to support that group of students.
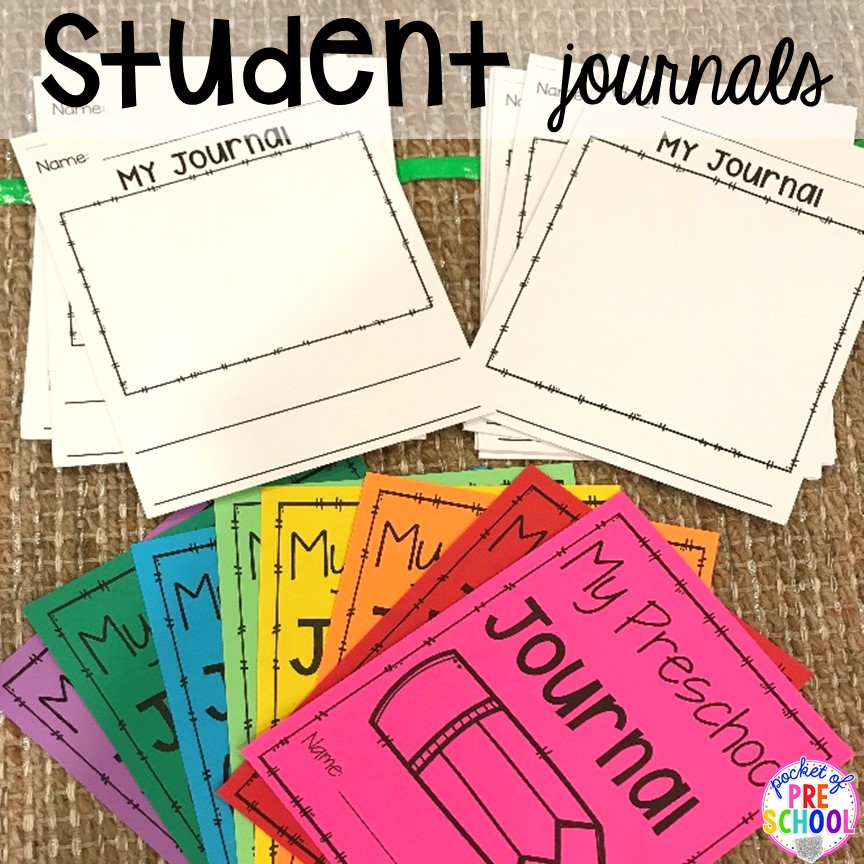
Paper: There are many different types of journal papers included in my Journal Pack. Choose the ones that best suit your students’ needs: lines, no lines, dotted lines. Or just use plain white paper with no lines.
Not all students have to use the same paper, which makes it an easy way to differentiate. For example, my three-year-olds use pages with one line, and my pre-k students use pages with two lines.
You can create a new journal each week, every two weeks, or every month for each student. You can simply staple the pages together or bind them. Again, it’s totally up to you.
Organization: Get organized, so you save instruction time!
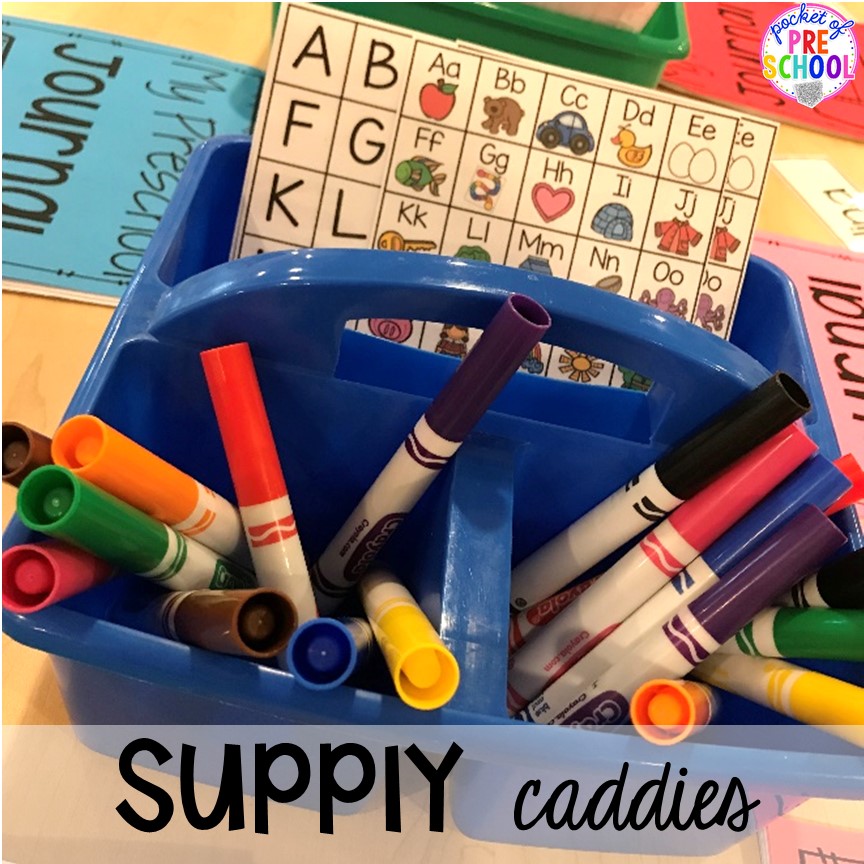
- Writing Tools: Place in caddies or buckets (markers and colored pencils are my favorites for students to use)
- ABC Charts: Place on the tables or in the caddies. I have various ABC charts to help students at different levels (just uppercase letters, uppercase and lowercase letters, letters, and sounds)
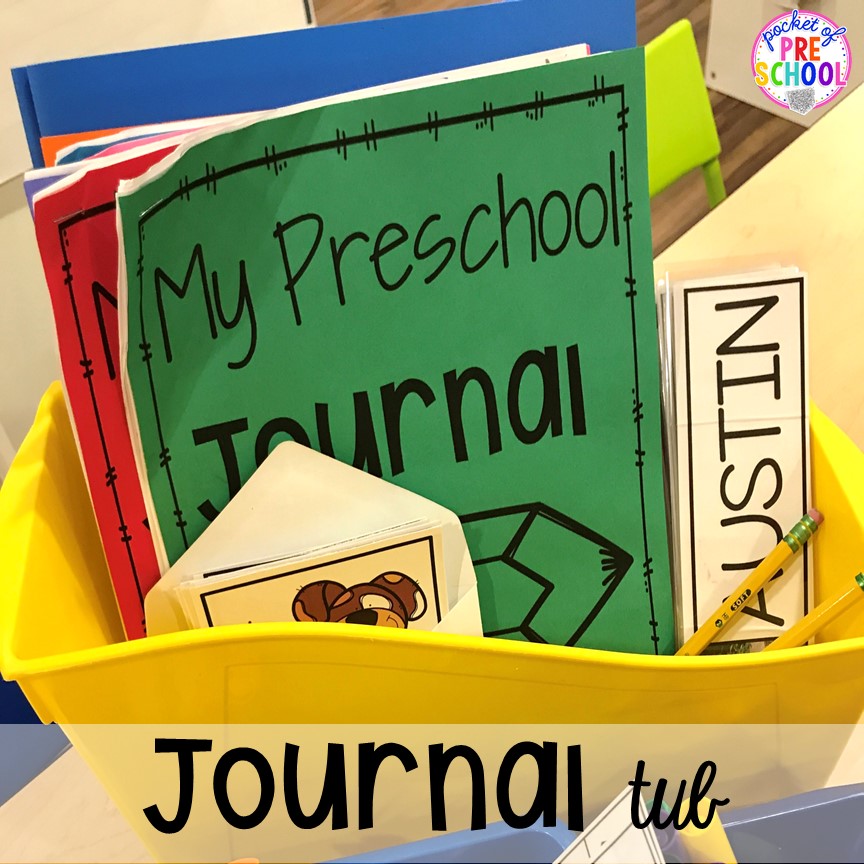
- Journals: Store in a folder, magazine/book box type tube, or basket (I use a book box type tub like in the photo, scroll down a bit to see it)
- Name Plates: Create nameplates for each student. Students can use the nameplates as a visual support to help write their name or their friend’s name in their writing. I make my nameplates double-sided. One side has their name in all capital letters, and the other side has their name in lowercase. I glue them back to back, laminate and cut them out. You can grab the FREE Editable Name Cards HERE.
- Sight Word List: You can place a list of sight words in each caddie if your students are working on them.
- Developmental Sequence Chart: Place the chart in the tub. You can write what level each student is on so you and your team can support each student at their own level. If a child is scribbling, THAT IS OK because that is the level that the student is at. Help and support them at their own level.
>>Grab the FREEBIE by entering your email in the box at the bottom of this blog post!<<
Journal Tub or Basket
Grab a basket or tub to put all the journal goodies in. If you color code, make one for each table. Place student journals, name cards, anchor chart pieces, teacher pencils (aka regular-size pencils), a writing continuum chart with students’ levels marked, and a folder with extra blank journal pages in each basket/tub. It makes transitions, setting up, and cleaning up journals super easy.
“I Can Write About…” Anchor Charts: I ALWAYS let students pick what they want to write about. Trust me, it is amazing! You will get to know your students so well just by reading and helping them during journal time.
Sometimes students get stuck or write about the same things every day. Create the anchor chart to give them ideas on other things they can write about. Place in a pocket chart or glue to paper and post in the classroom. We slowly create this anchor chart together about a month after we start journals. Each week we add three or so things we can write about to the chart, so it’s not overwhelming for kiddos.
Send the note home when you start journals with your class and randomly throughout the year with completed journals. Make sure to keep at least one journal a month for their portfolio so you can see the growth they make and use it as a tool to guide your teaching.
>>Grab the FREEBIE by entering your email in the box at the bottom of this blog post!<<
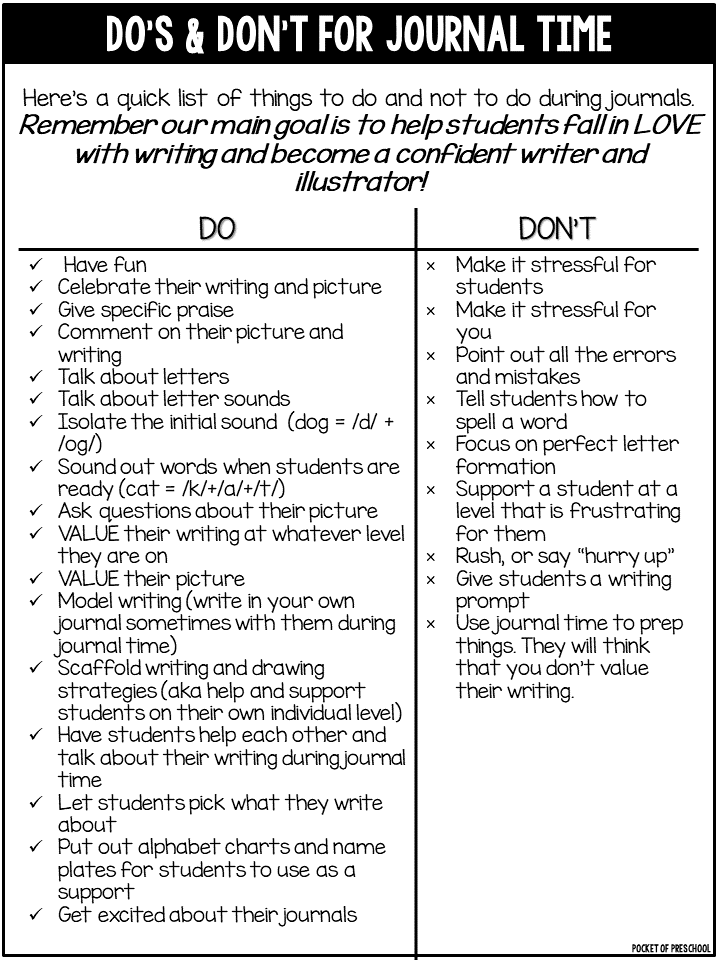
The most important thing is to make journal time FUN, positive, and relaxed so students can fall in love with writing. I’ve included some tips on what to do and NOT do.
I’m sure you are super excited about writing journals and want to try it with your class! Trust me, you and your students will LOVE it.
You can grab my Journal Writing packet from TpT HERE. It includes all the printables and teacher directions in this post, plus more.
Love it? Pin it!
