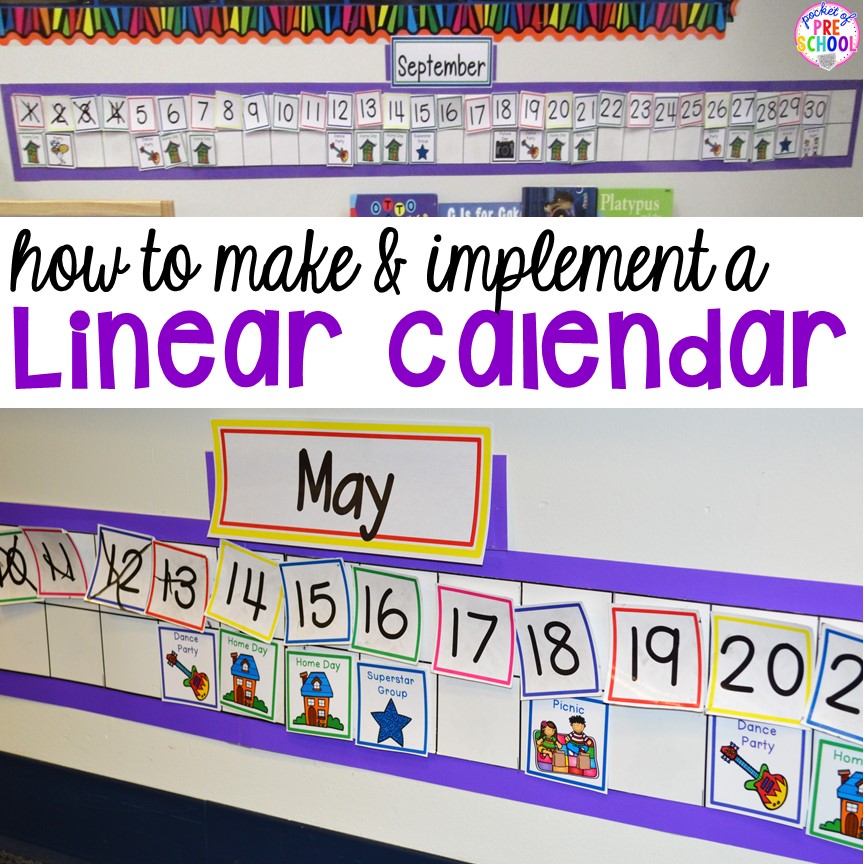
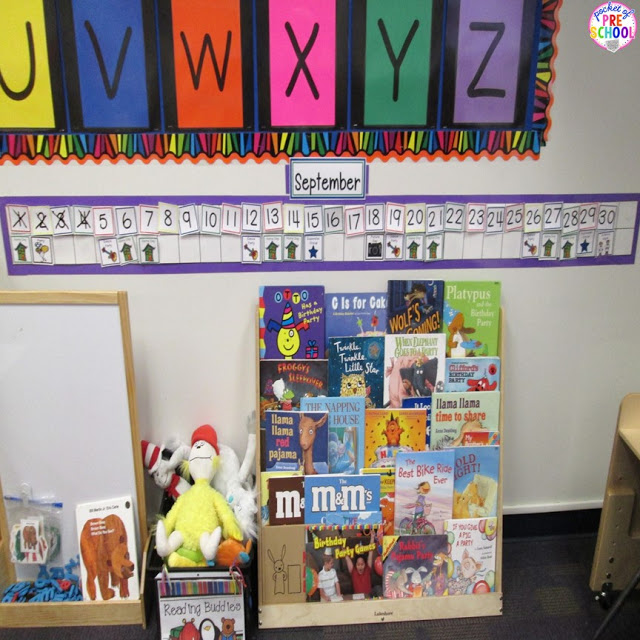
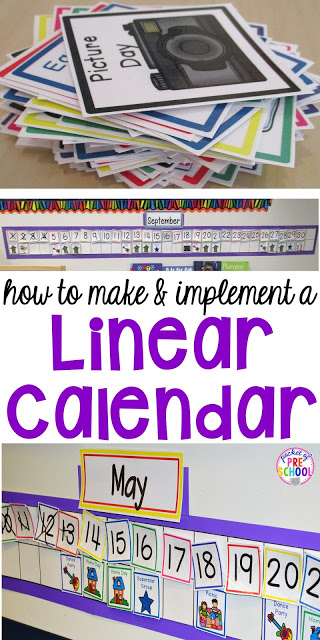
Each teacher finds their own way to teach calendar skills! There are so many variations on a preschool calendar, but one of my favorites is a linear calendar. A linear calendar is basically a calendar cut apart and glued together in one long line.
A linear calendar is presented in one long row. The top row has the box for each number and the box below is for events. It helps if it is placed low on the wall so students may study it at eye level. It does take up a lot of space but it is totally worth it! MANY of my students go over to each morning to see what we are doing (before we do calendar time). Students LOVE the calendar so much that they even take their parents over to it at arrival or dismissal to show them something that we did or will be doing! You know it is meaningful when students use it without teacher support or cues. IT IS AMAZING!
Calendar Time
I do calendar time every day, and it only takes about five minutes. It is quick but so impactful and packed with learning! I always start by identifying the month and day it is aloud for my students. For example, “Today is September 4”. Then my calendar helper uses a pointer and points to the numbers as we rote count to the date. It’s also fun to jump or stomp as you rote count the days too!
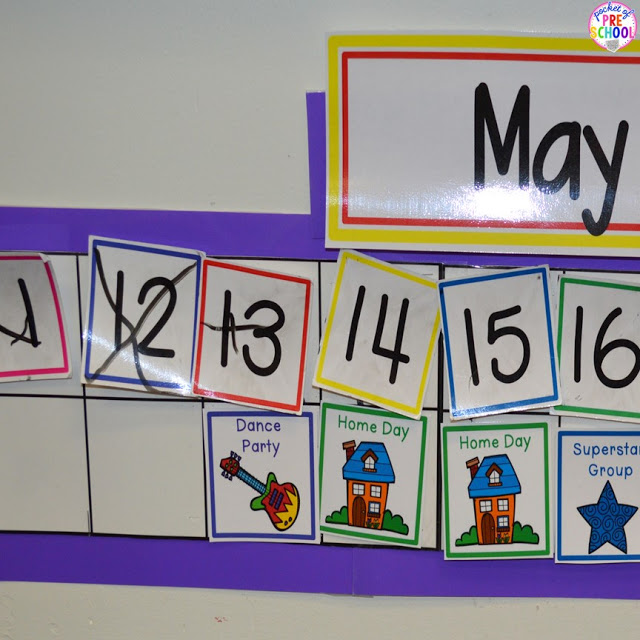
It is important to note that when I say what day it is, I say the nominal number (1, 4), not the ordinal number (1st, 4th). I pause before I say the number so the students have the opportunity to read the number on the calendar. If students call out the wrong number, I make it a teachable moment. I show the number they called out on the calendar, and talk for a few seconds about how the numbers look the same, how they look different and move on. I mark an “X” over the number and ask what is happening today. Students call out the event or say that it is a “normal day” (no special events happening).
A linear calendar provides real, meaningful reasons to count! If we have an event coming up soon, students will notice and it’s a meaningful reason to count. Students are very inquisitive. I will ask or a student will ask “How many days until ___”. As a class, we count together to figure out how many more days until the special event.
>> Grab the Rainbow Design Calendar Event Icons HERE <<<
>>> Grab the Simple Design (plain black border) Calendar Event Icons HERE <<<
To shop all my calendar goodies (month headers, numbers, event cards) click HERE.
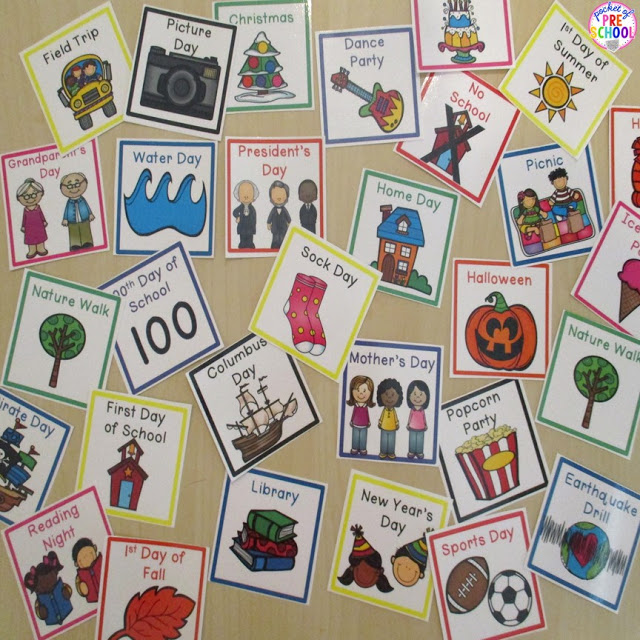
If it is a new month, I will go over what all the event icons are. If we are at the end of a month, we may talk about the name of the next month. If a child asks what day of the week it is, we will talk about it. Sometimes we talk about what we did yesterday if there was an event. These simple conversations are orienting the students to time!
It is important to allow the students to lead. The conversations that occur during the calendar time give me the opportunity to introduce time and calendar vocabulary in a way that is meaningful to them.
That’s it. My calendar time is really that short. As I said, it takes about 5 minutes. I rarely have behavior problems because calendar time is meaningful and fun to them. They want to know what we are doing today. I also LOVE that it gives students purposeful reasons to count!
Events
The more the better! I try to put as many events on the calendar as possible. The events give us meaningful reasons to count aloud and ask questions about the events and time. Every Friday during music and movement, we have a Dance Party. Maybe you have Spanish, library, or do yoga on certain days each week. Put those on the calendar.
Emergency drills (fire drill, earthquake drill) are great to put on the calendar too. It is also a helpful reminder for me to review the emergency drill routines with students before we have the drill too.
Students want to know if their routine is going to be different. If you have an event on the calendar, students can prepare and know ahead of time that today is going to be a bit different.
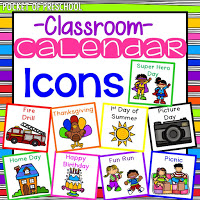
I put “home days” aka weekends on the calendar too. There are over 200 different Calendar Icons included and are early childhood friendly. Sometimes a student will draw a picture on a small rectangle if I don’t have an event card for something.
Events get the kids excited about what is happening too. When it is a new month or I add a new event, students will bring their parents over to the calendar to show them! AMAZING! You can purchase your own set of calendar icons, calendar numbers, and calendar month headers by clicking on the picture below.
Setting up the Calendar
On the first day or last day of the month, students take turns helping me take down the old month and put up the new month. I do this in small groups. Some students help taking it down, some help with putting the numbers up, and some help putting the events up. The calendar numbers are attached with Velcro to the calendar so we can take them on and off easily as needed. The event icons are attached with tape.
To take down the calendar, the students take off the numbers one at a time and erase the “X”. They also take off the events icons and take the tape off the back. I have found if we erase the “X” marks when they are on the calendar, the black marker gets on the wall.
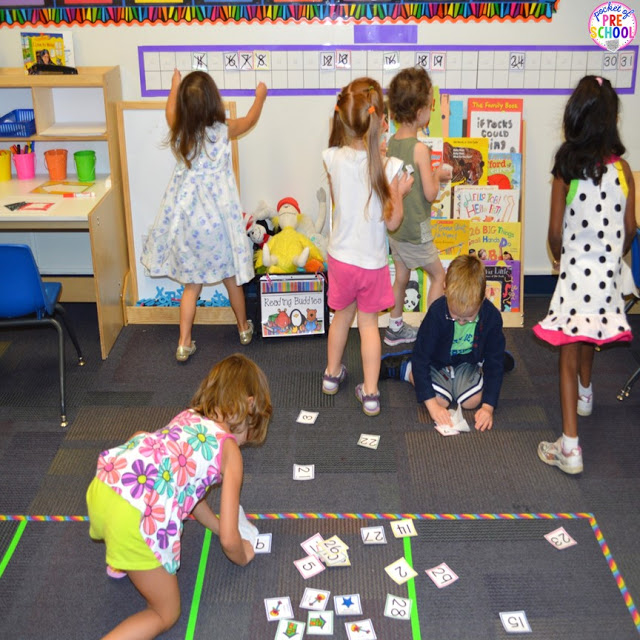
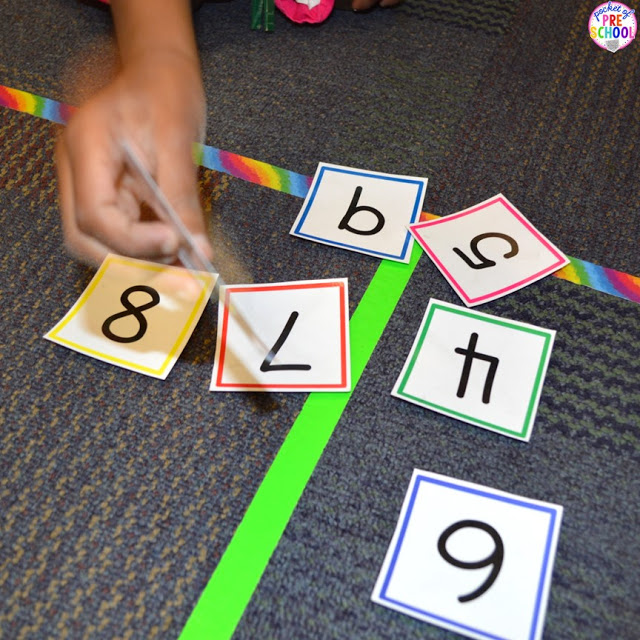
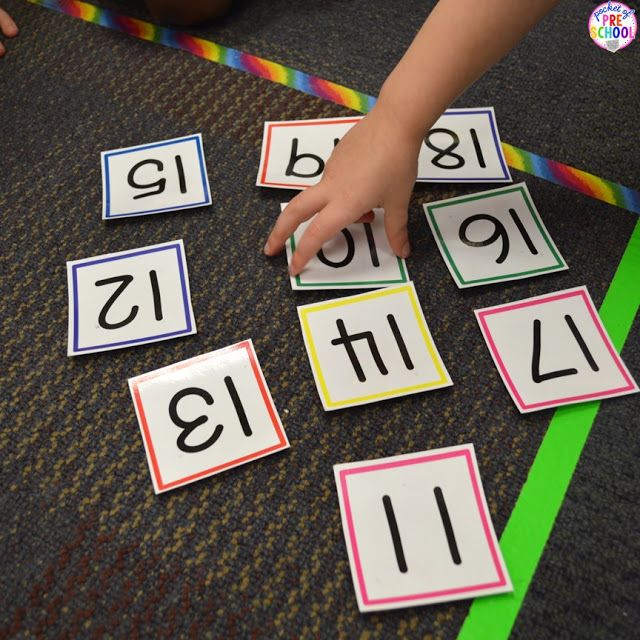
My calendar is blank at the start of setup for a new month. Students take turns putting the numbers back up (in order) which can be tricky. I only put out 10 numbers at a time. A pile of 31 numbers would be too overwhelming. We put up numbers 1-10, then numbers 11-19 and numbers 20-31. The older students help the younger students identify the number that comes next.
Now that the numbers are all up in order, we can add events! This is their favorite part! Students take turns putting the events up under the numbers. My calendar numbers are in different colors. Some students may need cues to find a number. I may say, “Fourteen is a one and a four. It is yellow and in the middle of the month.”
I know what you are thinking: What about a traditional calendar? In the spring, I introduce a traditional calendar. Students help me set it up every month as well. During the calendar time, they notice how the calendars are similar.
If you want to print out calendar icons smaller, just select 4 to a page when you go to print. The small icons fit perfectly in the corners. You can also still see most or all of the numbers too!
I made the “x” pieces with old overhead projector pages. It’s super simple: just cut the pages into squares and draw an X on each square with a Sharpie.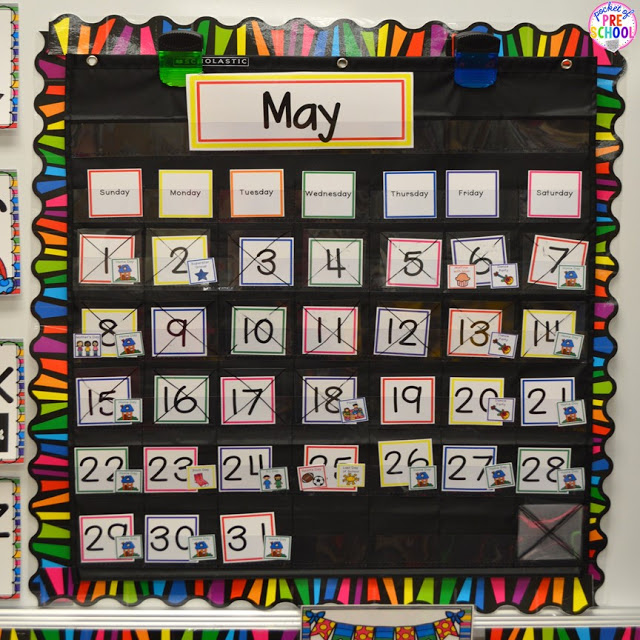
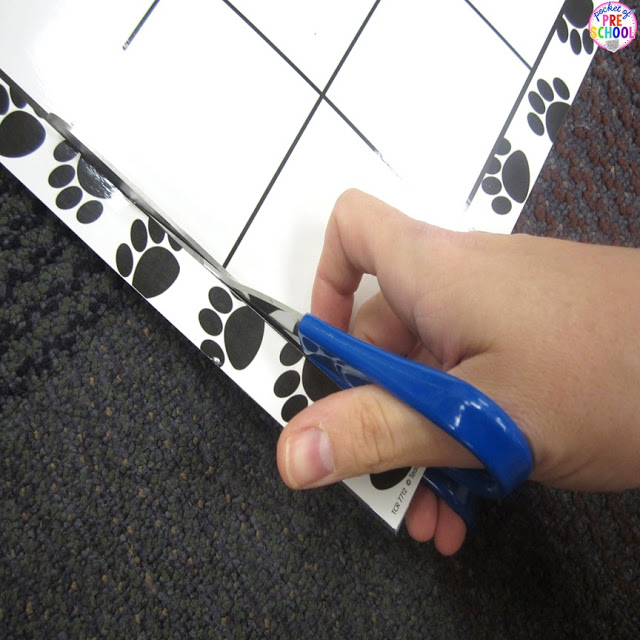
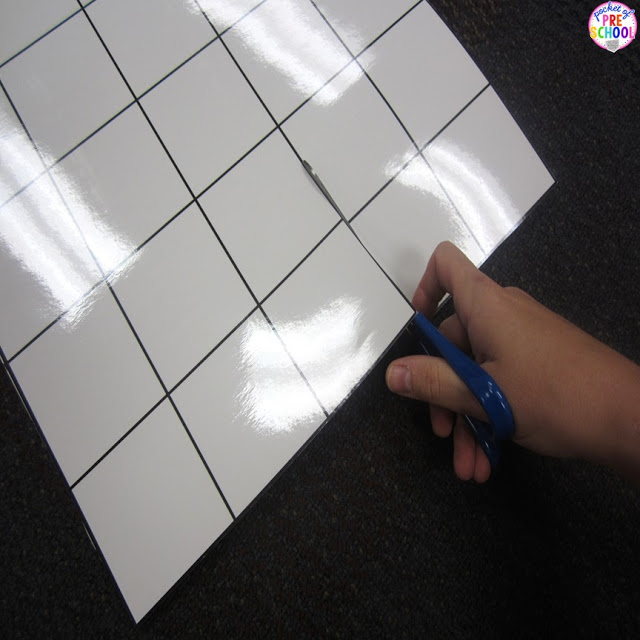
Making a linear calendar isn’t too difficult to do. Here is how I did it: I cheated and bought three calendars from the teacher store and laminated them. You could buy poster board and draw the squares by hand if you wanted. My calendar had a border I didn’t want so I cut it off.
You can also now buy linear calendars on Amazon HERE.
The calendar needs one row for the numbers and one for the events. Cut the calendar so it is two rows high.
Staying organized
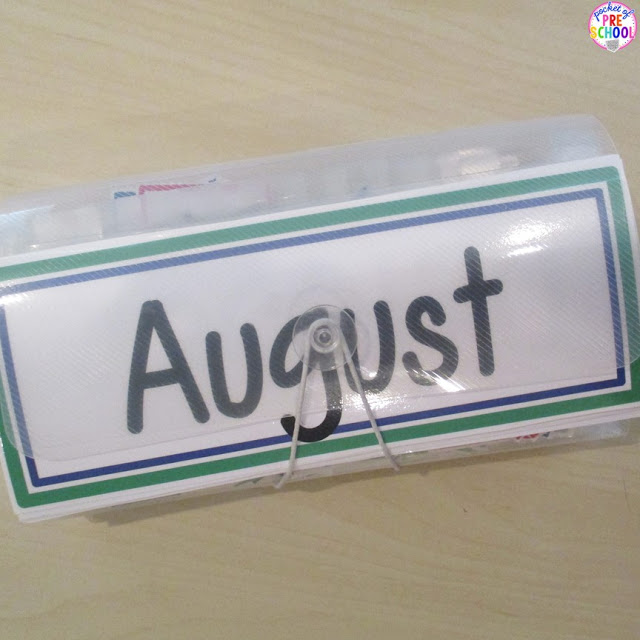
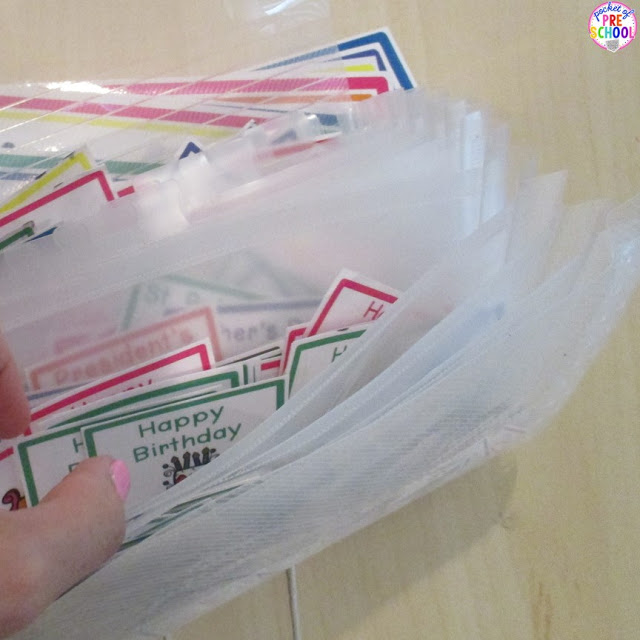
I keep my calendar month headers, extra calendar numbers I am not using, and event icons in a plastic expandable file. I got this one from Target in the dollar spot. The month headers slide under the cover but don’t fit in a pocket. I love it because it keeps all of my calendar pieces in one place! I can keep all the event icons organized into different pockets so they are easy to find!
