 Teaching students to make good choices is HARD! Students need to learn how to make good choices just like they need to learn their letters and numbers.
Social development directly affects ALL other areas of learning. One of my main goals for students is to be happy, confident learners who can solve problems and work collaboratively with others. Being able to make good choices when they are alone and interacting with others is a BIG part of that.
Green and red choices is an universal support available for all students to support their social-emotional behavior.
- It teaches students the expected behaviors in all settings (school, home, community) and across the day
- Clear, consistent expectations paired with visual supports
- Expectations are positively stated (almost always)
This post contains affiliate links.
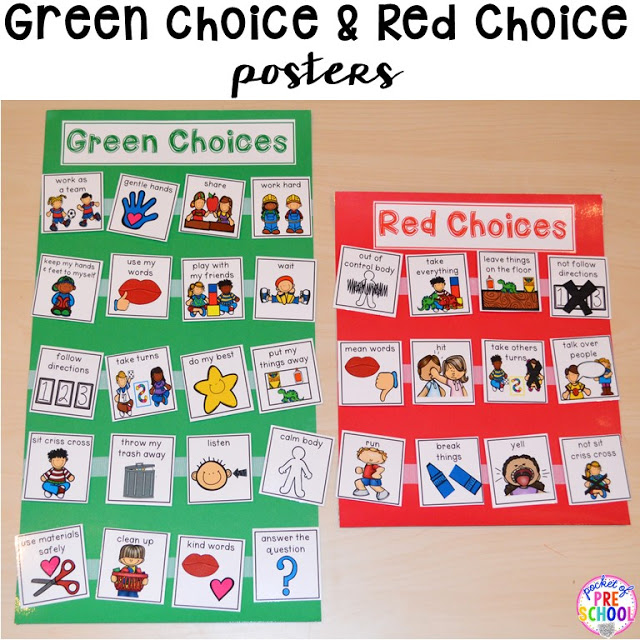
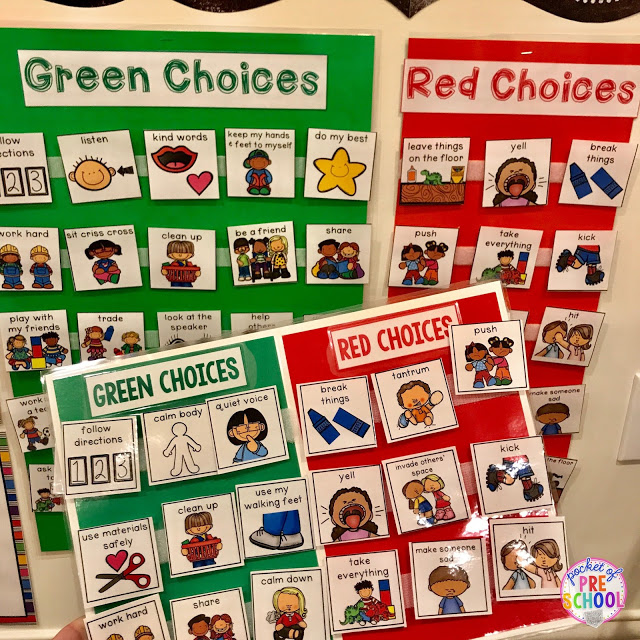
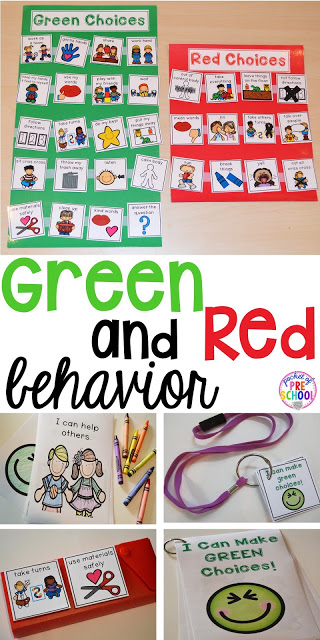
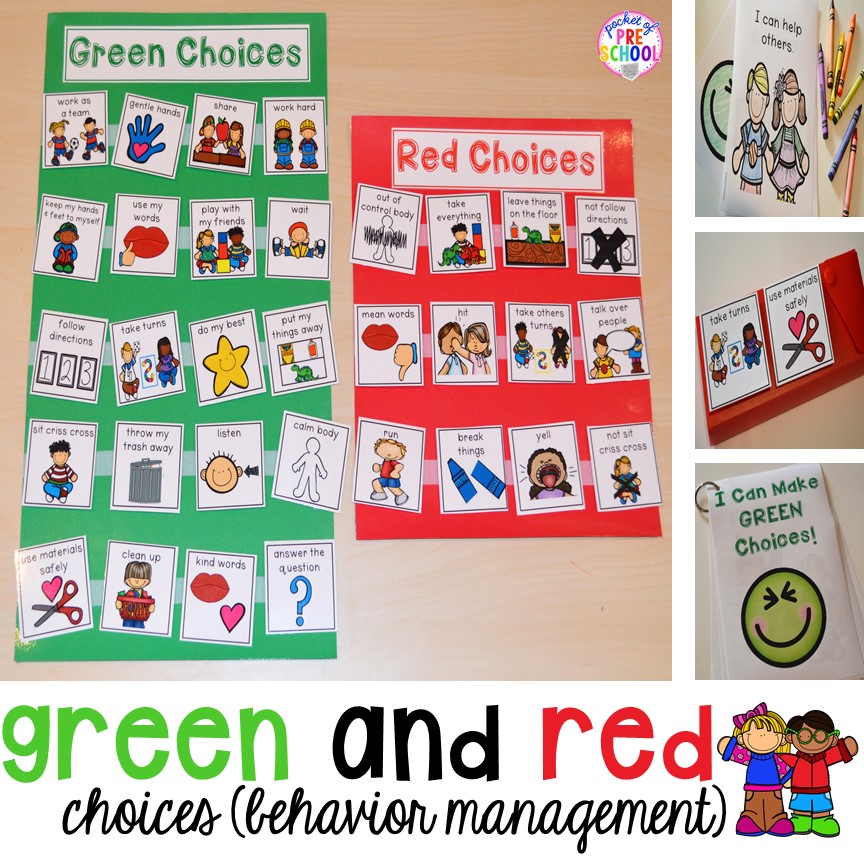
It is important to break down how to make a to make a good choice with visual supports and simple language. This is a picture of the green and red choice posters I used in my classroom last year. It was posted at my circle area at students’ level.
I introduce green and red choices over several class meetings. It gives us an opportunity to have an open discussion about them. Students can ask questions, reflect and talk about them.
I introduce the choices a handful or so at a time, not all at once. I explain the choices in concrete terms. I want them to understand what the choice is, what it looks like and what it sounds like.
WHY? Talking about the why is higher level thinking. It makes students think about how someone else feels which is something that preschoolers don’t often do.
They are egocentric and focused on themselves at this age. How does making green choices make YOU feel and make OTHERS feel? When you make a red choice, how do YOU feel? How does it make OTHERS feel? What other things can happen when you make this negative choice?
If there is a reoccurring problem in your classroom, have a class meeting to talk about the red choices students are making and what green choices they could make instead.
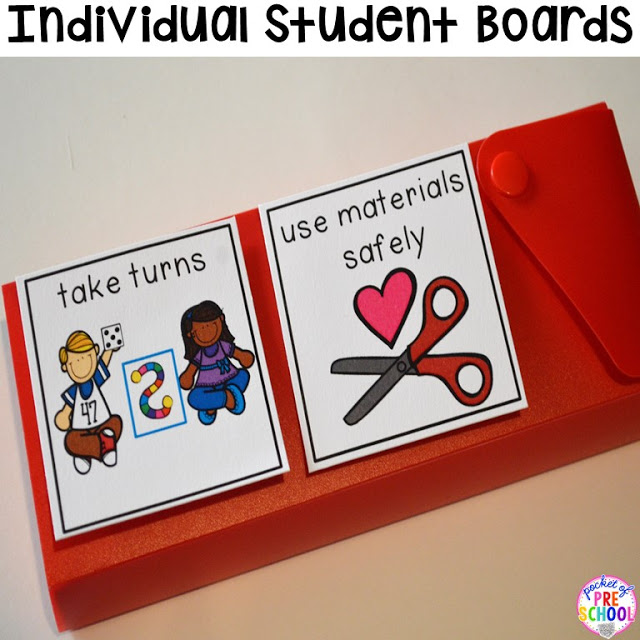
I have had students who have needed their own individual green choice board. I made this for a friend in my class and his favorite color was red which is why the pencil pouch is red (not for red choices). If I make more, I will make them green to keep the green for green choices going. I laminated just the green choice cards that he was working on making and attached them to the front of the pouch with Velcro.
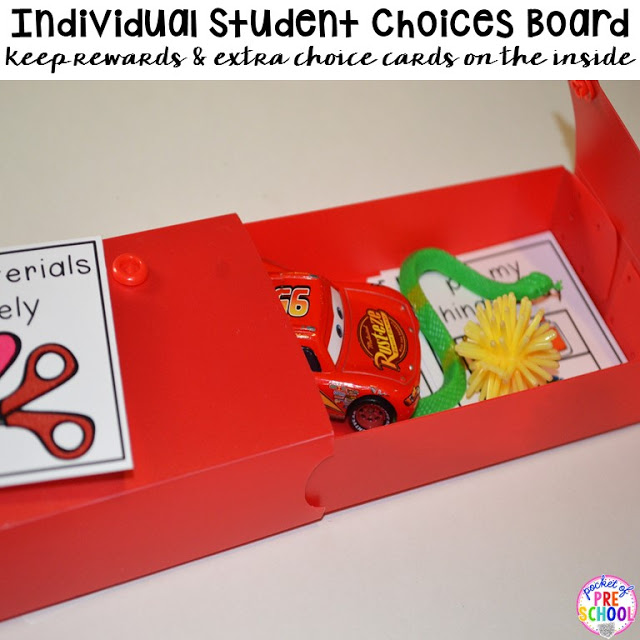
The wonderful thing about this pencil pouch is that I can keep his rewards and extra green choice cards INSIDE the pouch! They are at our fingertips for when we need them! Neither you nor the student has to go elsewhere and get the reward or other choice cards! I got this last year at Office Max. It is made of a thin plastic. I am so loving this pencil pouch!
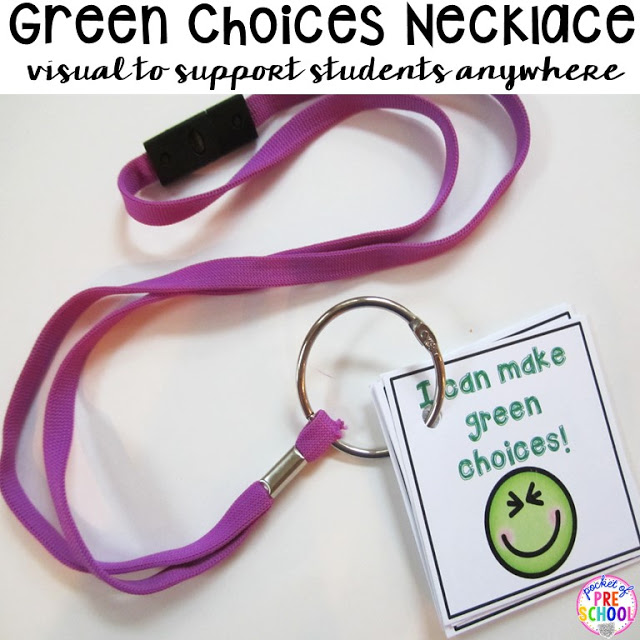
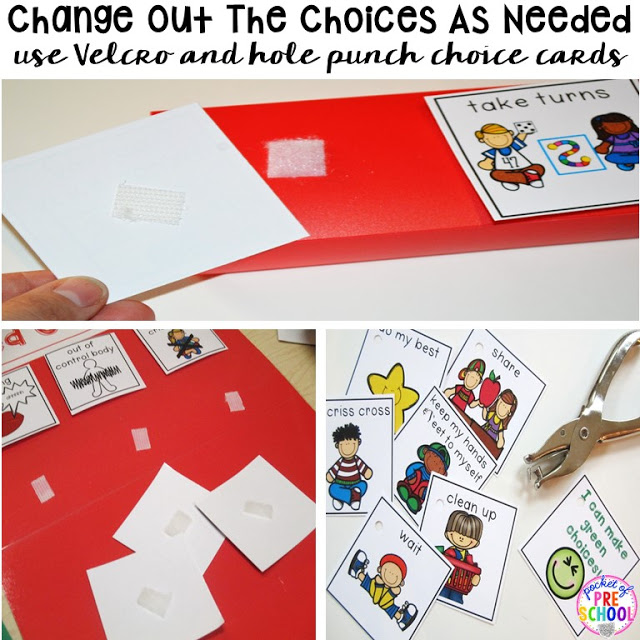
Green Choice Necklace is something new I thought of and am super excited about! I have a problem solving necklace and it is a game changer. You can read more about problem solving HERE. I expect this will be just as great. I hole punched the green choice cards, put them on a book ring and keep them on a lanyard I wear. This way I can support students making green choices without having to go to where they are posted. I can just show the picture cards as a visual on my necklace. If you see a student struggling, jump in, and go through the green choices one at a time. You can say, ” will sharing work, no” and (flip to the next card). “Will using your words work, yes! Awesome, let’s try it!” You can also have individual students wear the necklace too!
Each class is different and changes as the year goes. On the poster, attach the cards with Velcro. On the necklaces, hole punch the cards so you can easily change the green and red choices out as needed. NO more remaking things each year when a student/class changes!
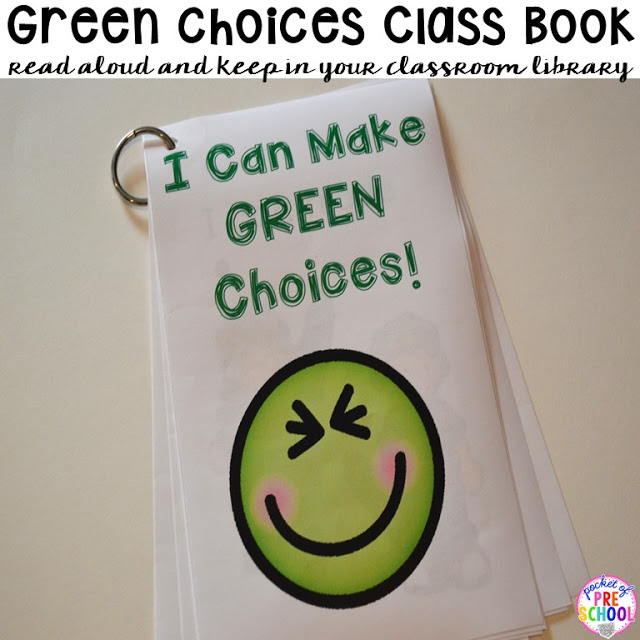
Something NEW I made for next year is I Can Make Green Choices book. Each page has the pattern sentence I can _____. It has the same picture cue and language as the green choice cards.
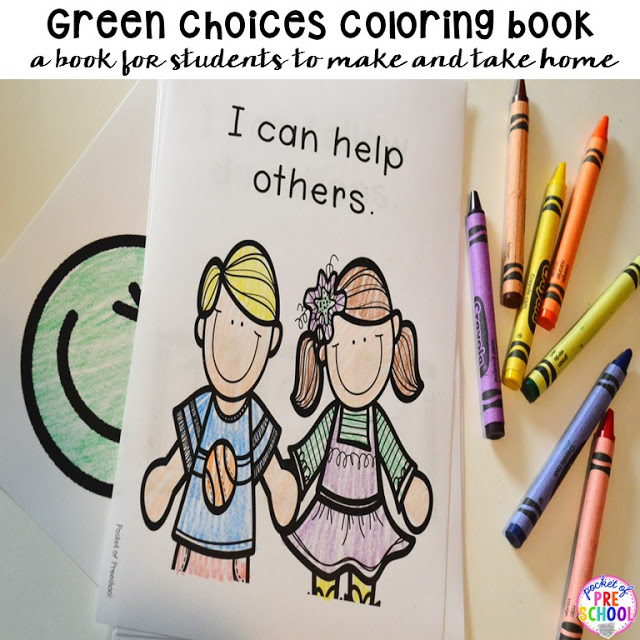
Use the black line book to save ink or to send HOME with individual students or the whole class. Students can continue the learning at home! This also shows parents the simple language you are using in the classroom and hopefully, they will start using the simple language at home too! Fingers crossed!
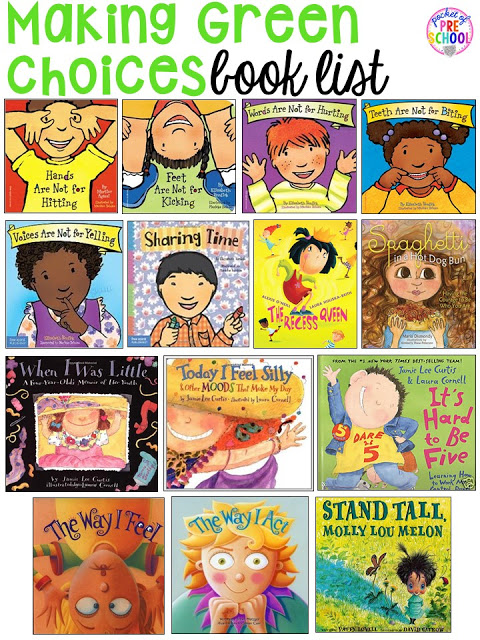
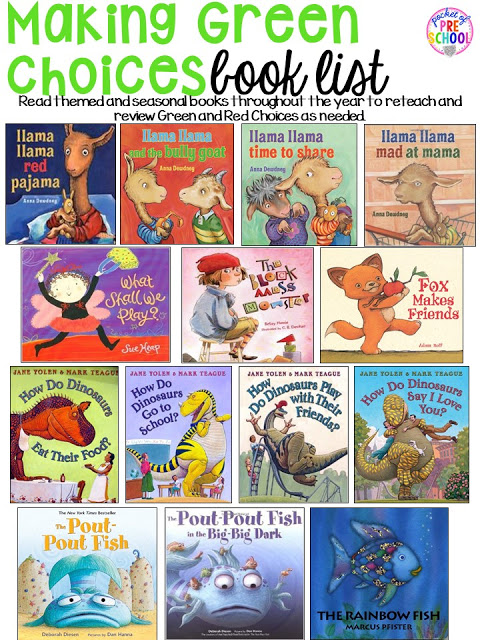
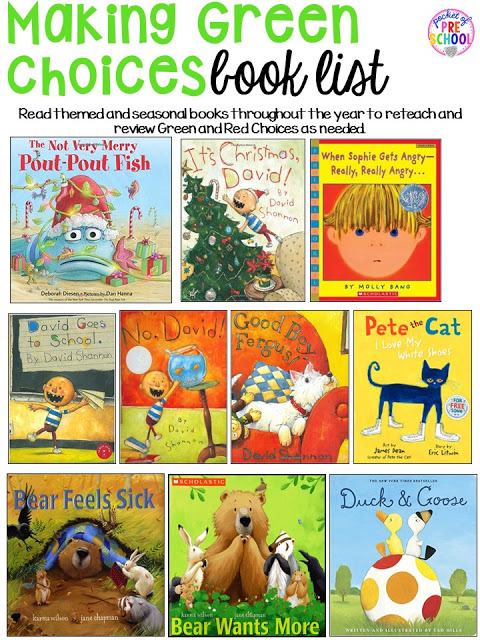
Using children’s books to teach about social skills can have a HUGE impact on student behavior. Students can relate the characters, see how the characters feel and see how their behaviors can positively or negatively affect others. Most books have characters interacting with each other.
Llama Llama Mad at Mama, Llama Time to Share, What Shall We Play and How Do Dinosaur Play with their Friends are my favorite!
Use this as an opportunity to talk about making green/red choices. Students will be able to relate to the characters in the book. It gives them examples of what to do or what not to do.
Before, during and after you read, talk about how the character(s) are making green/red choices. It may be the focus of my lesson, or I may just touch on it for a few minutes. Use those teachable moments that come up as you are reading!
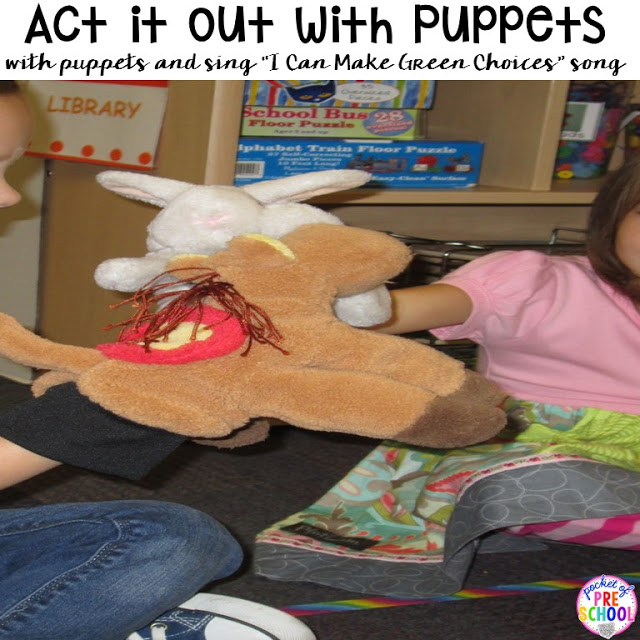
Just like with another subject, practice, practice, and when you think they got it more practice. It is essential! You want making green choices to become a habit. Making new habits takes a LONG time. Make “practicing” green choices FUN and INTERACTIVE using puppets and songs!
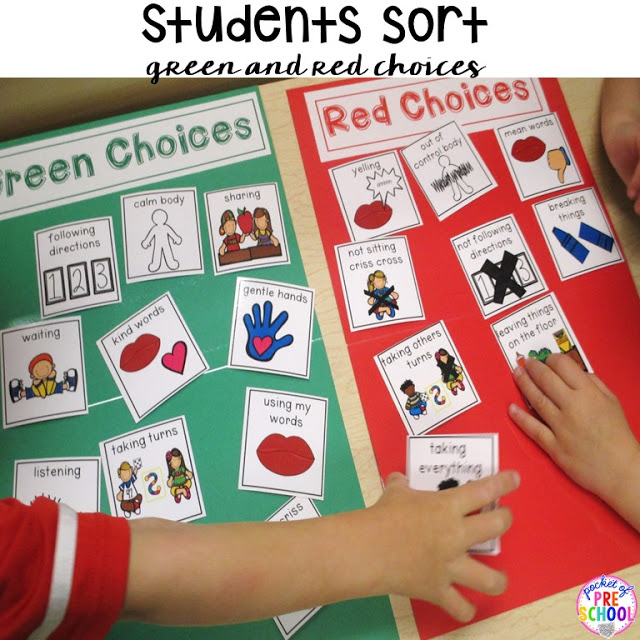
A fun activity is to take all the cards off and have students sort them. The conversation these two friends had was hysterical. I wish I had recorded it. They were sharing examples of classroom and family situations when someone made a green or red choice.
My Green and Red Choices chart looked rough so I made a new one! I bought new red and green poster board, Velcro and printed out new cards and headers. I decided to make the red choice smaller so the green choice chart would stand out more.
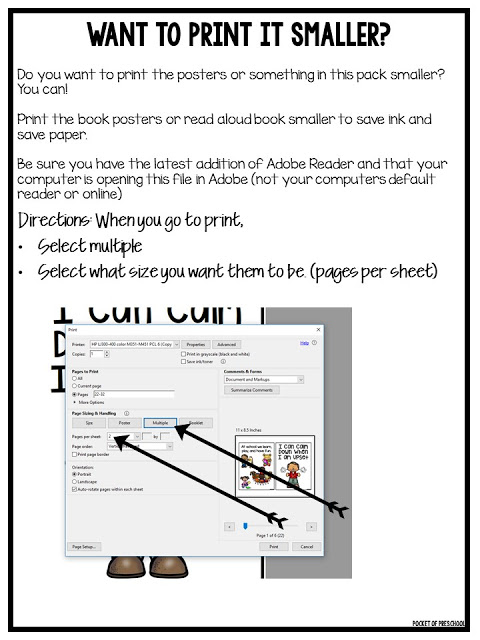
I also had the smart idea of making a small chart that I can use at small group time. You could even make one for individual students use who need it too. Why haven’t I thought of this before now? It’ super simple to do! Just print the cards and headers–two to a page.
If you are a visual person (like me), here are the directions!
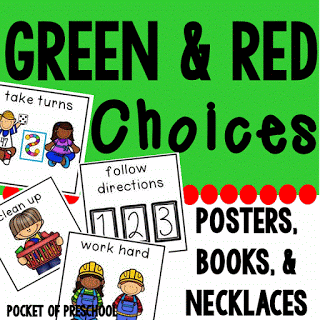
Want to use Green and Red Choices in your classroom? Go to my TPT store by clicking on the cover above, and you have everything you need! Included are 11 pages of informative teacher instruction pages explaining everything in more detail!
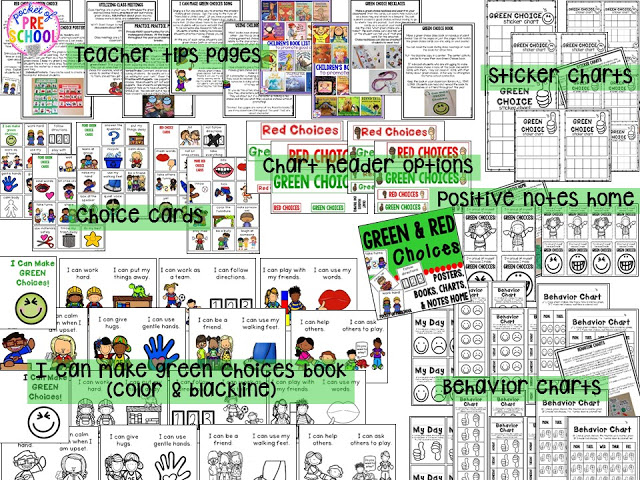
Based on your feedback, I have added sticker charts, behavior logs, more choice cards, positive notes home and thumbs up/down visuals! I LOVE hearing how it works for your students and your classroom. Keep the feedback coming!
Look at the preview of everything included!
Want to remember this? Pin it!
Find more inspiration to teach social-emotional skills in your classroom on my Pinterest Board.
