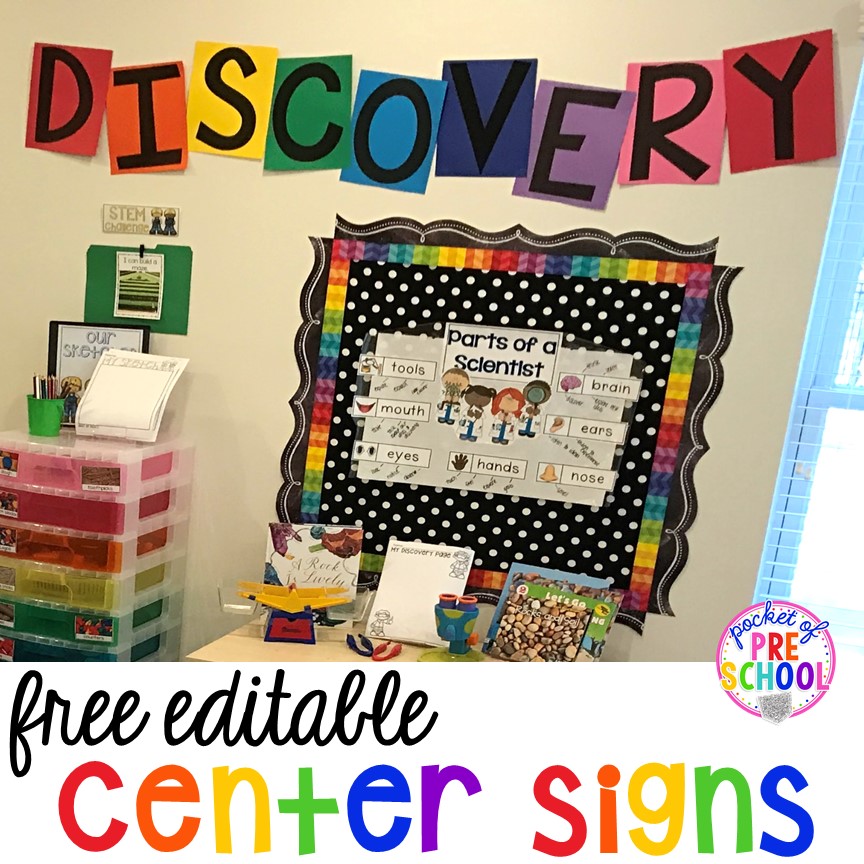
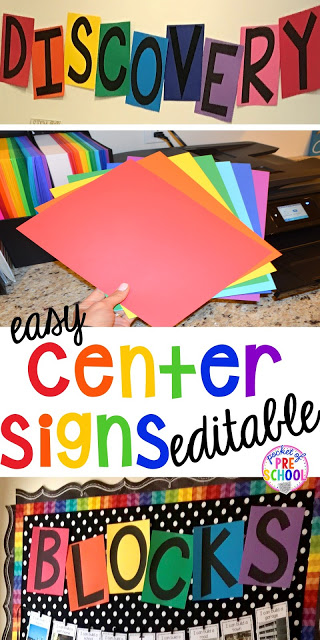
Need an EASY way to label your classroom centers? I have created something perfect for you!
Colorful letter signs that are quick, simple, and don’t require a special machine. PLUS, there’s no cutting involved! Don’t get me wrong; I think the bulletin boards I see with all the letters perfectly cut out are amazing and beautiful. I just don’t have the time (or energy) for that.
Grab the FREEBIE by entering your email in the box at the bottom of this post. This post contains affiliate links which means I earn a tiny commission when you use my links at no cost to you.
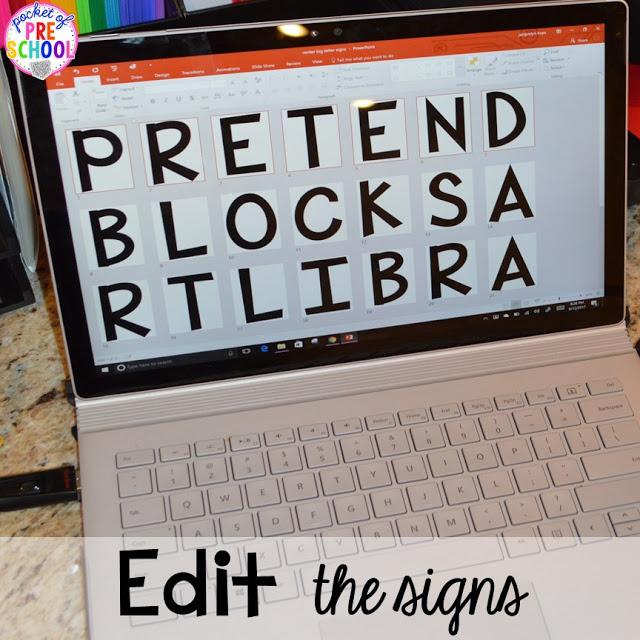
The first thing you need to do is DOWNLOAD the file BELOW. Open the file, then pick your favorite font or download/install the one I used.
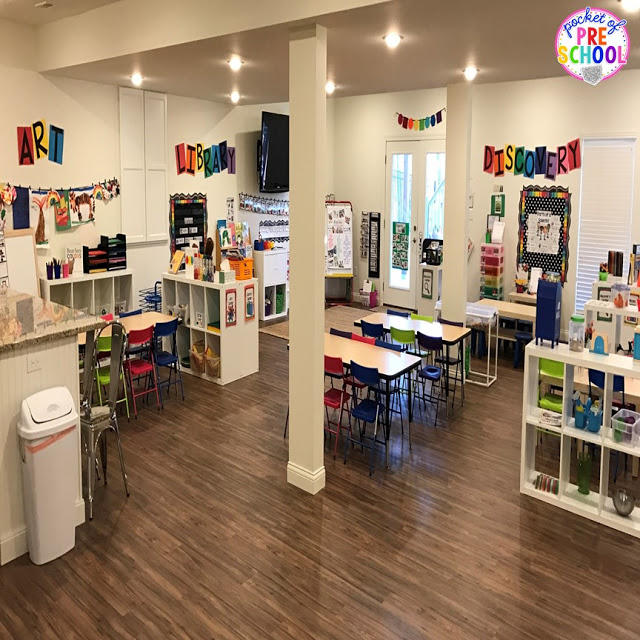
Next, edit the letter signs. Each slide has one letter per page. The centers in my classroom are pretend, blocks, art, library, and discovery. They are already in the file. If your centers are different than mine, just edit the text. If you decide to use a different font, you may need to move the letter to make it centered on the page and/or change the font size. Directions on how to do that are included. It’s super simple.
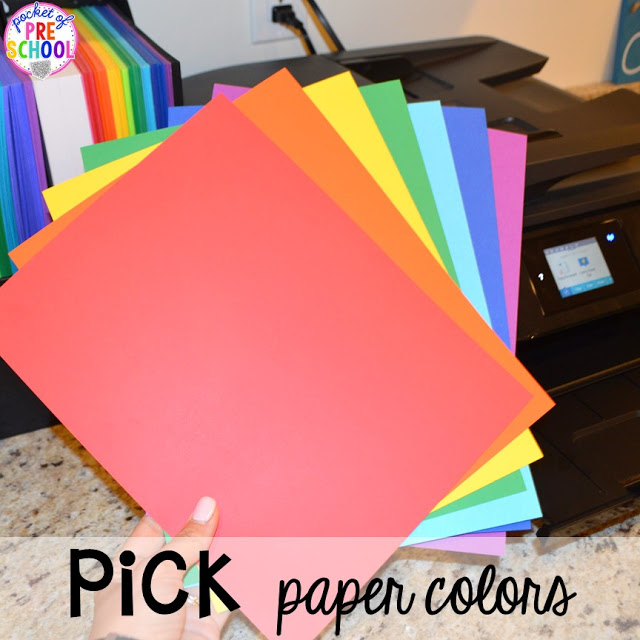
Now the fun part: choosing the paper! Pick colored cardstock to match your classroom theme. My theme is rainbow, so I picked out rainbow colors.
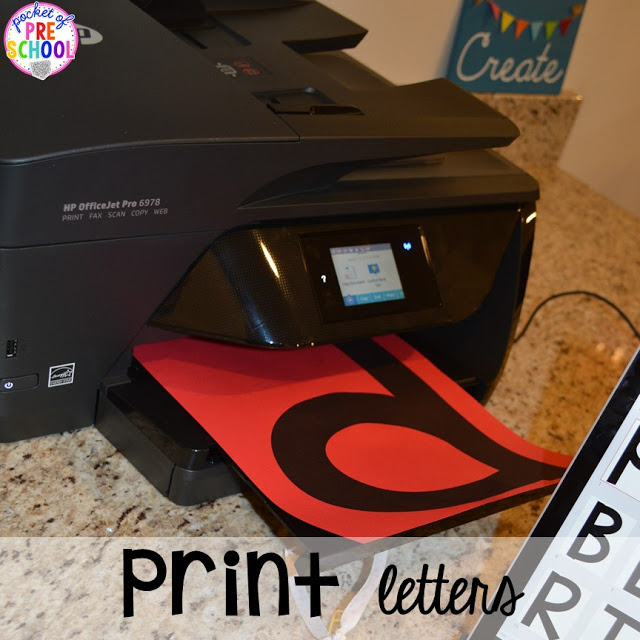
WAIT before you print! Test a few pages to see the order your printer prints the pages! Does it start with the first page or the last page? I learned this the hard way because my printer starts with the last page.
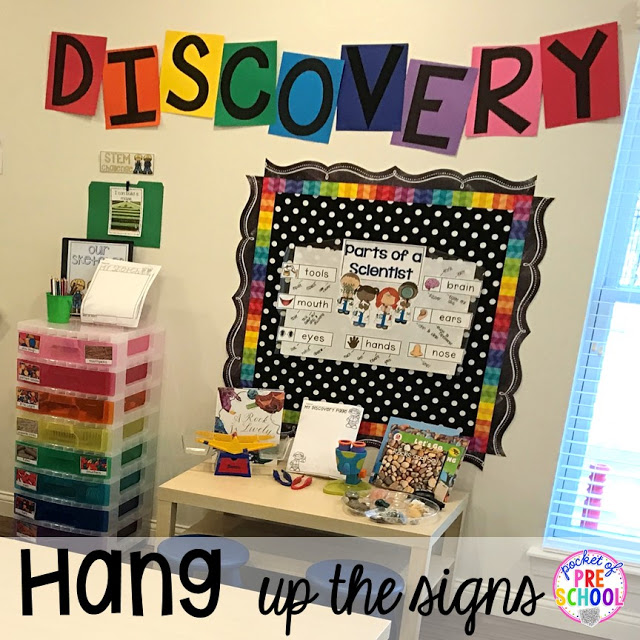
It’s time to hang up the signs in each center. I didn’t laminate mine, but you can if you want to.
I just love how the colors pop on the white wall! It’s so bright and colorful! It just makes me smile. And it’s super easy for parents to see what and where the classroom centers are.
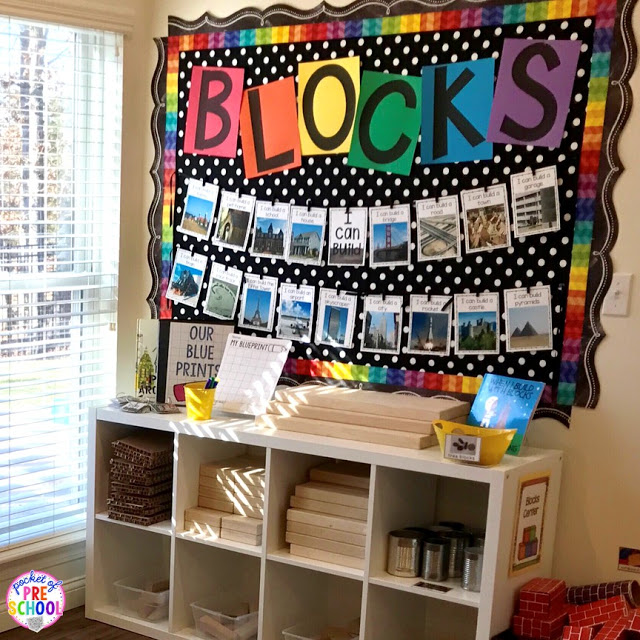
For my blocks center, I put the center sign on my bulletin board. The black polka dot is fabric from a fabric store. The border is two borders layered together: rainbow border and chalkboard border.
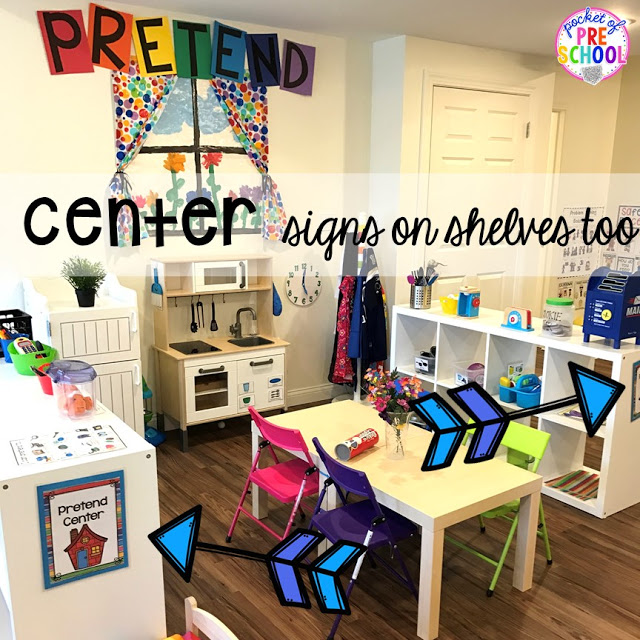
The signs are high up on the wall (not at child height at all). So on the end of each center shelf, I have a color coded center sign, so the students know which center is which.
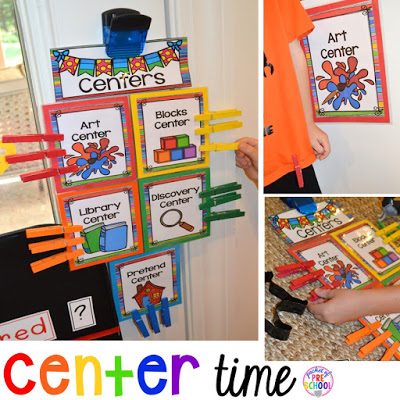
You can read all about how I manage center time and about color-coded centers HERE or by clicking the photo above.
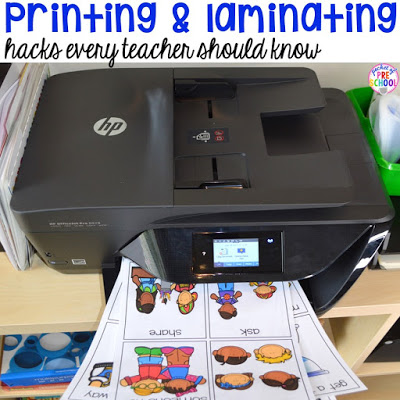
Want to know MORE printing and laminating HACKS? Just click HERE or the photo above.
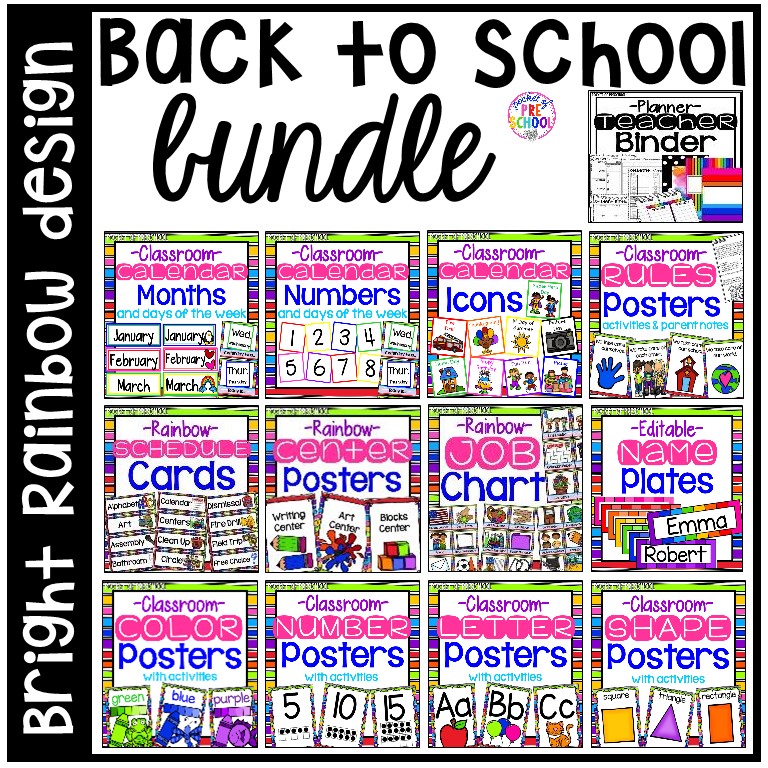
If you LOVE rainbow decor as much as I do, grab my RAINBOW Decor pack from my TPT store HERE. I also have a new decor pack with REAL photographs, and you can grab it HERE.
Love it? Pin this image!

