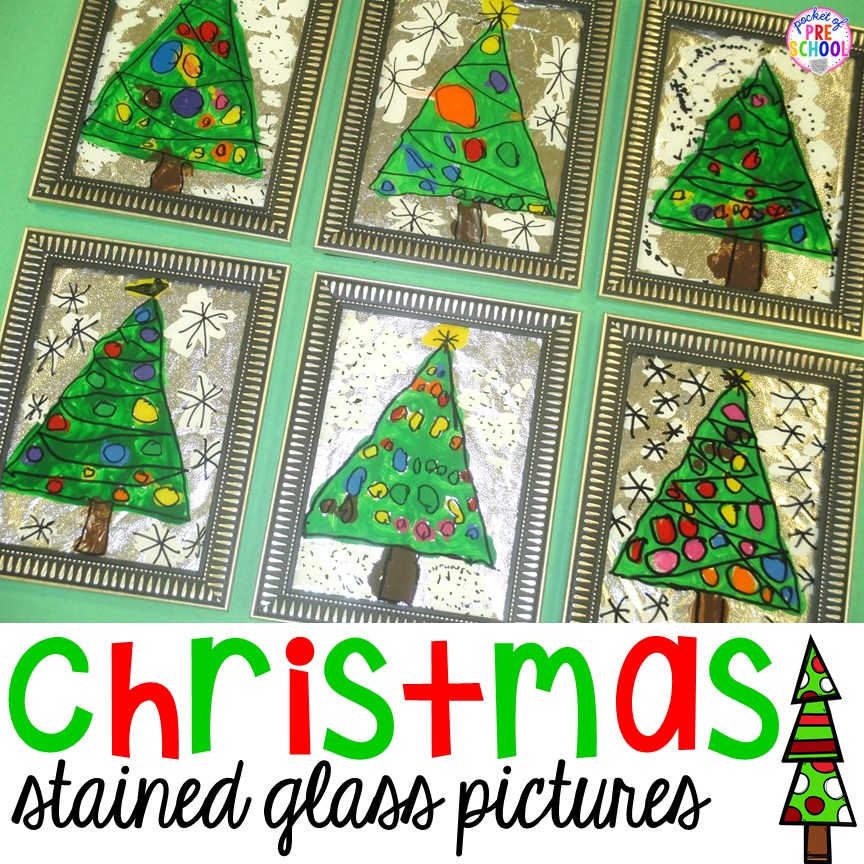
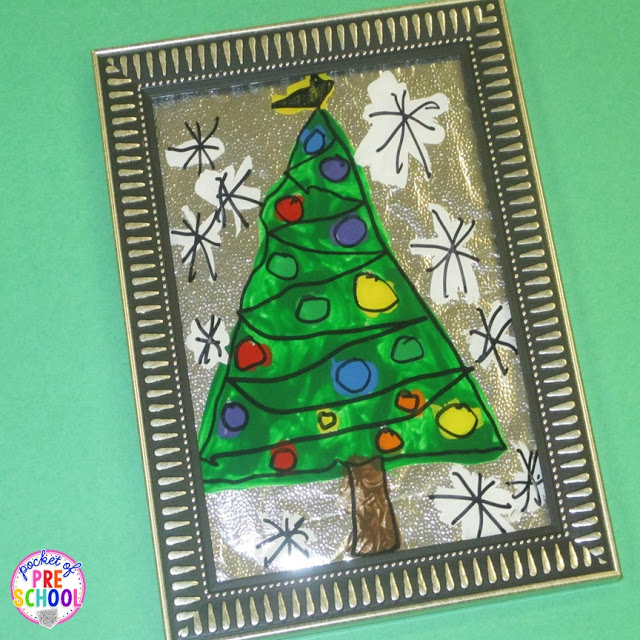
Every year in December, students make Christmas gifts for their parents. This year I decided to make stained glass window pictures! The first thing I had to do was go to my favorite store, The Dollar Tree, to purchase a frame for each student. For this project, I used 5 X 7 size frames. From my art cabinet, I pulled out acrylic paint, paint brushes, black Sharpies, plastic cupcake tray, and a dry erase marker.
This post contains affiliate links.
The day before we created our stained glass window pictures, we did a directed drawing. Students were able to practice drawing a tree with ornaments, garland, and snow around it. It was a time for them to experiment drawing with a black marker. After that step, they were able to fill it in with various colors.
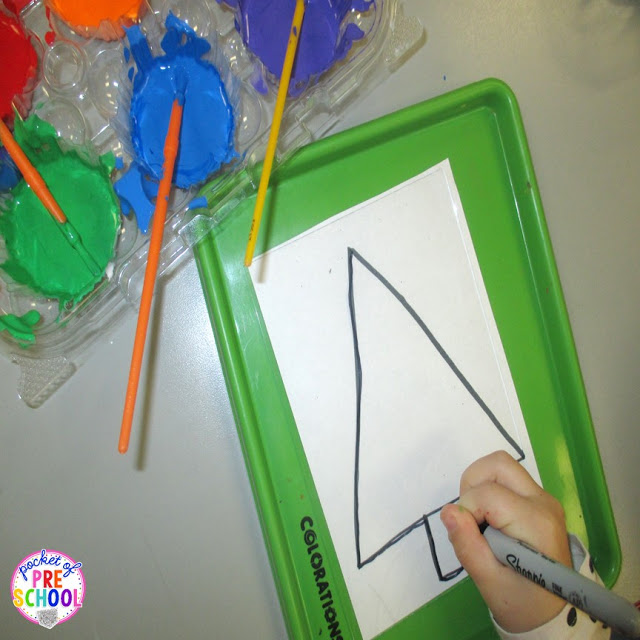
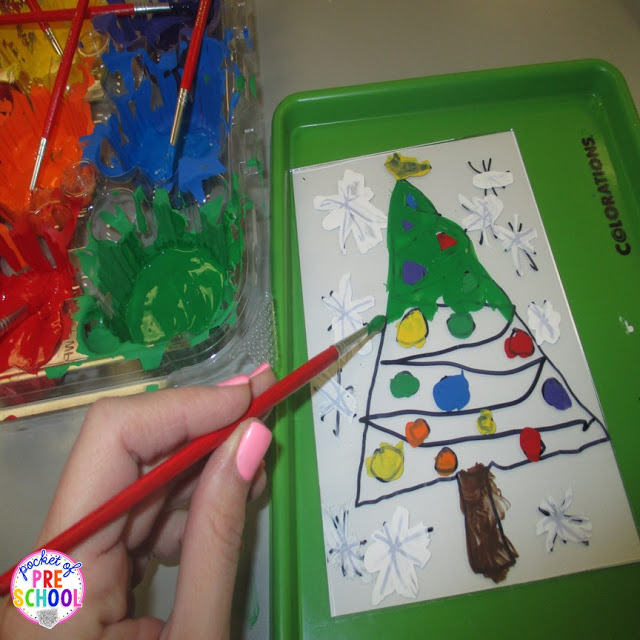
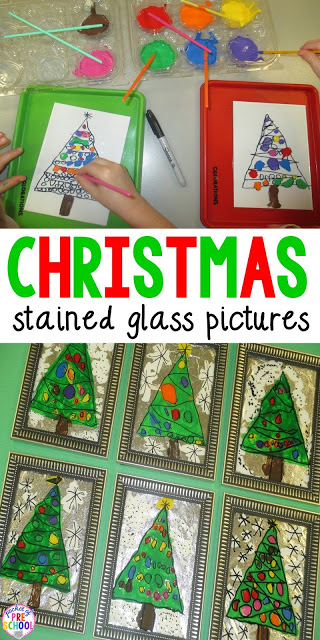
For this project, students drew on the glass of the picture frame. I took the glass out of the frame and placed it on a tray. Under the glass, I placed an outline of a tree with a trunk. Students traced the tree and the trunk with a black Sharpie. Then they drew a zig zag for the garland, circles for the ornaments, a star at the top, and snowflakes around the tree.
If a student made a mistake on their drawing, I drew over the mistake with a dry erase marker. Then used a tissue to wipe off the dry erase marker. It removed the Sharpie! It is an amazing trick I learned this year. It is a life saver. It also works on plastic too.
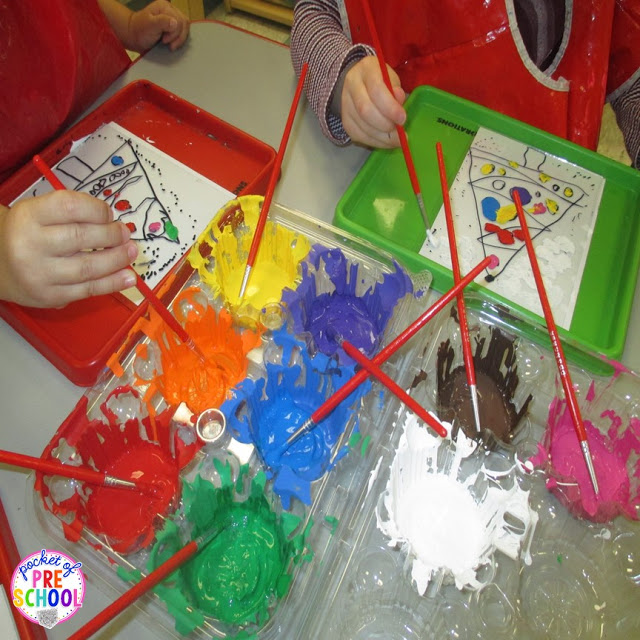
It took a few days for everyone to make their stained glass window painting. Some of my students are part time and only come two or three days a week. To help with clean up, I placed the acrylic paint in plastic cupcake trays. After we were finished painting that day, I took the brushes out and covered the cupcake paint trays with plastic wrap to save for the next day. When we were completely finished painting, I threw the trays away.
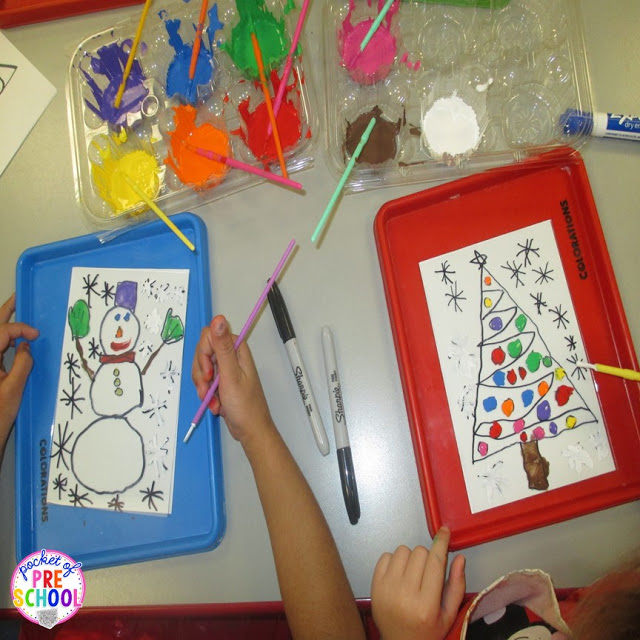
Time to paint! Students painted on the same side they did the drawing on. They painted the ornaments, lights, star, and snow. I set the trays around the room to let the paint dry.
Not all of the students in my class celebrate Christmas so I offered an alternative to the tree. Those children created a snowman instead of a Christmas tree. It is such a cute little snowman!
Later that day, I painted the tree green. I did this part for my students due to their young age. If you have older students, they are capable to do this part too.
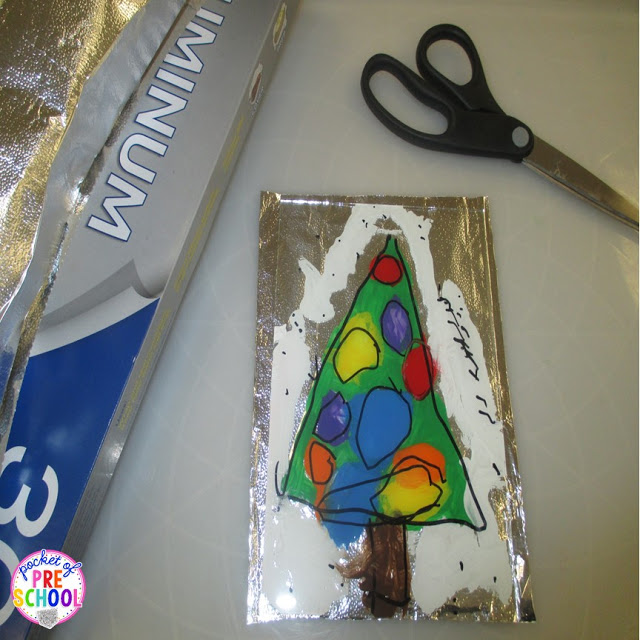
Once it was completely dry, I flipped the frame over so the paint is on the back. Then I cut a piece of foil to fit behind the glass.
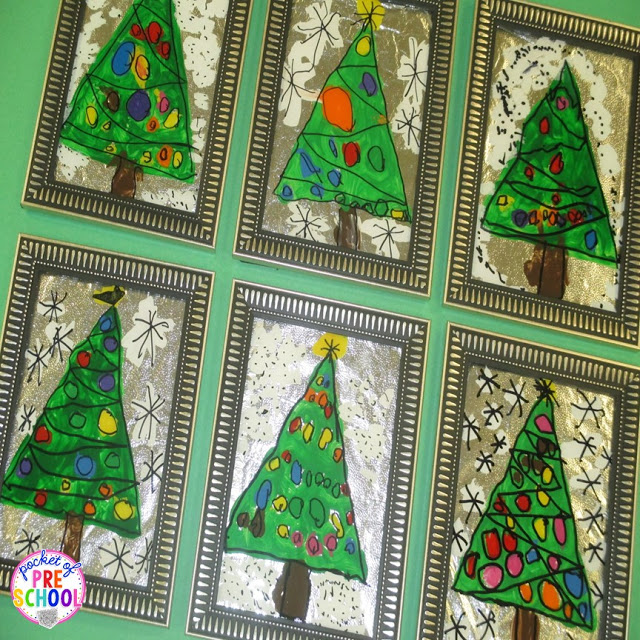
It was super simple to put the frame together. Now their masterpieces were complete! I LOVE the way they turned out! Each one is beautiful and unique. It is a gift their parents will get out each and every year and treasure always.
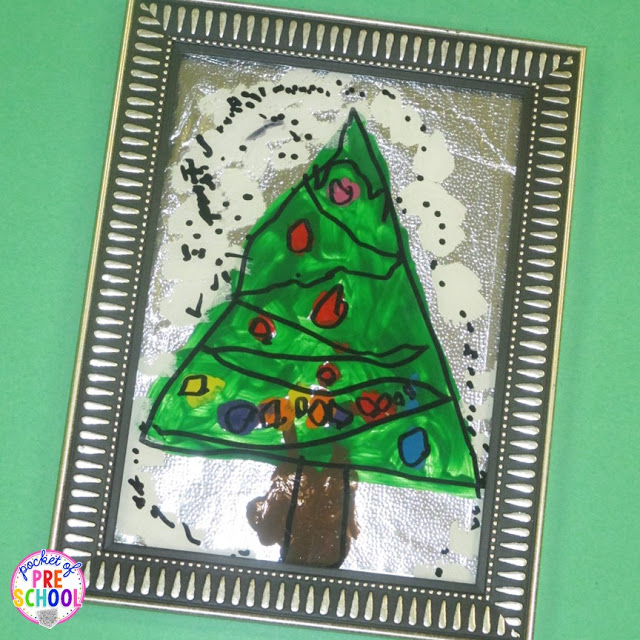
You may have noticed that some had more details in their drawing than others. My classroom is made up of cute little ones ranging from ages two to five. As always, I tailor projects for each student to ensure they are successful! A three-year-old made the stained glass picture above. She drew dots for the snow and did not want a star. I had other three-year-olds who did not draw the zig zag garland and only drew circle ornaments on their tree. The picture below was made by a five year old.
Like it? Pin it!
