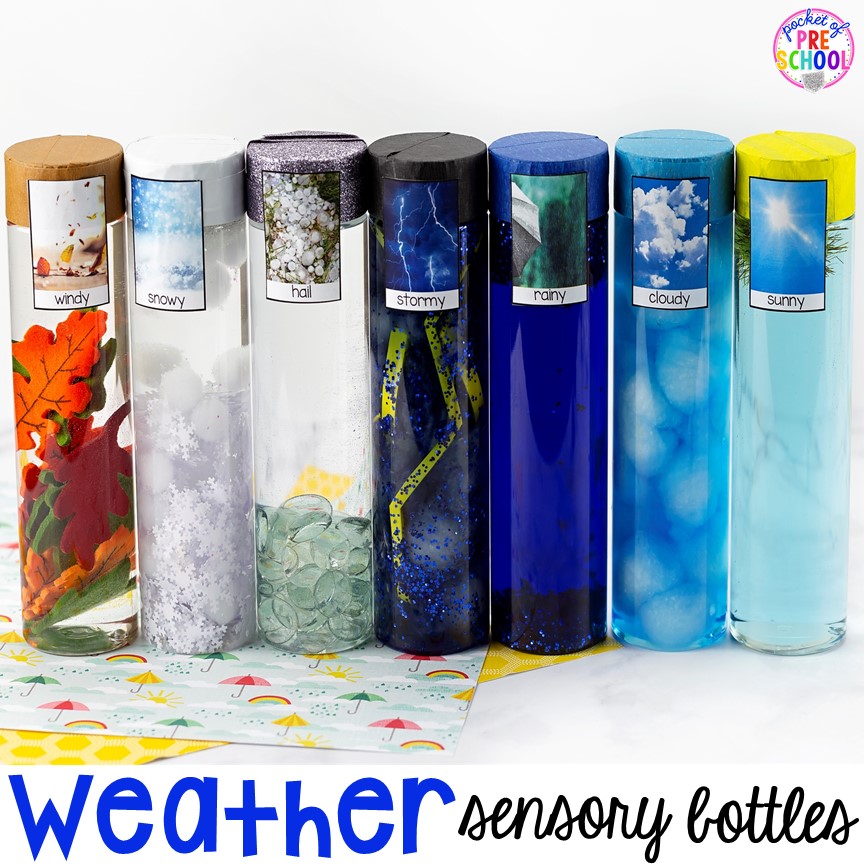
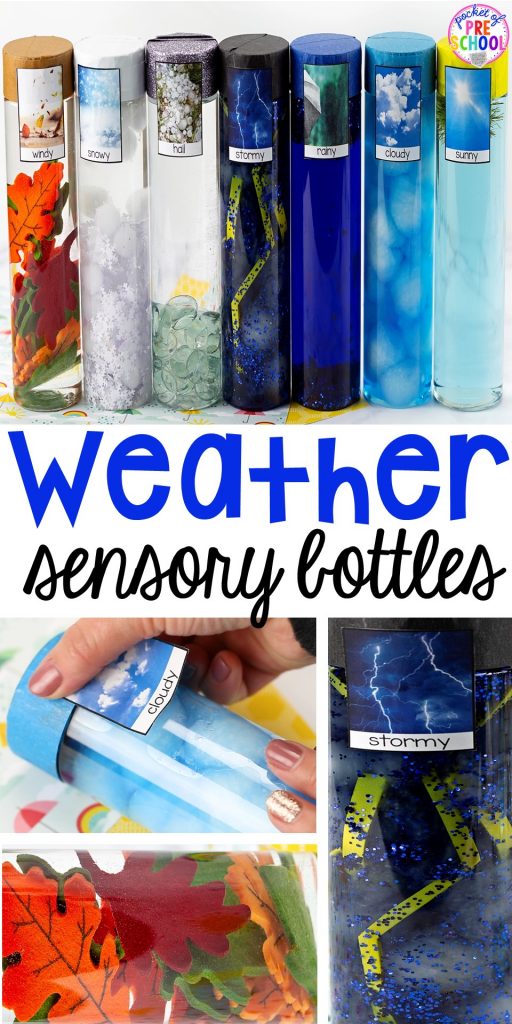
Weather is always a fun science topic to explore! Bring the weather inside with weather sensory bottles. Students can explore the different types of weather and how they look and sound using these weather sensory bottles. To make them even more amazing, tape a real photo of the weather to the top of the bottle (a freebie I made for you)! Now, let me share with you how I made each one.
Grab the FREEBIE by entering your email in the box at the bottom of this post. This post contains affiliate links which means I earn a tiny commission when you use my links at no cost to you.
>> Grab the All About Weather Science Unit HERE <<
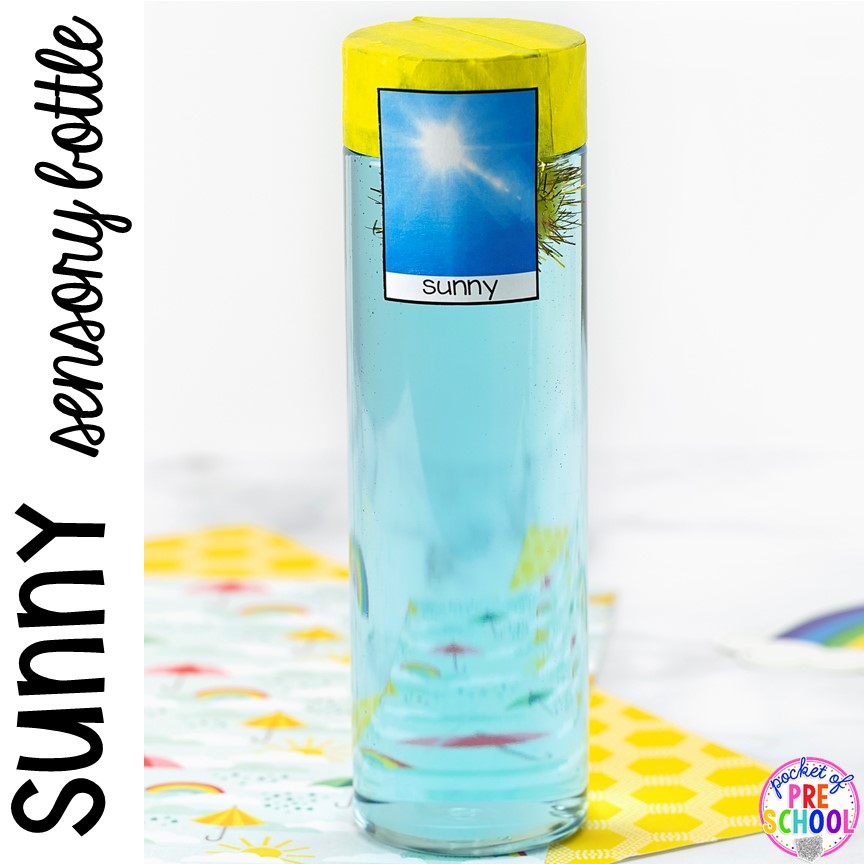
Sunny Sensory Bottle
- empty bottle
- fill almost to the top with water (color water with a drop of blue liquid watercolor or food coloring)
- add a large yellow pom pom (the sun)
- fill to the top with water, leaving about 1/4 inch space at the top, so there is room to shake
- hot glue or superglue the lid closed
- cover the top with yellow tape
- tape the Sunny photo to the top of the bottle
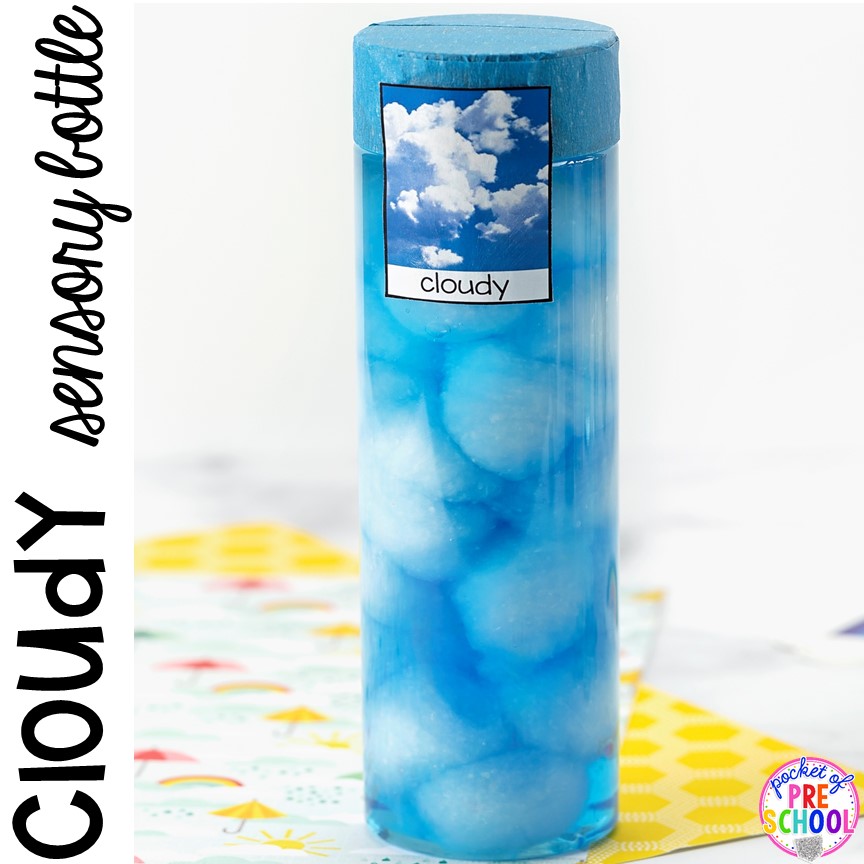
Cloudy Sensory Bottle
- empty bottle
- fill 3/4 with water (color water with a few drops of blue liquid watercolor or food coloring)
- add cotton balls (the clouds)
- fill to the top with water, leaving about 1/4 inch space at the top, so there is room to shake
- hot glue or superglue the lid closed
- cover the top with blue tape
- tape the Cloudy photo to the top of the bottle
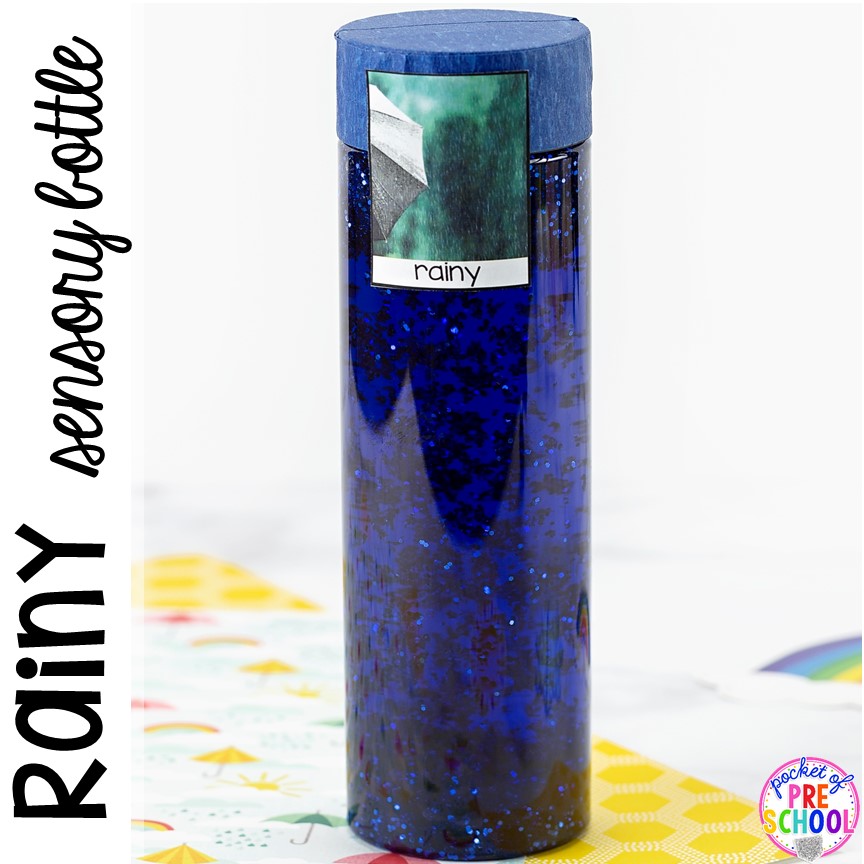
Rainy Sensory Bottle
- empty bottle
- fill 3/4 with water (color water with many drops of blue liquid watercolor or food coloring until the water is the desired color)
- add blue glitter (the rain)
- fill to the top with water, leaving about 1/4 inch space at the top, so there is room to shake
- hot glue or superglue the lid closed
- cover the top with blue tape
- tape the Rainy photo to the top of the bottle
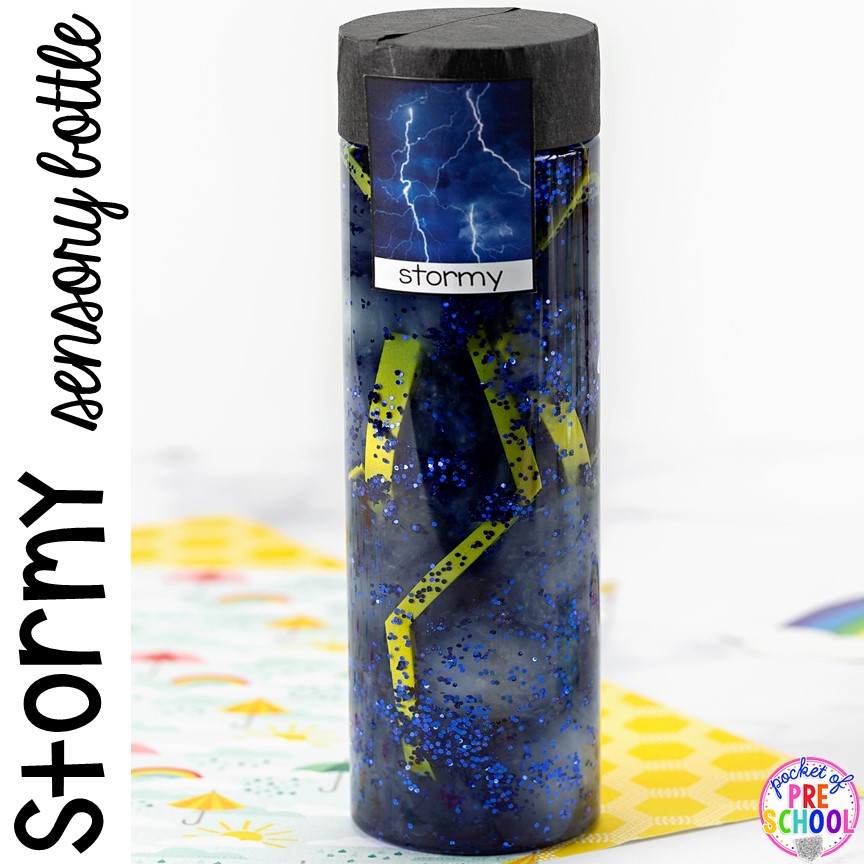
Stormy Sensory Bottle
- empty bottle
- fill 3/4 with water (color water with many drops of blue liquid watercolor or food coloring until the water is the desired color)
- add blue glitter (the rain)
- add cotton balls (clouds)
- add lightning (make by cutting yellow foam into lightning shapes)
- fill to the top with water, leaving about 1/4 inch space at the top, so there is room to shake
- hot glue or superglue the lid closed
- cover the top with black tape
- tape the Stormy photo to the top of the bottle
Windy Sensory Bottle
- empty bottle
- fill 3/4 with water
- add leaves (these were felt stickers that I pulled the sticker park off of, leaf sequins, or any other fake leaves that will fit in the jar)
- fill to the top with water, leaving about 1/4 inch space at the top, so there is room to shake
- hot glue or superglue the lid closed
- cover the top with brown tape
- tape the Windy photo to the top of the bottle
Hail Sensory Bottle
- empty bottle
- fill 3/4 with water
- add clear gems from the Dollar Tree (hail)
- fill to the top with water, leaving about 1/4 inch space at the top, so there is room to shake
- hot glue or superglue the lid closed
- cover the top with silver tape
- tape the Hail photo to the top of the bottle
Snowy Sensory Bottle
- empty bottle
- fill halfway with water
- add 1/2 cup of clear glue
- add snow sequins, table scatter, or white sparkly pom poms (snow)
- fill to the top with water, leaving about 1/4 inch space at the top, so there is room to shake
- hot glue or superglue the lid closed
- cover the top with white tape
- tape Snowy table to the top
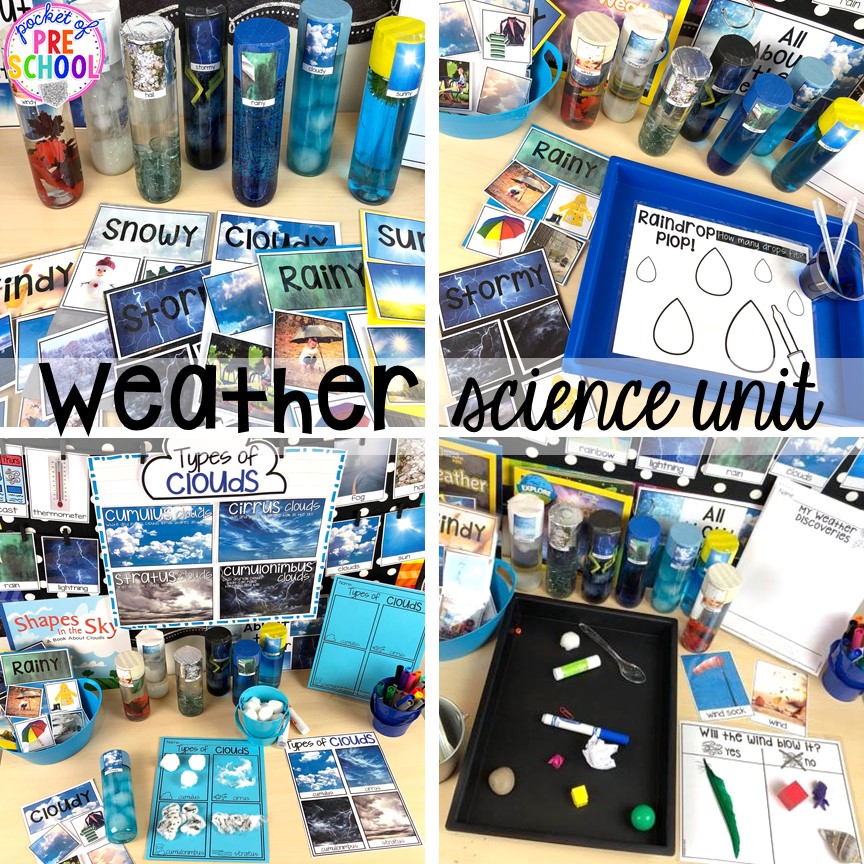
To further investigate weather with your little learners, grab the All About Weather Science Unit for tons of real photos, sorting charts, experiments, cloud STEM challenges, sun/shade STEM challenges, wind experiments, and more!
If you need Weather Centers and Activities for a weather theme, check out THIS post.
Love it? Pin it!
