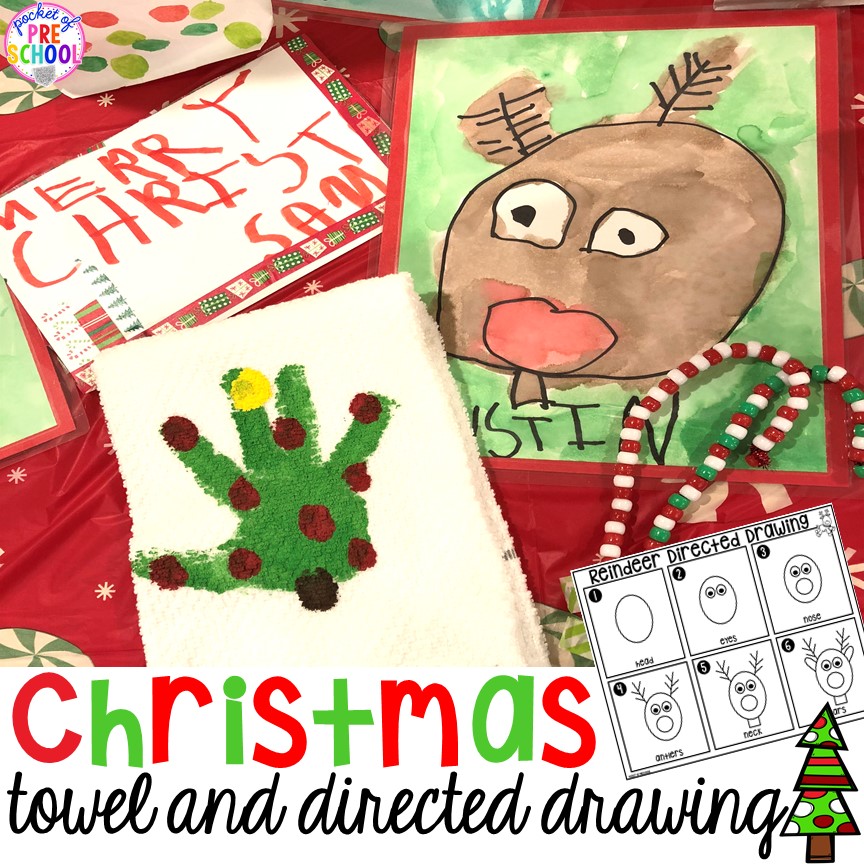
If you have a child who doesn’t celebrate Christmas, try making any handprint towel like a snowflake, menorah, or star.
Grab the FREEBIE by entering your email in the box at the bottom of this post. This post contains affiliate links which means I earn a tiny commission when you use my links at no cost to you.
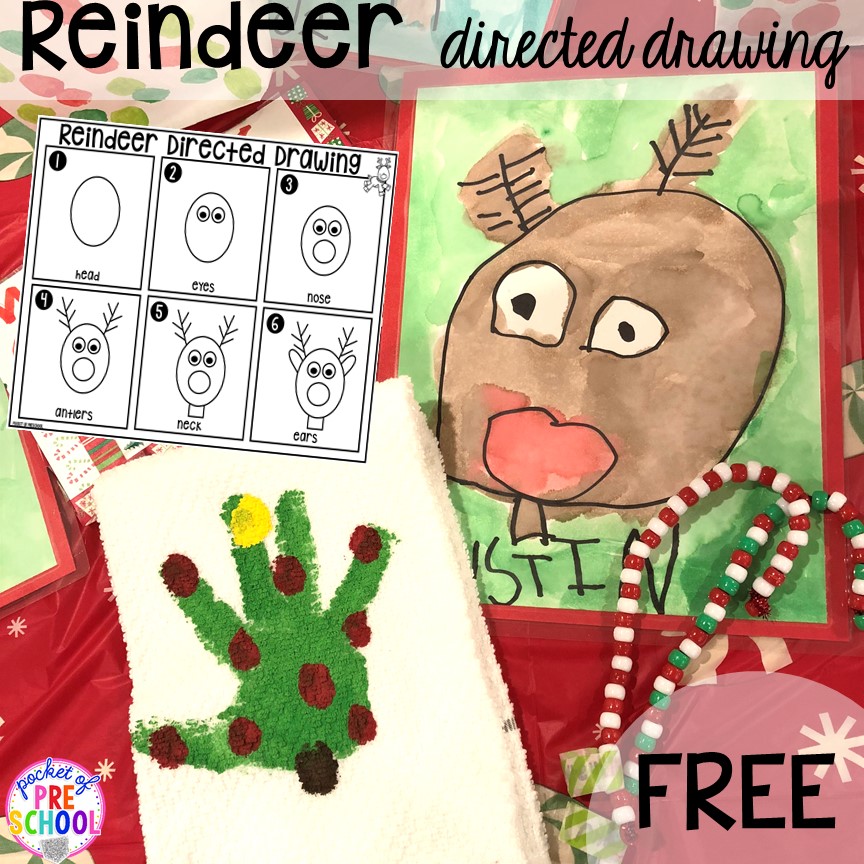
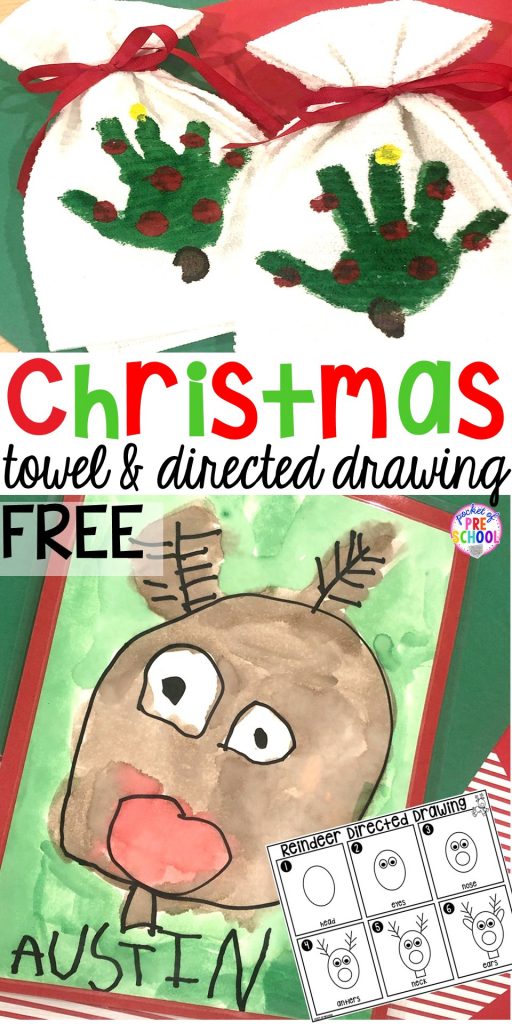
To complete this project, you will need sharpies, watercolor paint, and white construction paper. Trim the construction paper so you can frame it later with another color to make the art pop.
Students use Sharpies to draw the reindeer on the construction paper. You model each step; then, students do it just like you practiced it. Now it’s time for students to write their names at the bottom. Lastly, students paint their reindeer with watercolor paint. I also model each part to paint and what color to use, then students copy.
>>Grab the FREEBIE by entering your email in the box at the bottom of this blog post!<<
The handprint towel is a sweet keepsake that parents love! I not going to lie, handprint gifts used to stress me out because I was always so worried about students getting the acrylic paint everywhere. I have perfected a method to create less mess and a beautiful finished product.
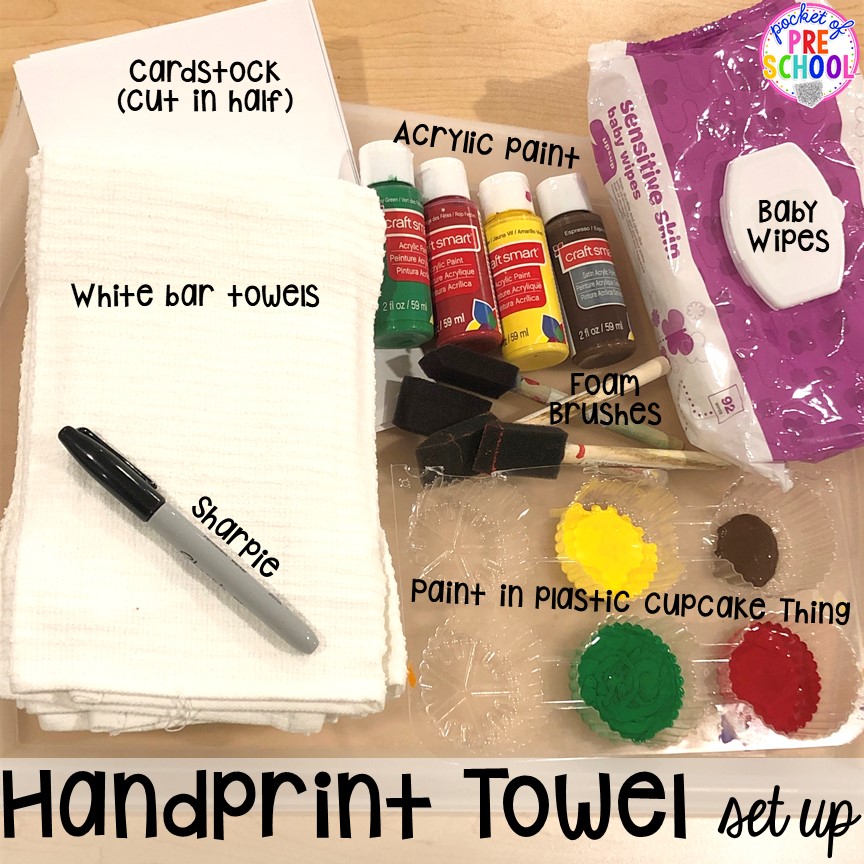
1. SET UP! Having all the supplies ready is huge. I put all the things on a tray, just like the photo above. Put the paint in a disposable tray like this cupcake tray so you can recycle it when the project is over. If you don’t get every student finished in one day, simply cover it with plastic wrap so you can use the paints again the next day.
2. Towels! I use white “bar towels” from Walmart, and I put a half sheet of cardstock under the top layer to keep the paint from going through.
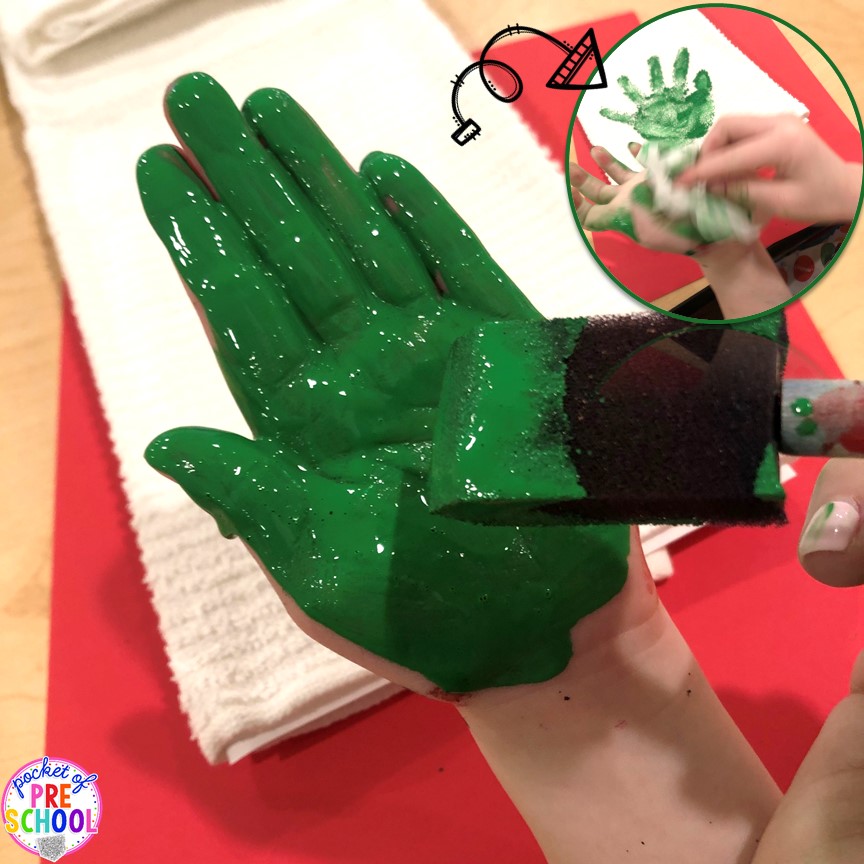
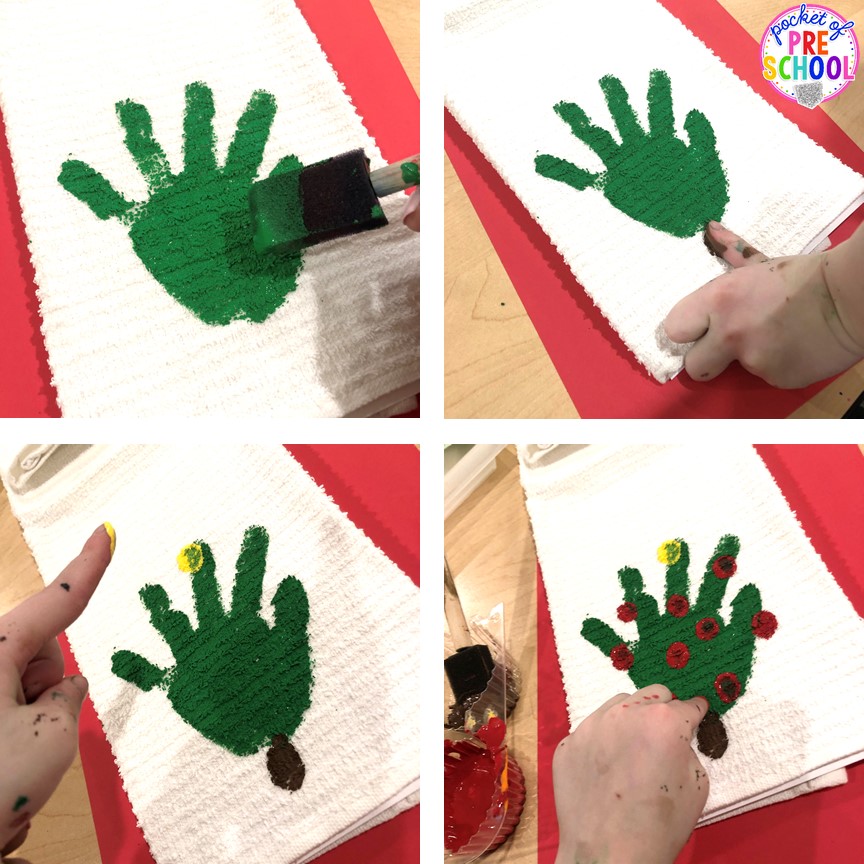
5. Final Details! Make a yellow fingerprint for the star at the top, a brown thumbprint for the trunk at the bottom, and red fingerprints all over the tree for ornaments. Use a wipe after each color paint to keep the colors separate.
Again, if you have students who do not celebrate Christmas, or if you can’t do Christmas gifts, try doing any winter or other holiday handprints on the towel.
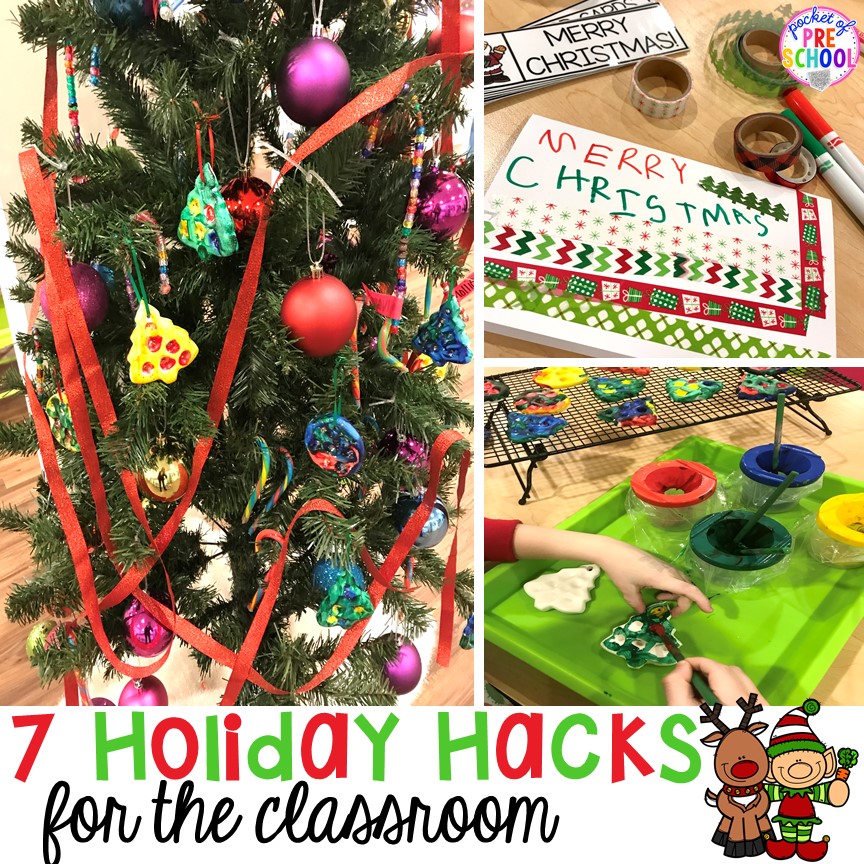
If you want to know more of my Holiday Hacks, check out THIS POST!
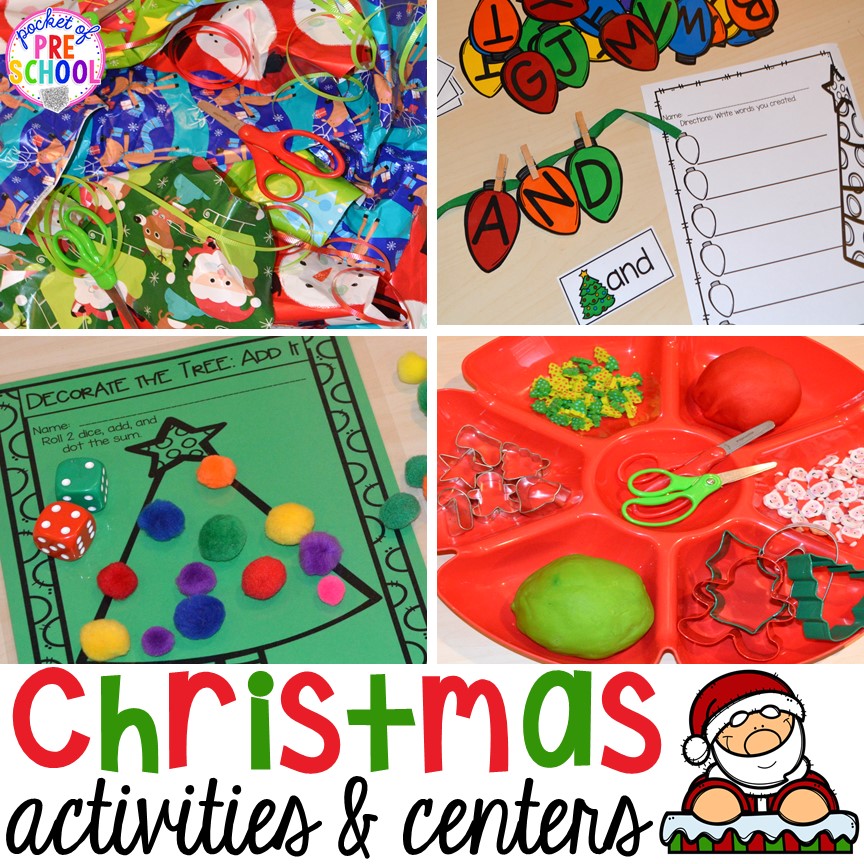
If you need Christmas-themed centers and activities, check out THIS POST.
Love it? Pin this image.
