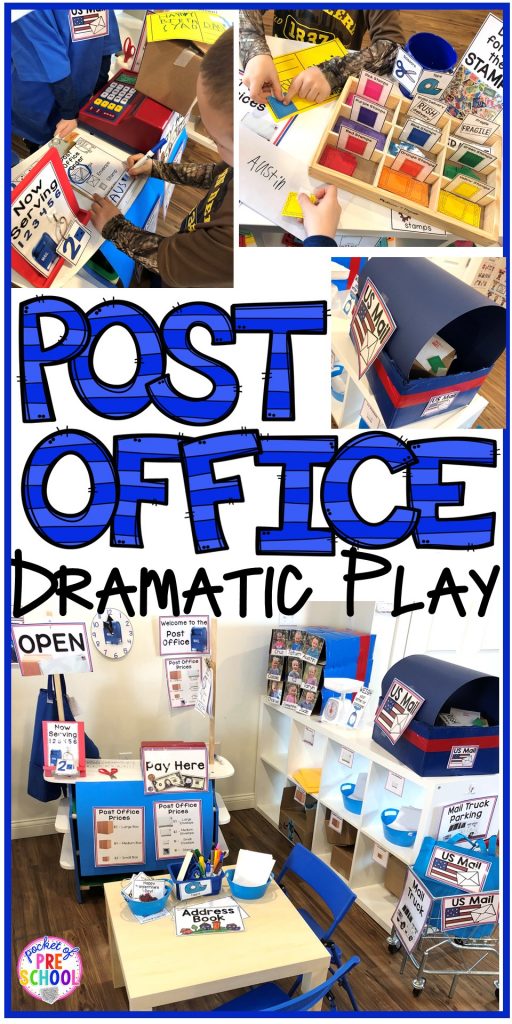
 Friends I’m over the moon excited to share with how to set up a Post Office in the Dramatic play or Pretend center. It’s inexpensive to set up and the best part is that it gets students WRITING during play! I’m going to tell you easy ways you can embed a ton of writing, reading, and math into their play at the Post Office. Set up a Post Office for a Valentine’s Day theme or a Community Helper theme.
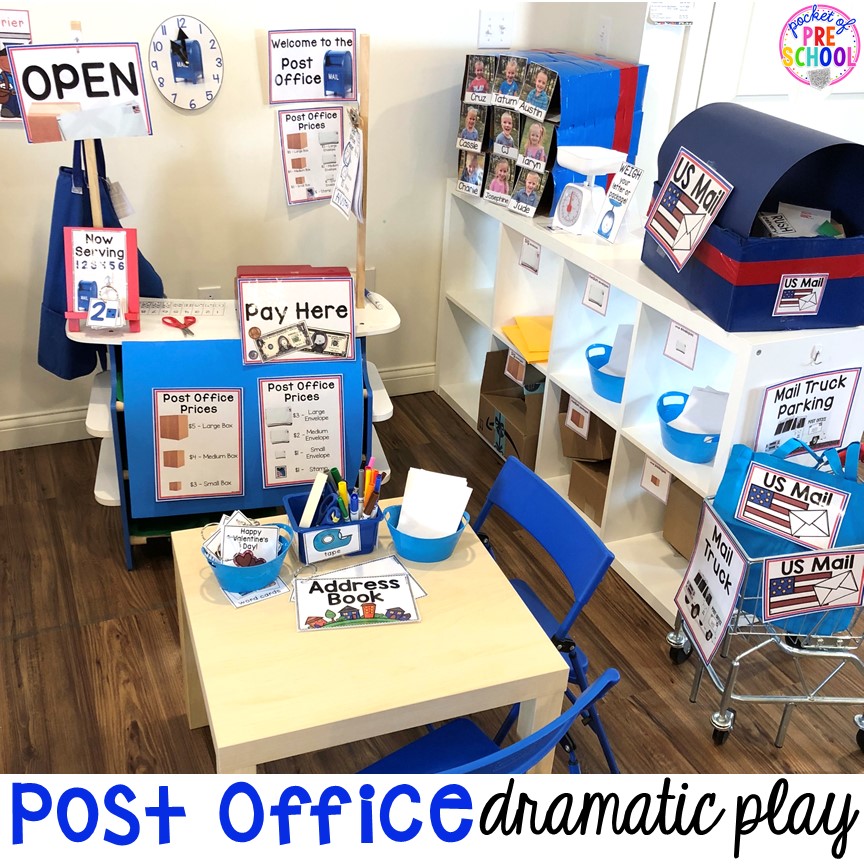
Post Office Set Up
If you look at our Post Office in the photo above you can see most of our Post Office! We have our packages, envelopes, scale, and mailboxes on the shelf to the right with the checkout stand, and the writing table in the middle. There is another shelf on the left side which I’ll show you in a bit.

On this shelf the envelopes and boxes are sorted by size to get students sorting and using math vocabulary during play. The small and medium boxes I purchased at Walmart and the envelopes were from the Dollar Tree. Students can weigh the mail using the scale (yep, more math)!
There are student mailboxes and a large post office mailbox as well. The customers put their mail in the big box and the clerks sort the mail into the student mailboxes. By adding student names, students are developing their letter and sound knowledge!
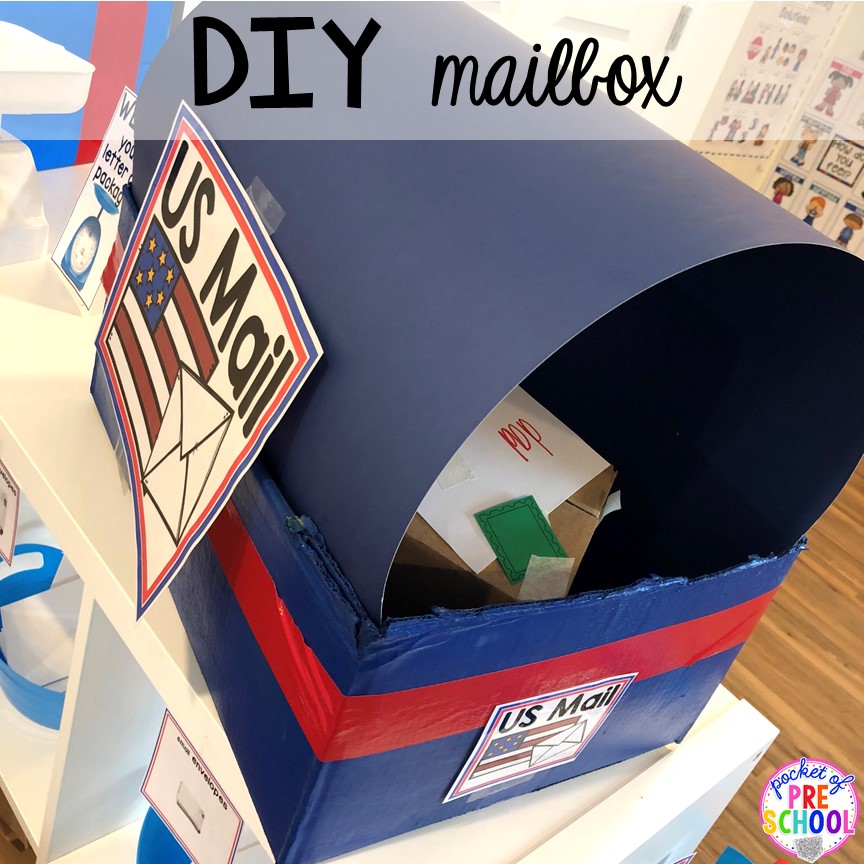
I’m sure you want to know how I made the big mailbox, right?! First I took a big box and cut off the top flaps. Then I spray painted it blue and put a red stripe around it with Duck tape. To make the top I cut a piece of blue poster board the same length as the box, and attached the poster board to the top of the box creating an upside down U shape. Lastly, I added signs to each side. Super simple!

Student mailboxes! These are absolutely AMAZING and my students LOVE them. It gets even my reluctant writers writing with no prompting from me. I made the mailboxes with cardboard soda boxes, so start collecting soda boxes teacher friends if you want to do the same! To make the mailboxes, tape together the cardboard soda cases one row at a time. Once you have each row taped together, tape the rows together. If you don’t like how crazy the outside looks, cover it with duck tape or spray paint the mailbox (totally optional). Last, make student name tags for the front and tape to the top of each box. Add photos to help younger students recognize the names of their friends!
When I taught full-day preschool, some years I had 23 kids total so I made a giant set of student mailboxes with 25 slots! This lasted about 5 years. I didn’t have these out all year, I put them out in the Library center around Valentine’s Day and they stayed in the classroom for the rest of the year. 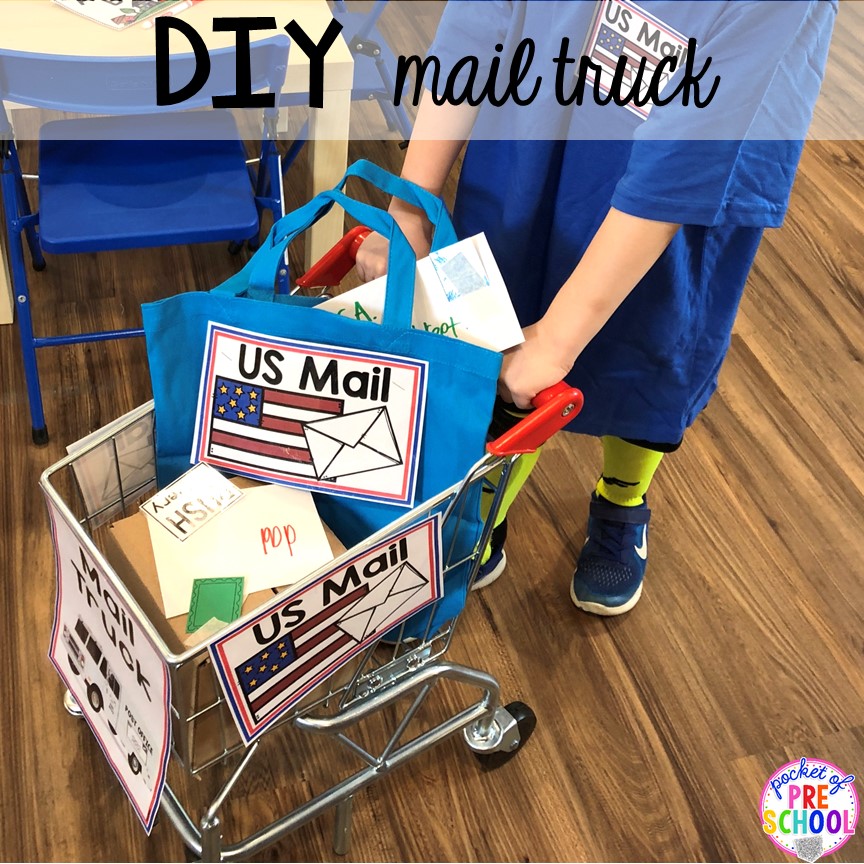 You can’t have a Post Office without a mail truck so make one with a shopping cart! The mail carrier can deliver the mail to their friends as they play in other centers.
Dramatic play clothes can be super expensive. Purchase inexpensive blue child size x-large t-shirts from Walmart or Target and place a U.S. Post Office tag on it. Each shirt only about $4 and my students loved them!
Post Office in Action
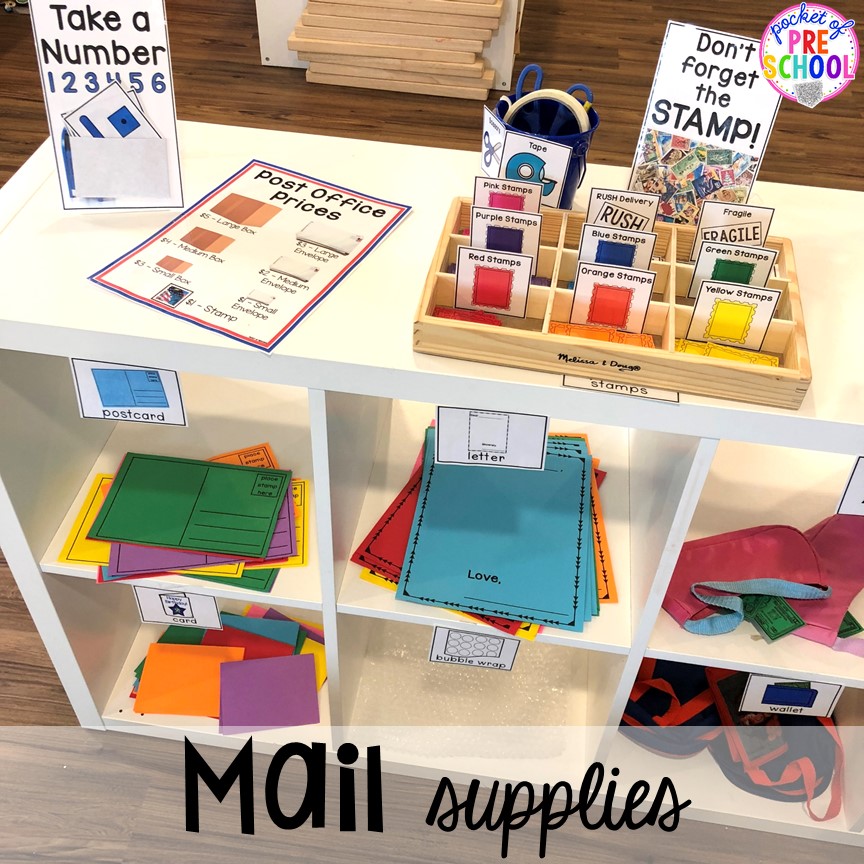
Remember how I said there was a shelf on the left side of our Post Office? Well, this is it! It’s packed with various kinds of writing templates (cards, letters, postcards), purses, wallets, and stamps for customers to use during play.
There is also a “take a number” sign so students have to practice waiting their turn to check out. It’s a simple way to sneak even more Social skills into their play because let’s be real, pretend play is packed with social skills activities! Students are sharing, taking turns, waiting, solving problems, role playing, and interacting with their peers the entire time.
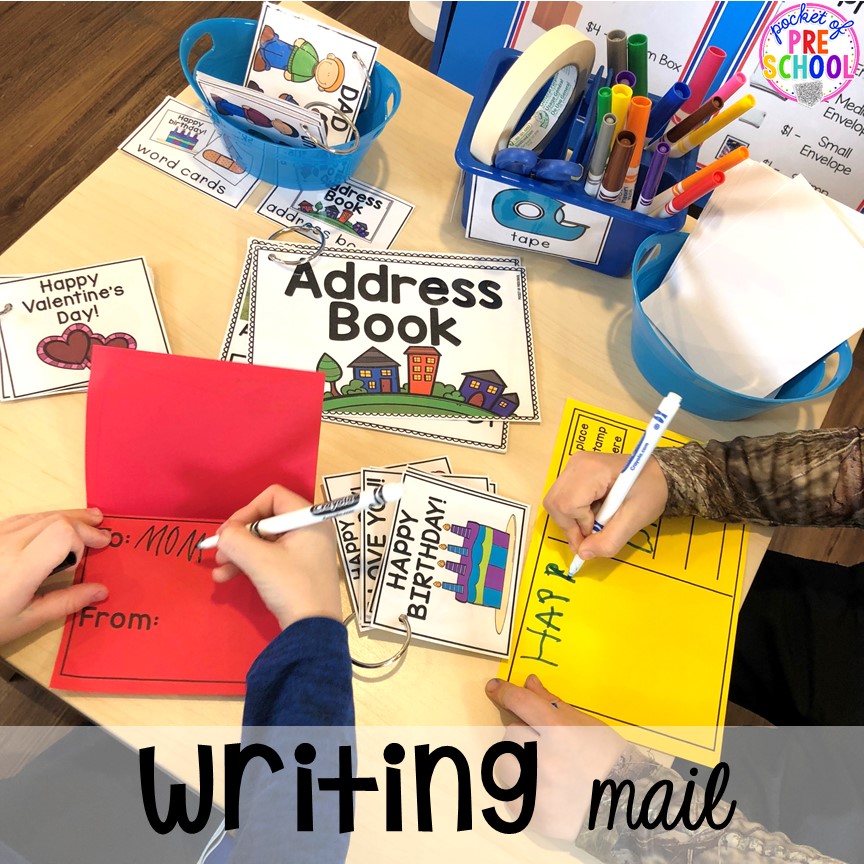 Check out these two little learners writing out letters using the word cards for support! Now that is a meaningful reason to write and draw.
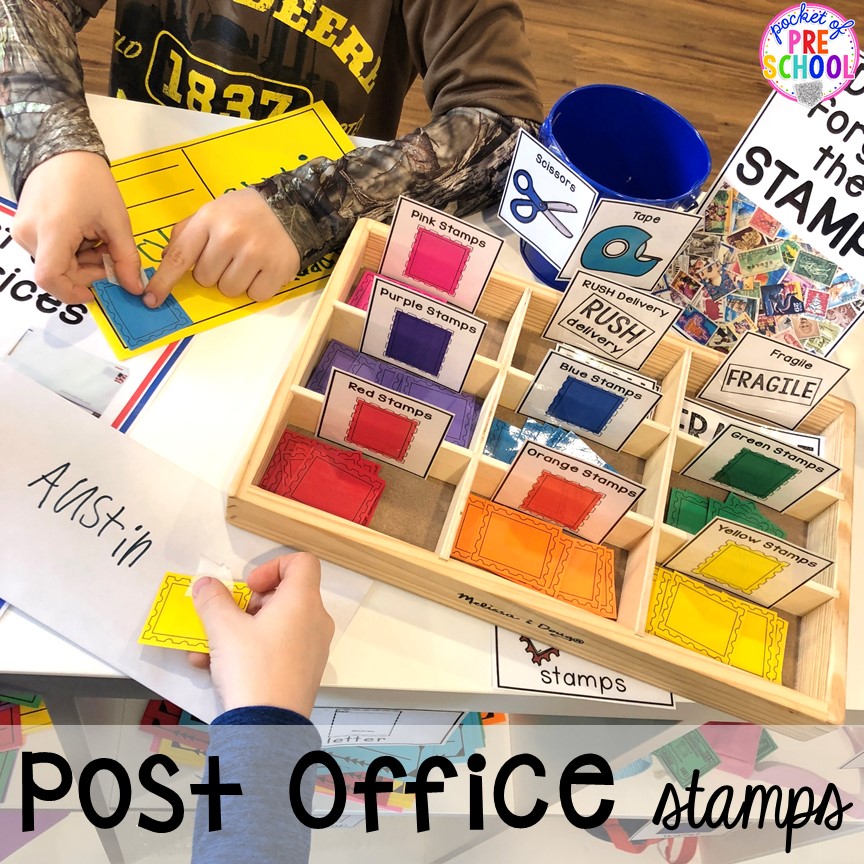 Once the customer is finished writing their mail and placing it in an envelope, it’s time for a stamp! I created colored stamps to sneak in more math so now students are sorting the stamps by color. Put scissors and masking tape in a bucket near the stamps so they can attach it with tape. Why tape you ask? Students LOVE tape and it’s great fine motor work!
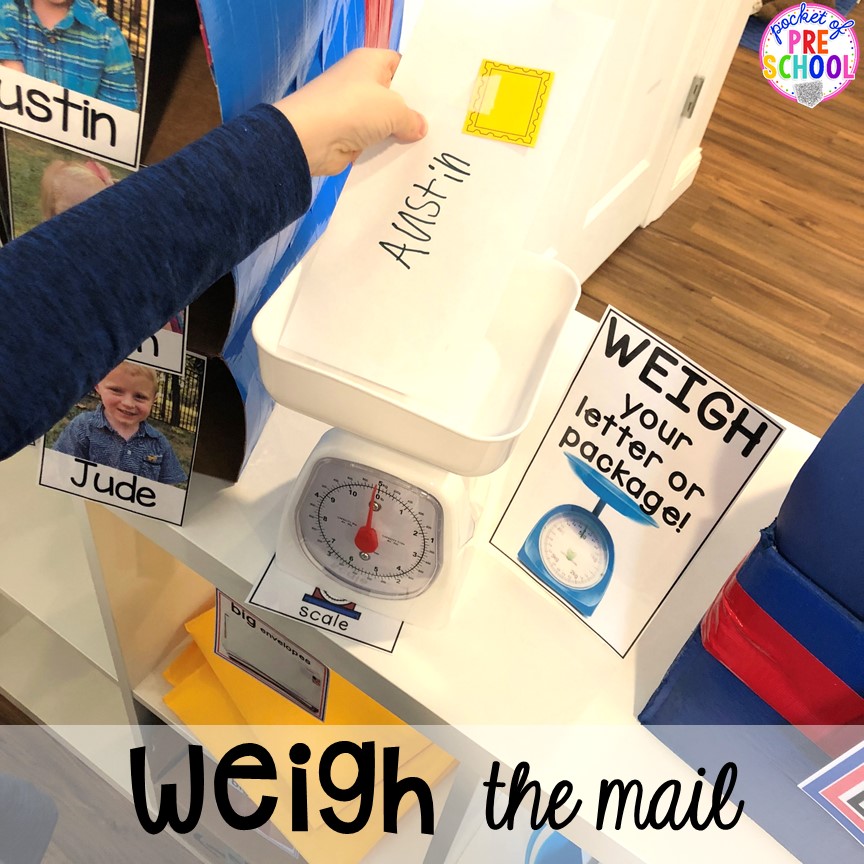 Put a scale next to the mailbox so students can weigh their mail, which is a fun way to use measurement tools.
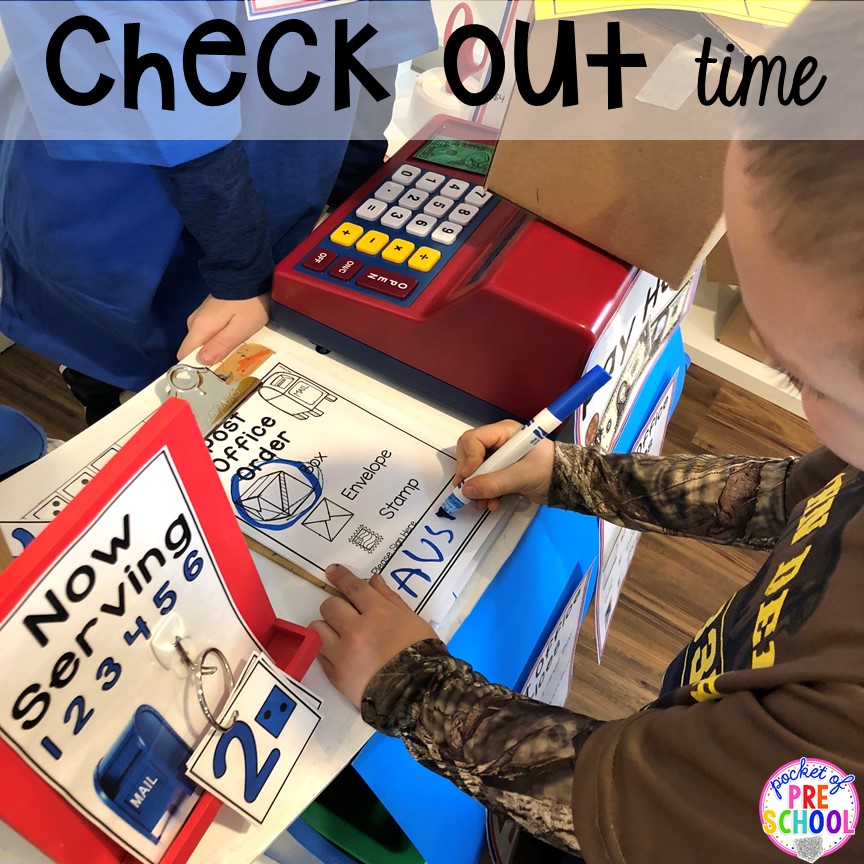 The last thing a customer has to do is check out. I’m always looking for meaningful reasons for students to write his or her name so I added a “sign here” space on the Post Office order form.
I hope your mind is racing with ideas on how to set up a Post Office in your own classroom after reading about mine!
If you love dramatic play like me and know how powerful learning through play is, grab the Dramatic Play Bundle! It’s packed with 22 different Dramatic play themes you can do in your classroom. Each theme includes labels, a parent note, signs, orders or reports, printable props, teacher direction pages, classroom photographs of the theme in action in my classroom and more!
>> Grab the Dramatic Play Bundle HERE <<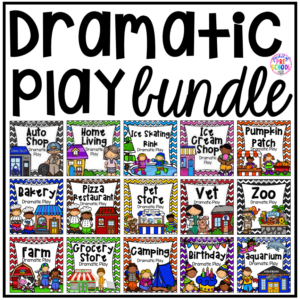
Love it? Pin this image!