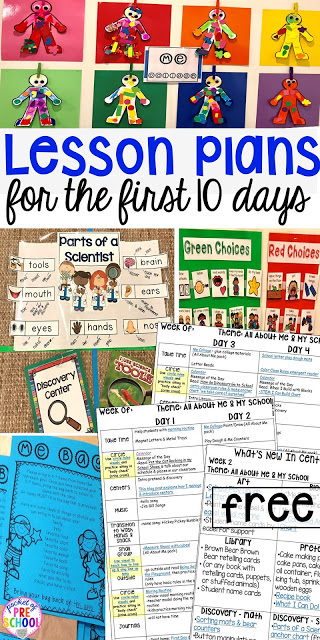
The first ten days of school are exhausting for both teachers and students! So many routines to teach and so many little learners to get to know!
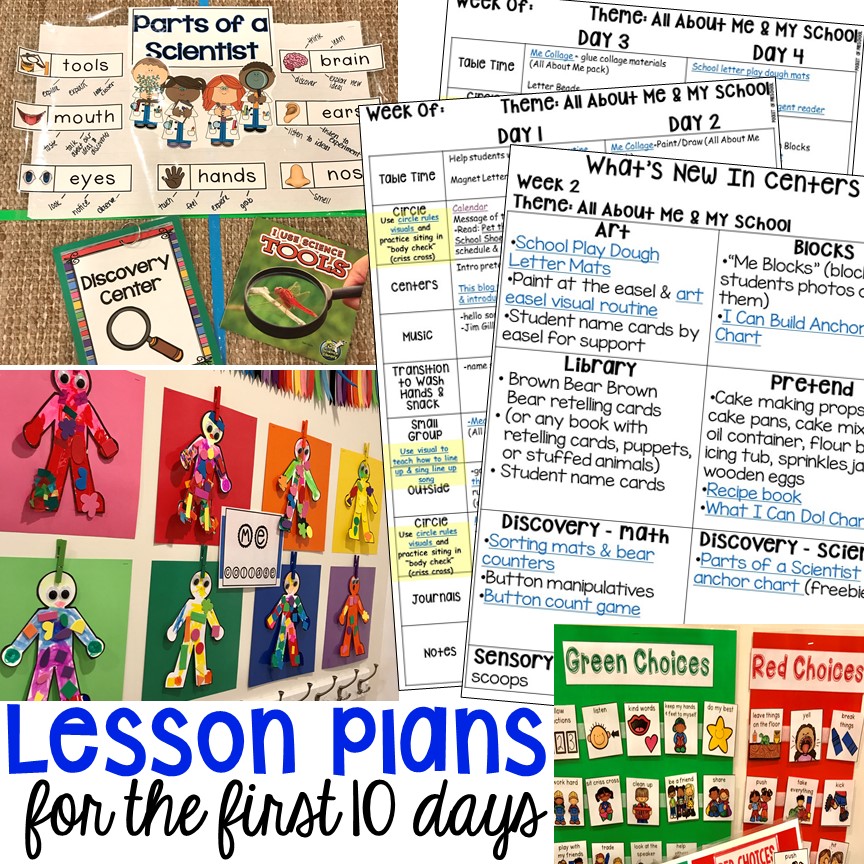
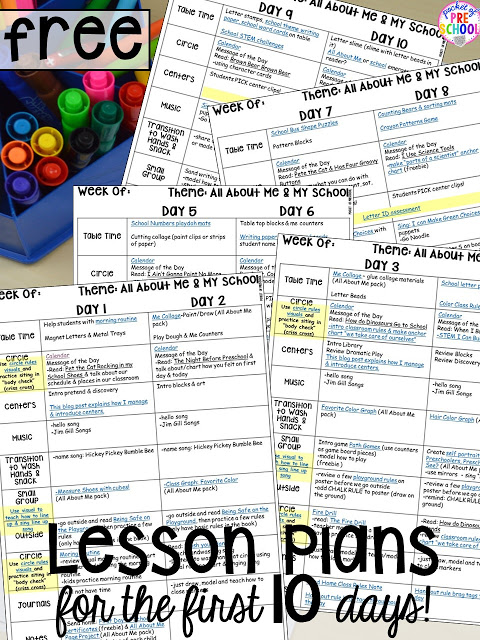
My lesson plans for the first ten days of school are almost always the same, with a few little tweaks here and there. To make back to school easier for you, I’m sharing my lesson plans for the first ten days of school! Everyone has been asking for them, so here they are!
The link is at the bottom of the post! Did I mention there is an EDITABLE version too?
Grab the FREEBIE by entering your email in the box at the bottom of this post. This post contains affiliate links which means I earn a tiny commission when you use my links at no cost to you.
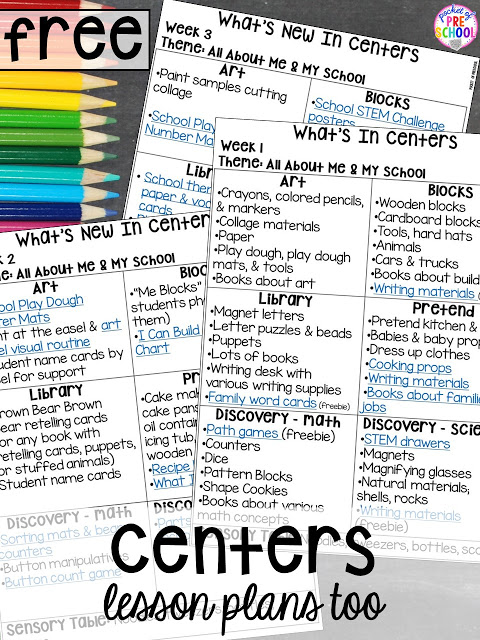
You will find daily lesson plans and weekly center plans! I put at least one new thing in each center every week, so those are in there for you too.
The number one most important thing you will need to do in the first few weeks is to begin building trust and relationships with each little learner so that they can feel safe and happy. If they feel safe and happy, most likely, the moms will feel safe and happy leaving their children with you each day.
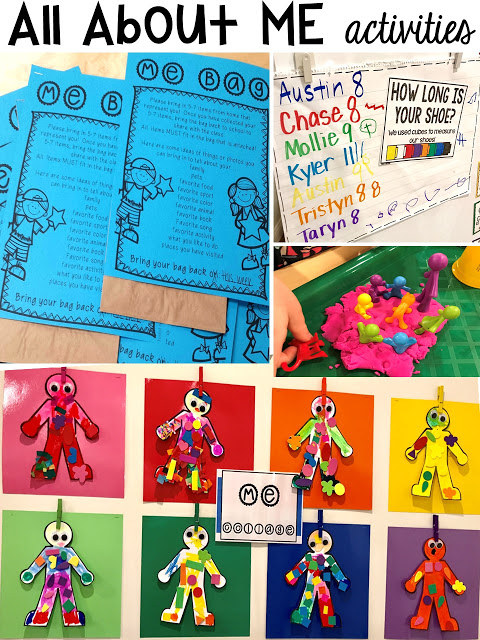
The first two weeks, I sprinkle in tons of All About Me themed activities during the day to help build that relationship with each child in my classroom. It also helps the child get to know me as well. I always participate in every All About Me type activity we do and try to include any other teachers or therapists throughout our room or building.
For most of our little learners, this is the FIRST time they have been to school. Most have no idea how to sit at circle, get in line, eat snacks or lunch at school, wash their hands, clean up, wait their turn, and wipe their own bottoms when they go #2.
The first month is all about teaching all of these routines! It is not wasted time, I promise. Take the time to use visuals and teach each and every classroom routine and expectation. Take the time to teach them now so you can just use cues later.
This Character Ed (aka Social Skills) Bundle has visuals for almost every classroom routine!

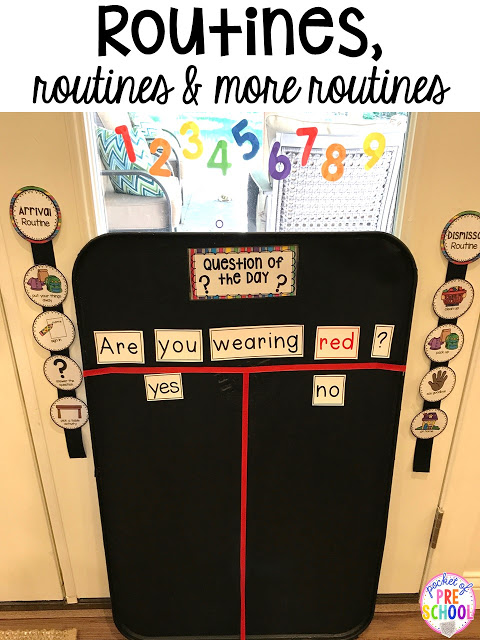
Starting on the first day, we practice our morning routine: say bye to mom/dad, put things away, answer the question of the day, sign in, and pick a table time activity. I go over the arrival routine chart, and I model the routine (pretending like I am a student in the class), talking out loud about what steps I need to do so students can hear and see me doing the routine.
Then I have the students put on their backpacks, and we all walk outside the classroom. Students take turns practicing the morning routine, a few at a time, with me cheering them on using the chart as a visual.
It is amazing how much different the arrival time is on the second day just by teaching the arrival routine on the first day!

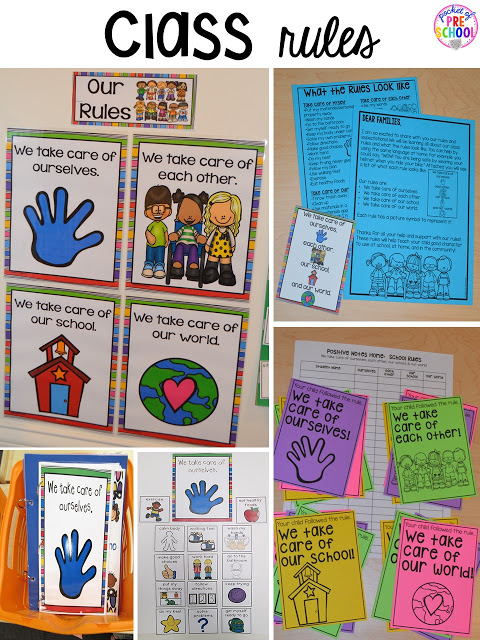
You will see in my lesson plans I do many activities to help teach our class rules: We take care of ourselves, each other, our school, and our world.
I send a note home to the students’ families, we make class books, and we make anchor charts. We read children’s books and discuss if the character is following the rules. We also talk about how the students feel and how they think others might feel when they do/don’t follow the rules.
We also talk about what could happen if someone doesn’t follow a rule (ex: someone could get hurt, others wouldn’t be able to learn, etc.). I always use natural consequences as examples.
You can grab my Class Rules pack HERE from my store.

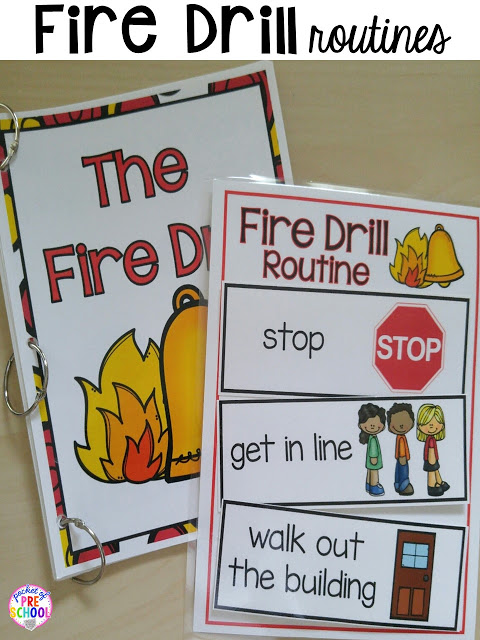
Fire drills and any other emergency/safety drills can be super scary for our little students. I teach emergency drills just like I teach any other routine…with visual supports and social stories! We read The Fire Drill at circle time, I model the routine, and the whole class practices a fire drill. Now students know what to expect when that loud alarm goes off later in the week.
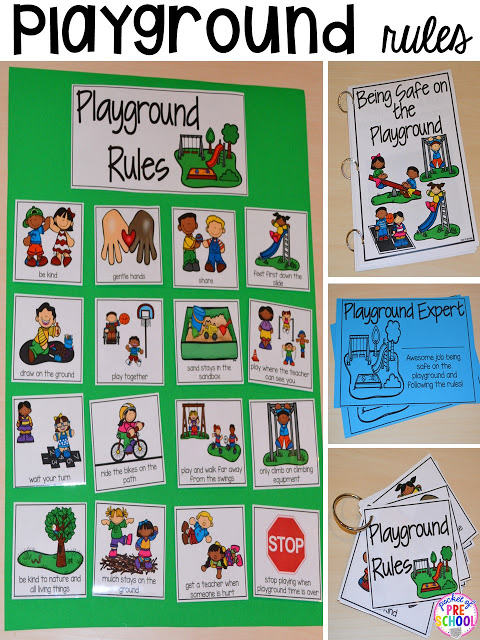
I also teach the Playground Rules and it is amazing the difference it makes! You can see in my lesson plans that I slowly introduce all the different choices students have on the playground (balls, bikes, chalk, swings, sandbox, hopscotch, etc.), teaching the rule for each those first 10 days.
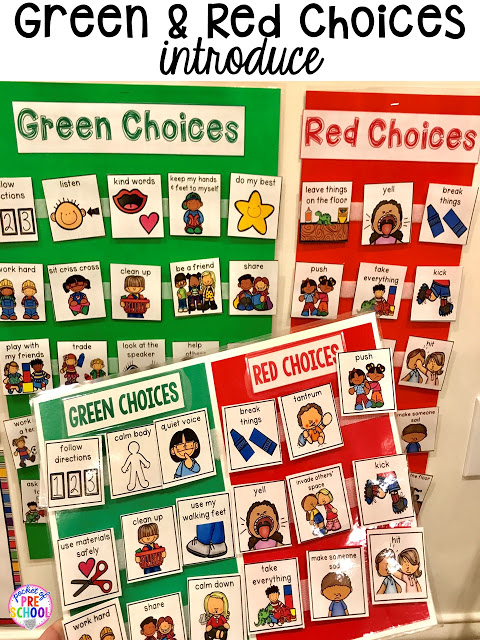
On day 5, I introduce the most AMAZING thing ever…..Green and Red Choices at a class meeting.
You can read all about Green and Red Choices in detail HERE. It has been the best thing I have ever created. It has truly changed the way my students behave in my classroom!
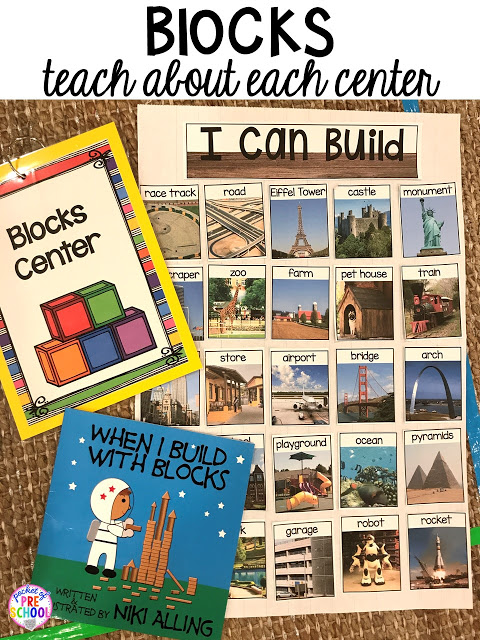
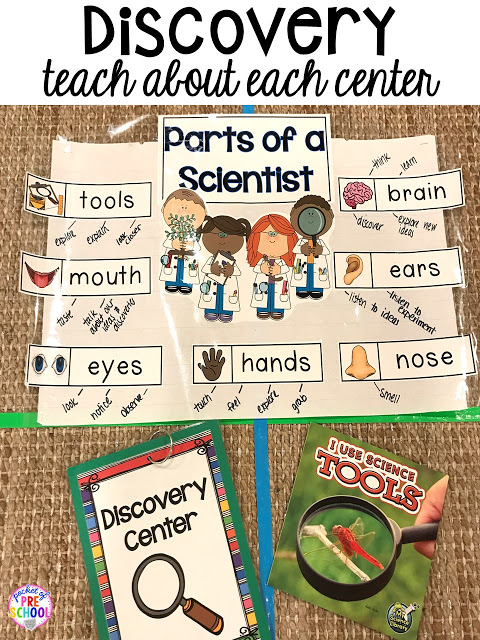
During center time the first 5 or so days, I introduce and teach about each center in our classroom. My classroom has 5 centers: art, blocks, pretend, library, and discovery (math, science, STEM).
Instead of open centers the first few weeks, I spend time during center time introducing each center in more detail. I take the whole class (my new class only has 10 kids), and we sit on the floor or at the table in the center.
I introduce the center name, color, and symbol. We talk about the materials in the center, how to use them, who we could pretend to be, and how to clean up. Then the students play in that center for about 20 minutes. When we are done, we go to another center, and we do the same thing all over again!
After I have introduced each center once, the second time, we go to the center as a class to review it. It takes about 5 minutes and then students play in that center for about 25 minutes. Then we go to another center, review it, and play in that center.
When I taught full day (18 kids a day), I split the class in half. Each group went into a different center with a teacher, and after 30 minutes, the kids switched and went to the other center for 30 minutes. The other center times (we had 3 center times a day because we were full day), students could just play in centers as they wished.
You can find this STEM I Can Build anchor chart HERE.
During circle time, I read a book about each center, and we do some kind of interactive anchor chart.
You can grab this Parts of a Scientist anchor chart freebie HERE. Want to know more about how I manage center time? Click HERE.
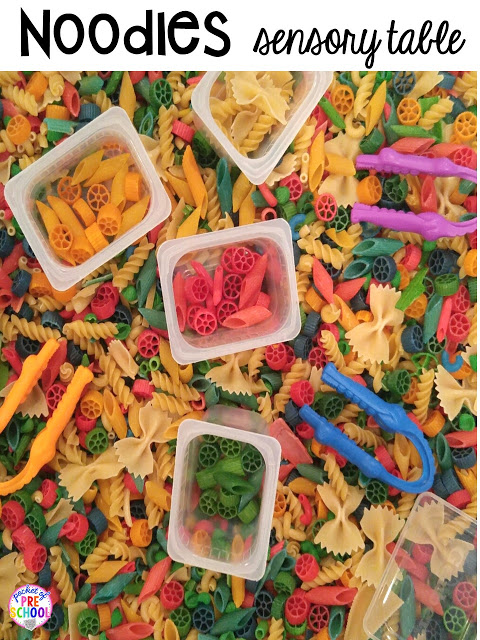
I always have colored noodles in the sensory table the first few weeks because it’s super easy to clean up. I bought the noodles from the grocery store, and I dyed them using food coloring and rubbing alcohol. Put a dustpan under the sensory table and teach students how to sweep up the items that fall onto the floor. You can make a square with washi tape on the floor for a visual support as well!
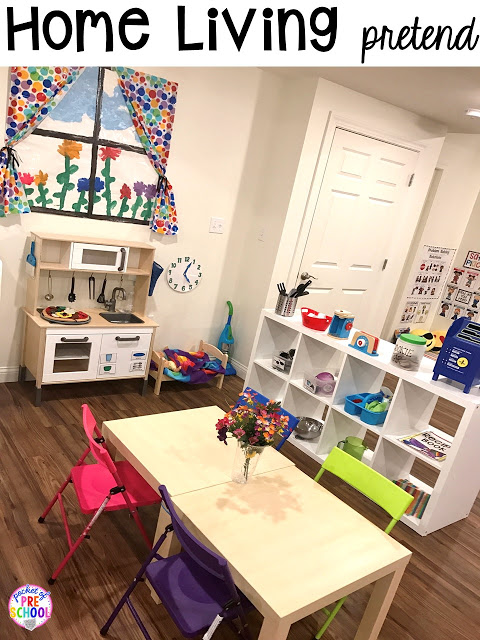
I always like to set up a home theme in the pretend center the first month of school.
You can read all about my home living dramatic play theme HERE.
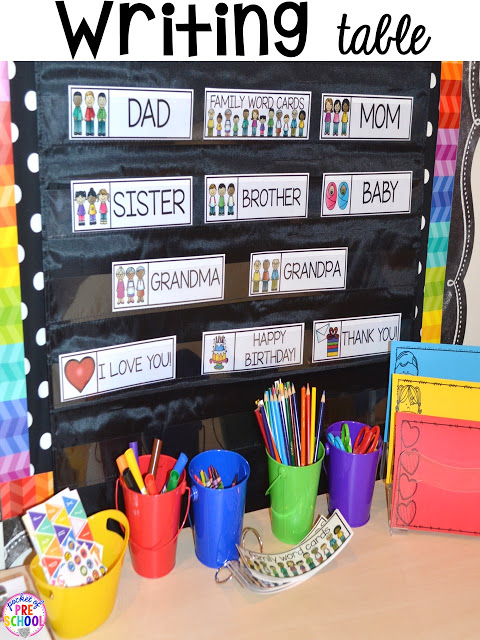
In the library center is my writing table. I place family word cards and student name cards on the writing table for the first two weeks. I have seen how much students enjoy seeing their names and how much it helps them get excited about writing, creating an authentic love for writing in my class!
You can get this family word cards freebie when you sign up for my newsletter HERE.
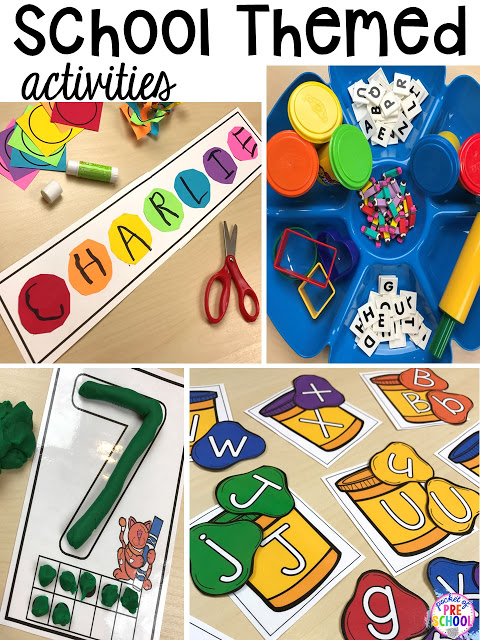
Each week I add something new to each center, and for back to school, I use a school theme.
These fun, hands-on Math and Literacy School-Themed Centers are what I use for some of my table time activities too!
>>Grab the FREEBIE by entering your email in the box at the bottom of this blog post!<<
Make sure you download the lesson plans, CLOSE OUT of the internet, and THEN open the lesson plans to print and/or edit. If you don’t, the formatting will be off, and some of the squares will be filled with colors. You will need Powerpoint to edit lesson plans.
Anything in blue you can click thru to obtain your freebie, or you can go to my online store to purchase or download these items.
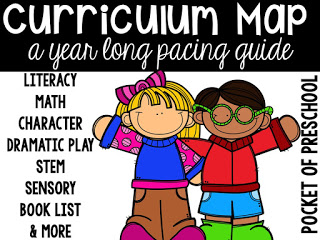
Are you excited to plan out your themes for the whole year? Grab my FREE Curriculum pacing map with themes by week HERE!
If you are wondering what my classroom looked like on the first day, I have a treat for you! I did a Facebook LIVE tour of my classroom after the first day of school this year. I’m showing you EVERYTHING… my classroom, my storage areas, my office, the bathroom, and even inside my cabinets. Oh, the camera is sideways for about two minutes then it flips back to normal. Sorry about that!
Loving this post? Pin this image.
