TRUTH: Being a teacher or teacher mom is hard! However, when you are organized it is so much easier! You can grab what you need quickly and save a ton of time in your day for instruction and play. Plus these organizational ideas will allow students to be more independent in the classroom which gives you even more time.
This post is sponsored by Lakeshore.
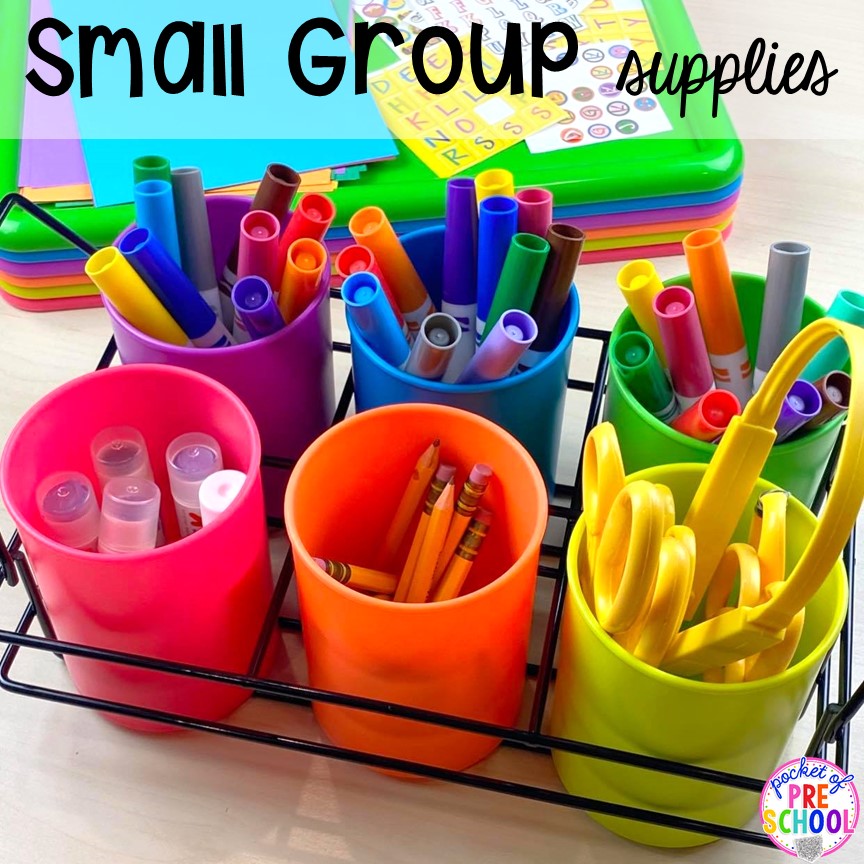
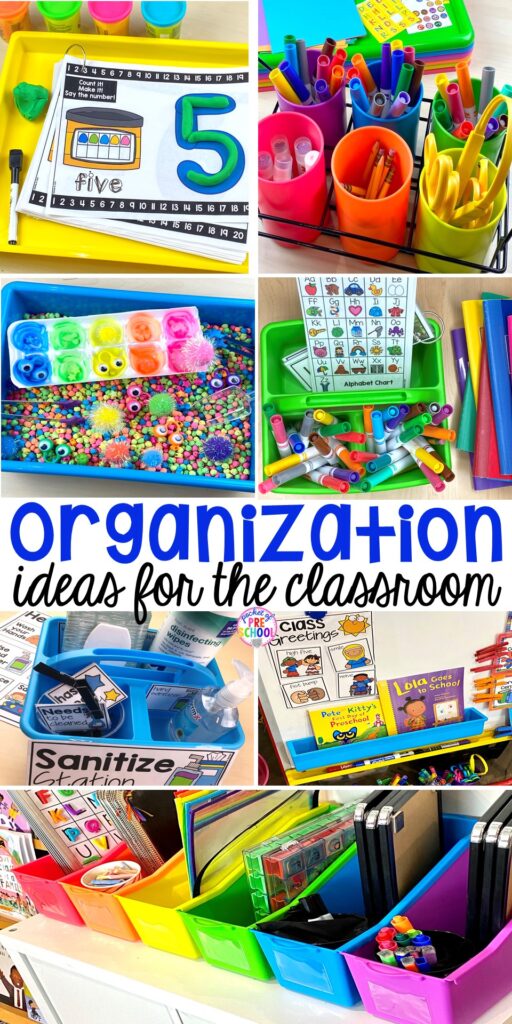
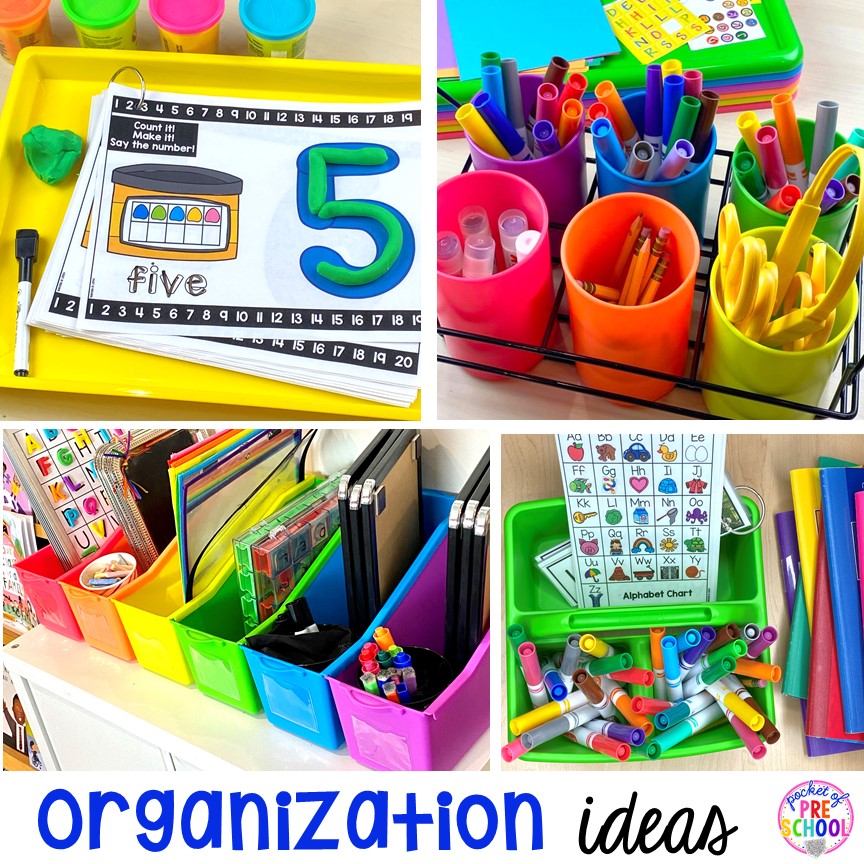
Small Group Supply Caddy – In my classroom, I do not have a dedicated small group table, but I do have small group supplies. They are located on a shelf that a student or I can quickly grab for small group. This carry-all supply caddy has a handle and black base, so you can take it anywhere to do small group. You can take your small group meeting to the floor, in a center, or even outside! The cups can come out too to make sharing and using the supplies super simple. I like to keep markers, scissors (regular and loop scissors), golf-size pencils, and glue sticks in mine.
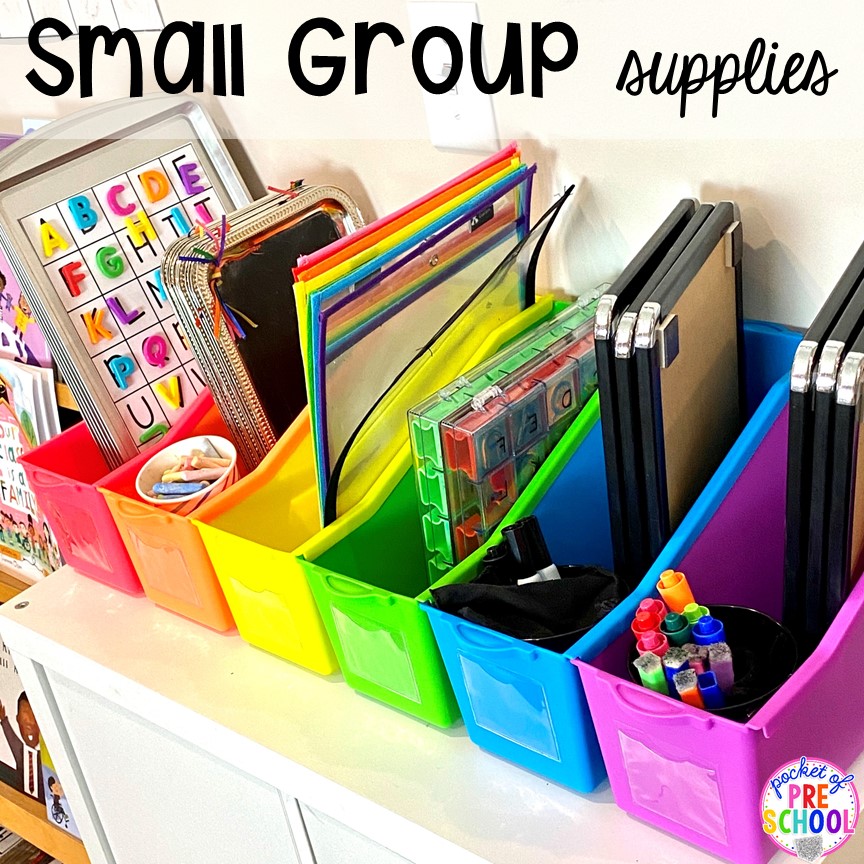
Small Group Supply Bins (aka book bins) – Use book bins to keep larger small group supplies in like dry erase boards, magnet letters on cookie sheets, chalkboards, stamps, dry erase pockets, and letter build-it mats in. Use a metal bucket or paper cups to place the smaller items in, like chalk (to go with the chalkboards) or dry erase markers (to go with the dry erase boards). Now you or a student can quickly get out or put away the supplies and move on to the next part of your day.
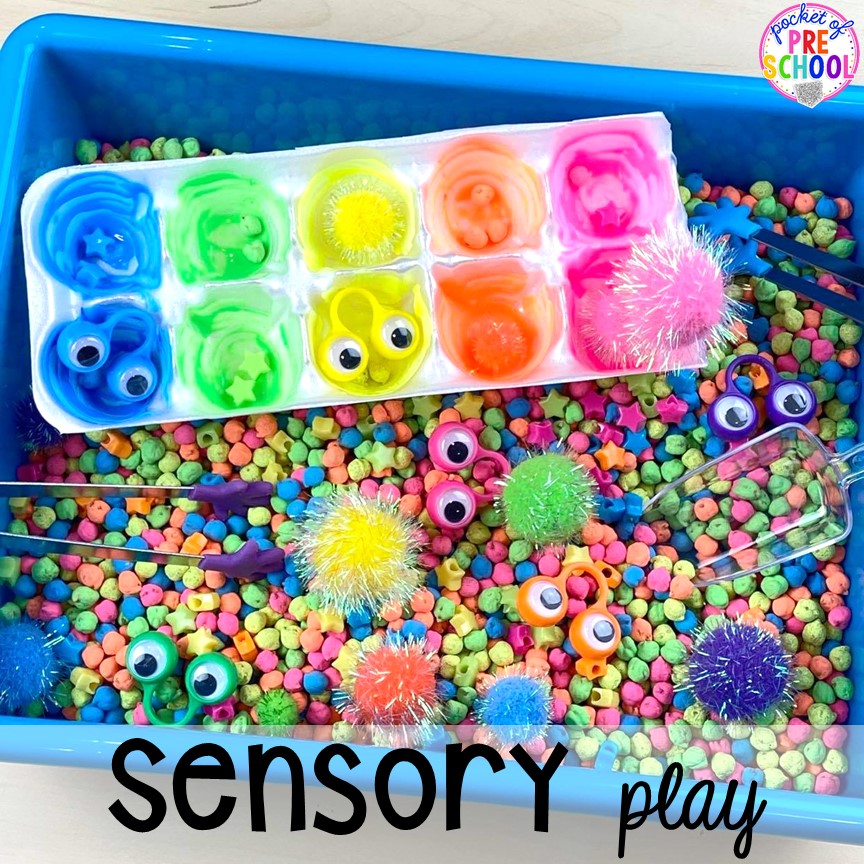
Sensory Play Bins (aka paper trays) – Sensory play can be messy, so use paper trays to keep the mess in one place. These trays are the perfect mini sensory bins! Put a sensory filler into the tray like chickpeas, or use it for water play. If you are creating a water sensory experience, add in various tools like funnels, measuring cups, sponges, toothbrushes, cars, or animal figures. These trays are also perfect for shaving cream play or messy science experiments using vinegar and baking soda. After play is finished, just wash the tray at the sink, and you are ready for another play adventure. They are super easy to clean.
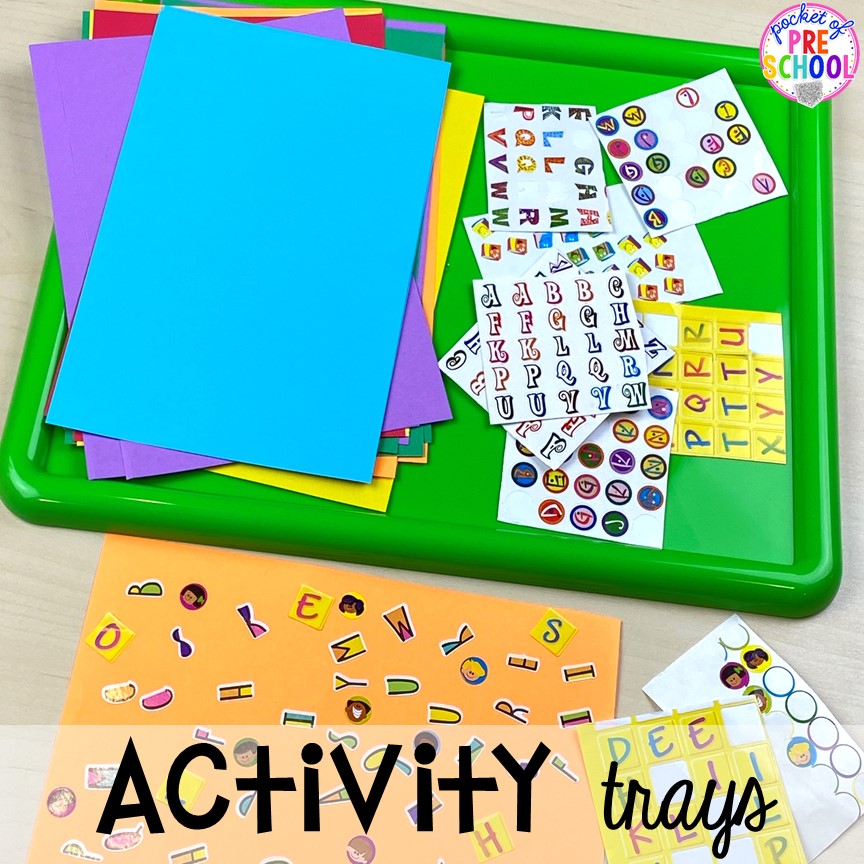
Activity Trays (aka paper tray lids) – Trays are my go-to for prepping activities before students come. Grab everything for the activity and put it on a tray so you can quickly grab it to do the activity. These “trays” are really the lids to the paper trays, but I love their size and versatility! They fit one piece of paper perfectly.
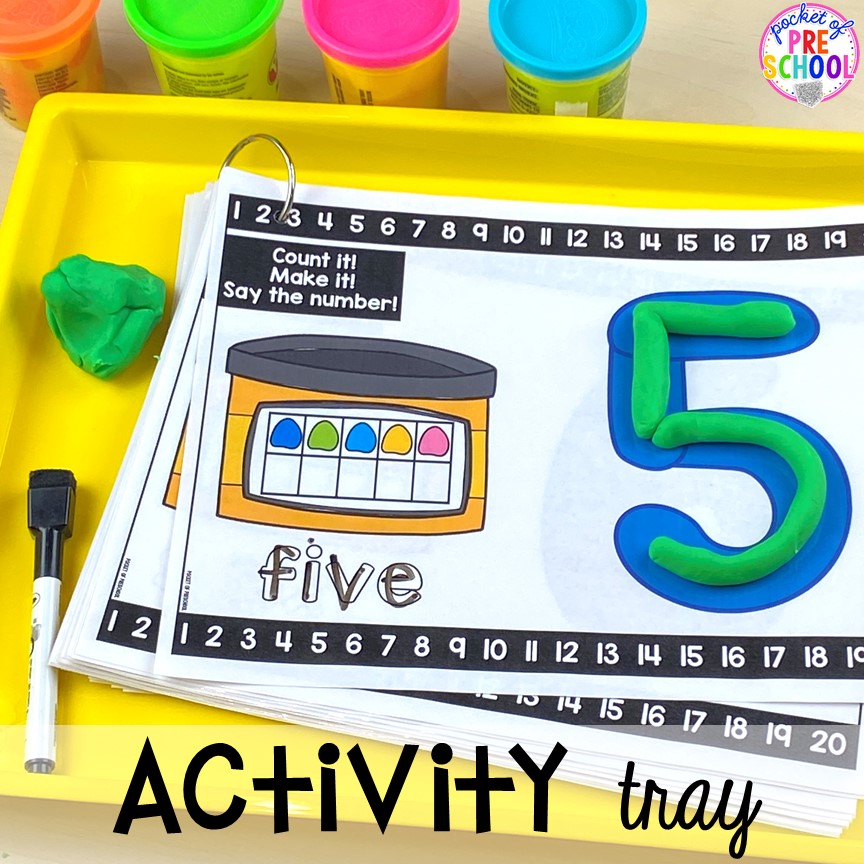
Activity Tray – You can see I am using this craft tray for individual student activities. These larger trays are great because they fit a piece of paper and the supplies on the tray at the same time. I like to put these trays on the table to show each activity when I have multiple activities at a table.

Journal Caddy – When you think of a caddy, usually we think of using them to hold writing supplies like markers (as in the photo above). I put name cards, letter charts, and markers in the caddy because we use these when we do journals.

There are endless uses for caddies! I like to use these neon caddies for tons of things other than markers. You can see I made this caddy into a Sanitize Station to help our teacher team keep all the things clean. You can also make a prep caddy with all the supplies you need when prepping things. I keep the following things in my prepping caddy: Velcro Dots, baggies, scissors, Sharpies, metal rings, glue stick, hole punch, and magnet tape. You can see my prepping caddy HERE.
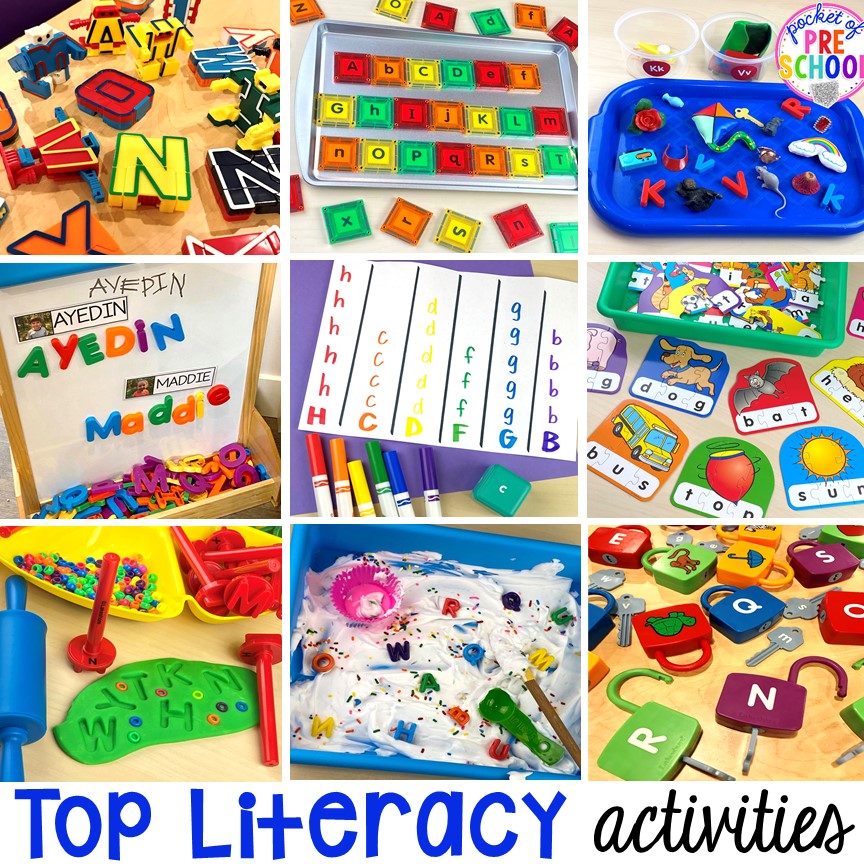
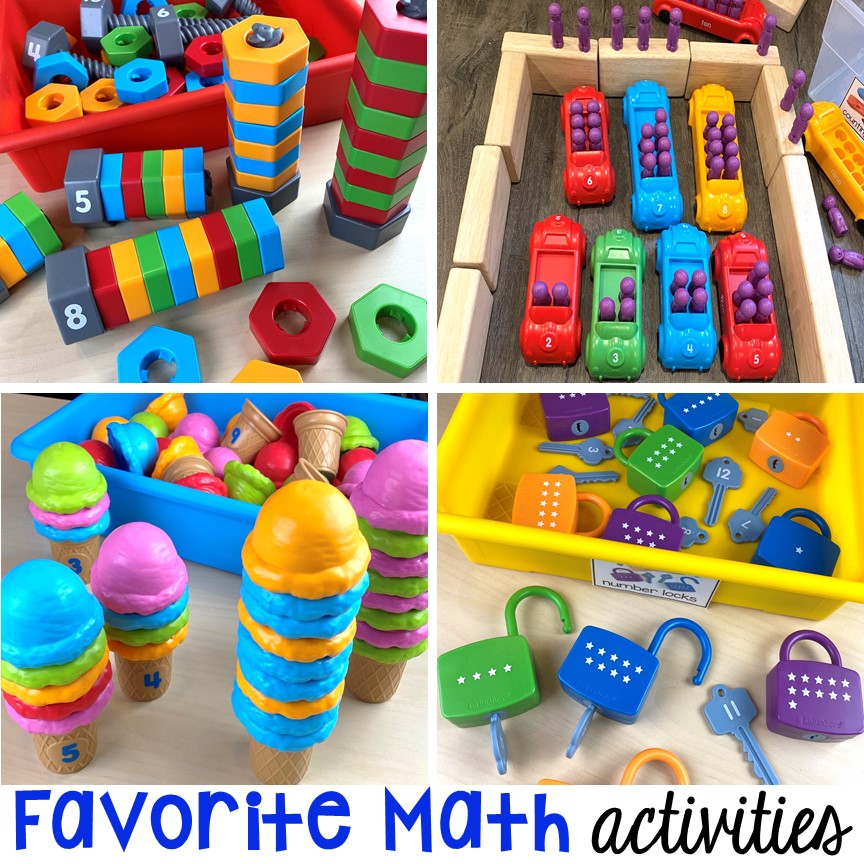
Now, if you want to see more of my favorite learning activities and tools from Lakeshore, check out these posts by clicking on the photo below.
Love this post? Pin this image!
