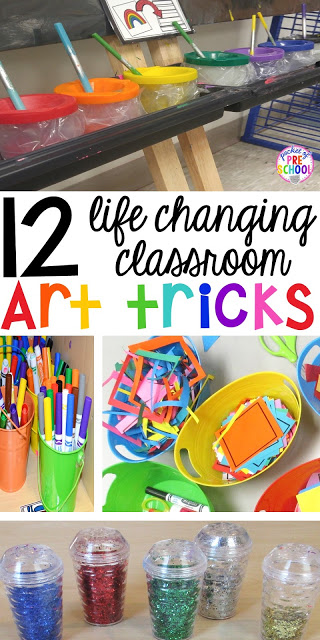
You want to do more art in your classroom but you don’t want the MESS. You know all the reasons why you should do more art in your classroom. You know your kids love creating, painting and glitter. But the aftermath of an amazing art project can look like a tornado went through your classroom. Check out these 12 amazing life changing art tricks, and you will be excited to do art in your classroom again!
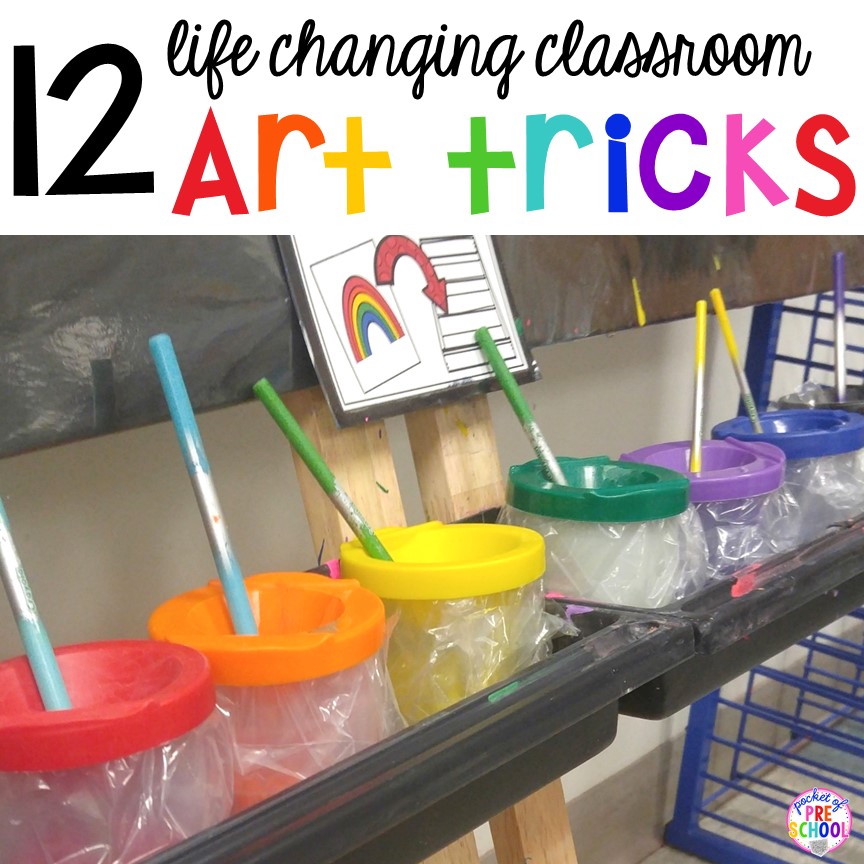
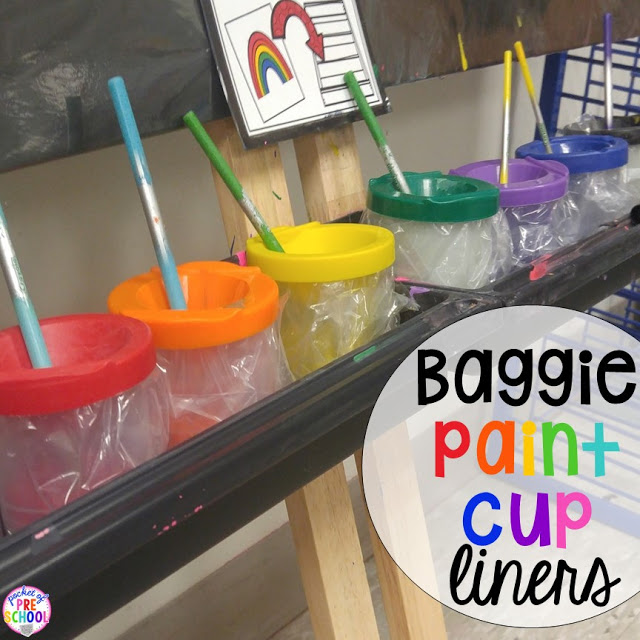
1. Baggie Paint Cup Liners
So simple and so amazing. Just line your paint cups with a baggie, fill it with paint, snap on the lid, and put the brush in. When you are ready to change out the paints, just wash the brushes and lids. The paint cup will be CLEAN!
I keep my brushes in my paints for a week. I just can’t find the time to wash them daily. This set of brushes has lasted me for over 2 years. The brushes are made by Crayola and I found them at Target.
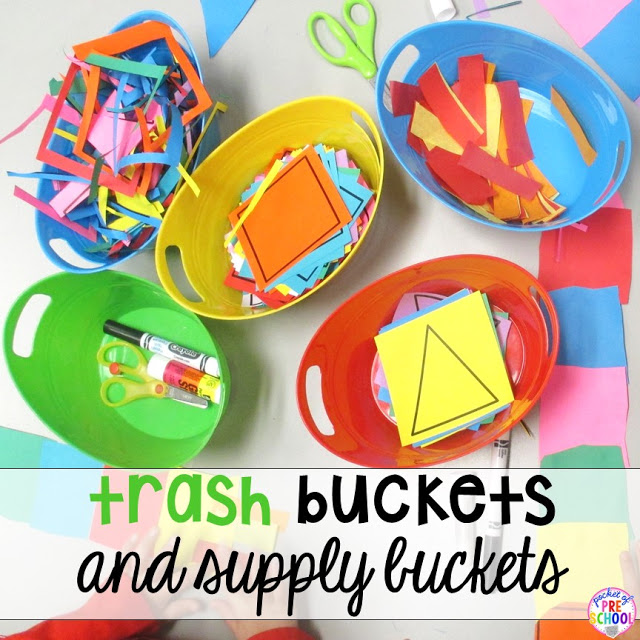
2. Trash Buckets and Supply Buckets
Kids don’t have to leave the activity to throw away trash or get another supply. It is all on the table!
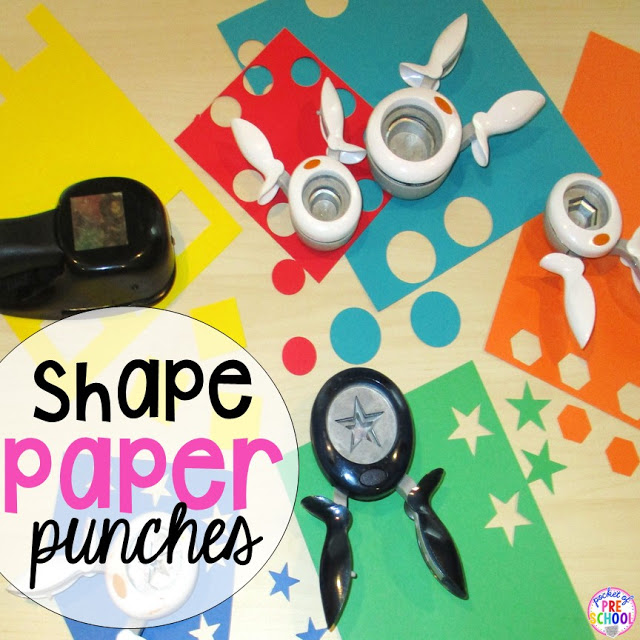
3. Shape Paper Punches
You will NEVER have to cut out tiny shapes again! Start collecting paper punches NOW! They are a life saver. I buy mine from craft stores when they are on sale. They come in all kinds of different shapes, sizes and fun designs. Keep them in your art center for kids to use too. It is a fun way to sneak in fine motor work and kids LOVE them!
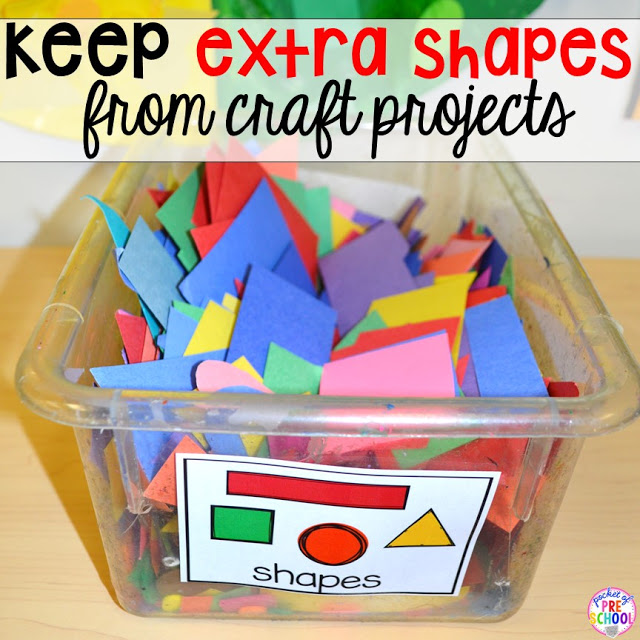
4. Keep Extra Shapes from Craft Projects
Don’t throw extra shapes from projects away. Keep a bin of paper shapes for students to use in your art center. They come in handy when you only need a few shapes or for shape collages!
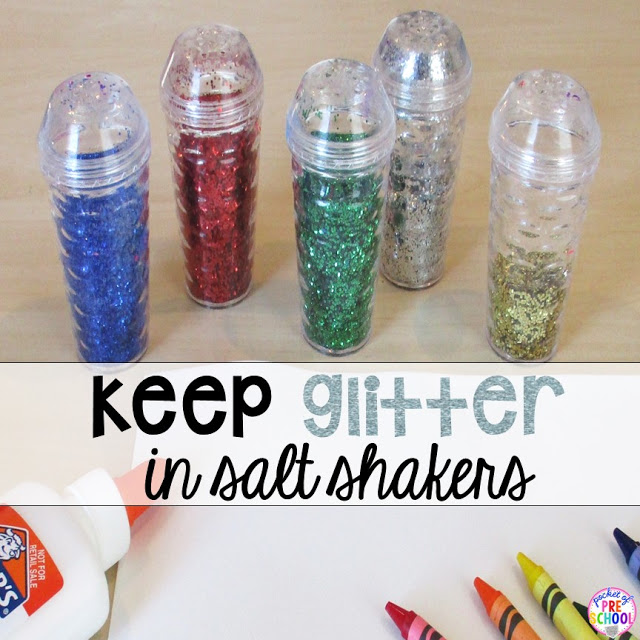
5. Keep Glitter in Salt Shakers (or empty sprinkles containers)
I found these plastic salt shakers at the Dollar Tree a year ago, and they are amazing! They work great for colored sand too! If you want less glitter to come out when they shake it, just hot glue a few of the holes closed at the top.
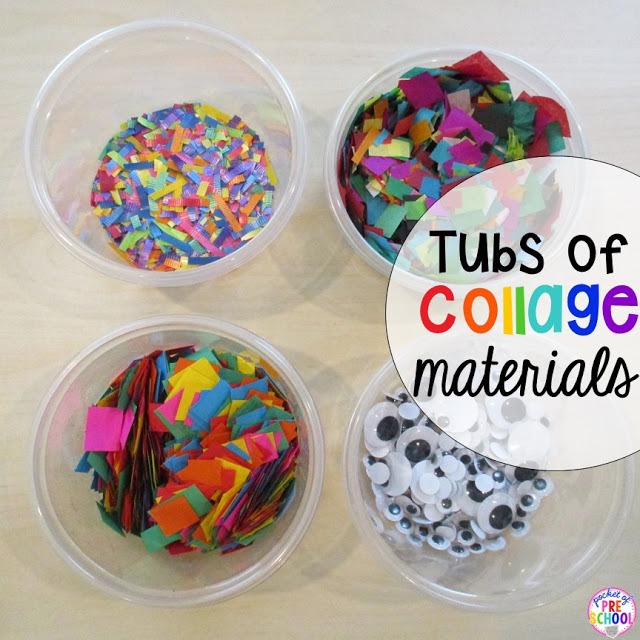
6. Keep Tubs of Collage Materials ready to GO!
Save prep time and keep tubs of various collage materials in plastic tubs in a cabinet. I keep cut ribbon, tissue paper, paper, cut straws, string, small foam objects, and eyes in plastic tubs in my art cabinet. I make a ton at the beginning of the year (the buckets were full) and they last ALL year! These tubs are just are food containers I found at the Dollar Tree. Bonus…they come with lids too!
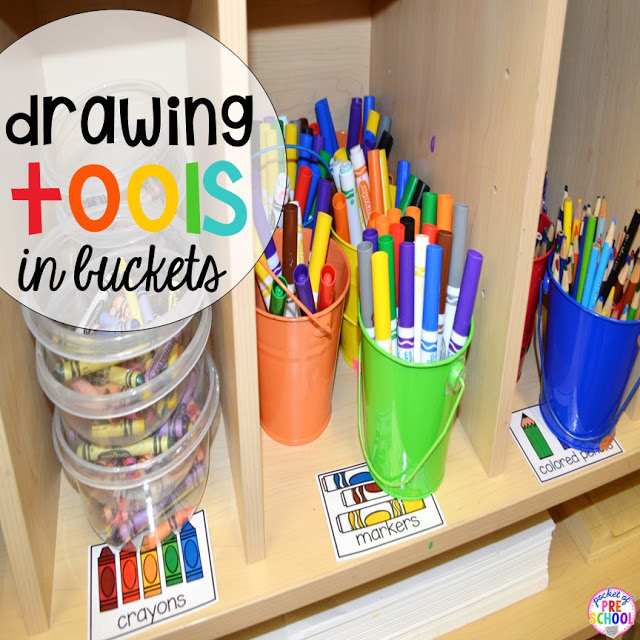
7. Keep Drawing Tools in Buckets
Need makers for a table activity? Just grab a few buckets to set on the table. Want to take small group outside? Just grab a few buckets and go outside. The buckets are easy for teachers and kids to grab when they need them. I keep colored pencils and markers in buckets. I keep crayons in clear food containers so you can see the colors easily.
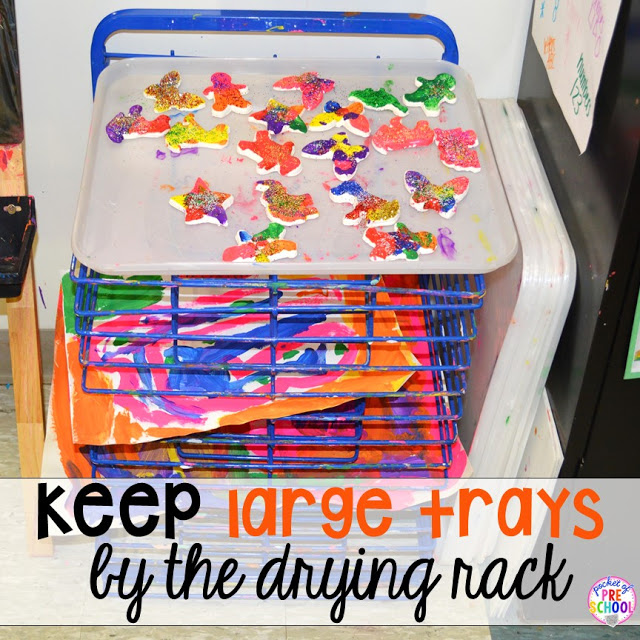
8. Keep Large Trays at the Drying Rack (so they small things don’t fall through)
It is so frustrating and often heartbreaking to a child (and teacher) when they worked so hard on an art project and it falls. I keep trays next to the art rack for all the tiny treasures kids make.
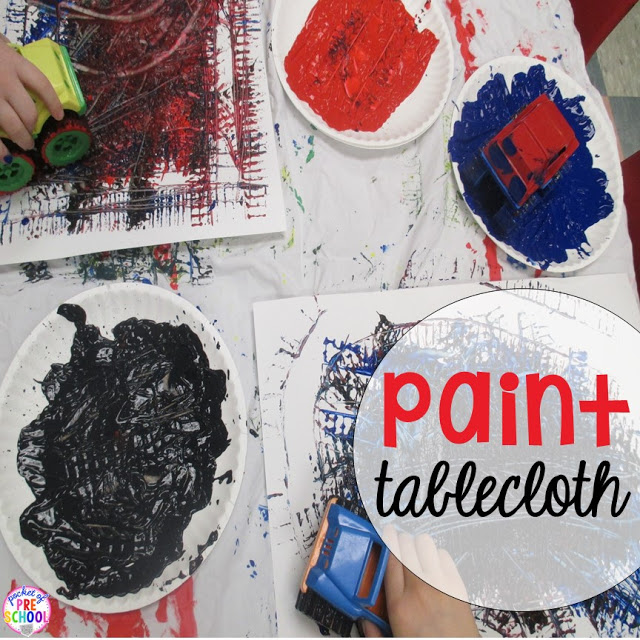
9. Paint Tablecloths
Find an old sheet and turn it into a paint tablecloth! When you lift up the tablecloth, all the paint and glue is on the tablecloth and NOT the table. Don’t worry about setting it out to dry. I just fold it up, wet paint and all, and put it on the shelf. It easily pulls apart when you go to use it the next time.
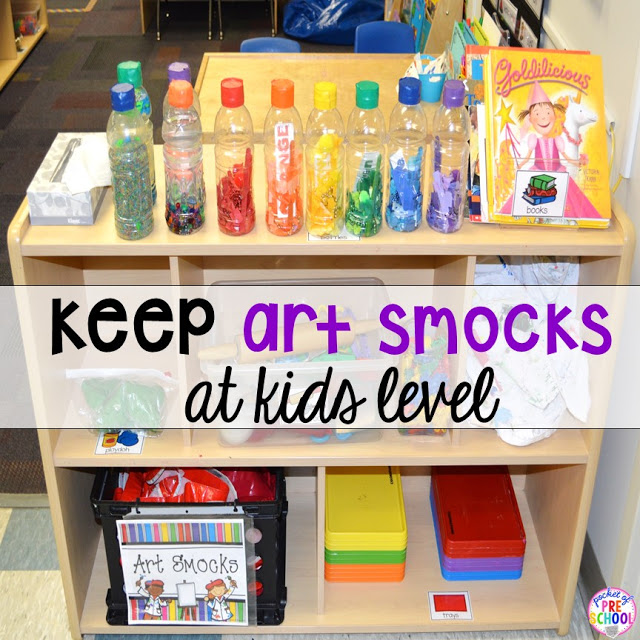
10. Keep Art Smocks at Kids Level
Set the environment up for students to be independent! Put the art smocks and small trays in a place where students can get them out and put them away by themselves.
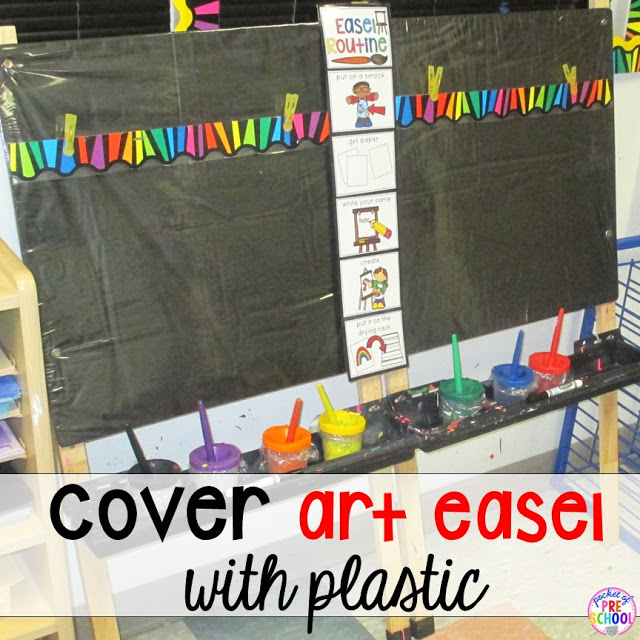
11. Cover the Art Easel with Plastic
You can find plastic by the roll at a fabric store (some Walmart stores have it too) or you can use a clear shower curtain. I was covering it with a plastic table cloth and changing it at the beginning of each school year. Then found Prekinders tutorial where she used thicker plastic. You can read all about it here.
I taped a border strip to the back of my easel (the middle part is not attached). Some of my kids can’t reach the top of the easel. They always need help clipping their paper on and clipping it off the easel. Not anymore! Students clip their paper to the boarder! It is at their level and they can do it independently!
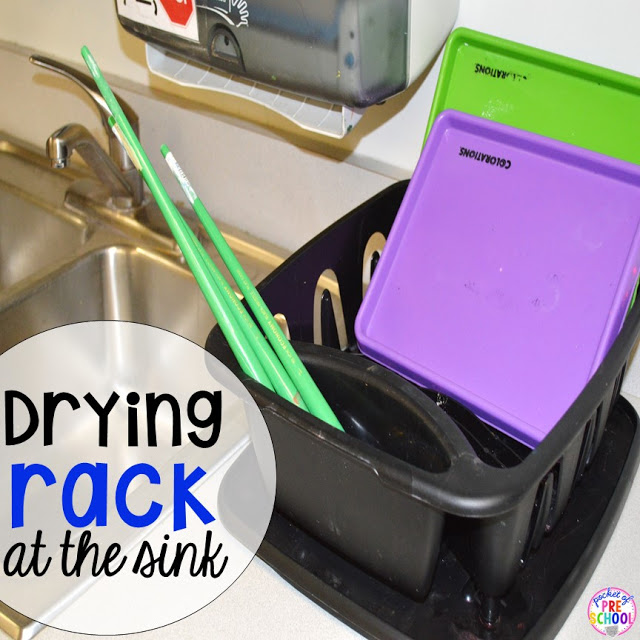
12. Drying Rack at the Sink
No more water puddle from your art supplies air drying! Just plop the tray, brush, etc. in the drying rack to air dry. So simple and so wonderful!
I wish I new ALL these tricks when I first started teaching! They have truly transformed art time in my classroom.
Remember these life saving art tips…Pin this on Pinterest!
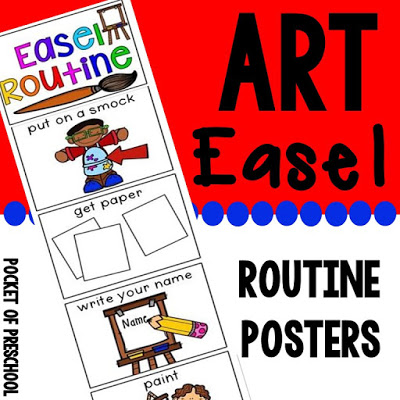
Thanks so much for reading until the end. Go grab your Art Easel Routine FREE from my TPT store. Just click on the cover below!
